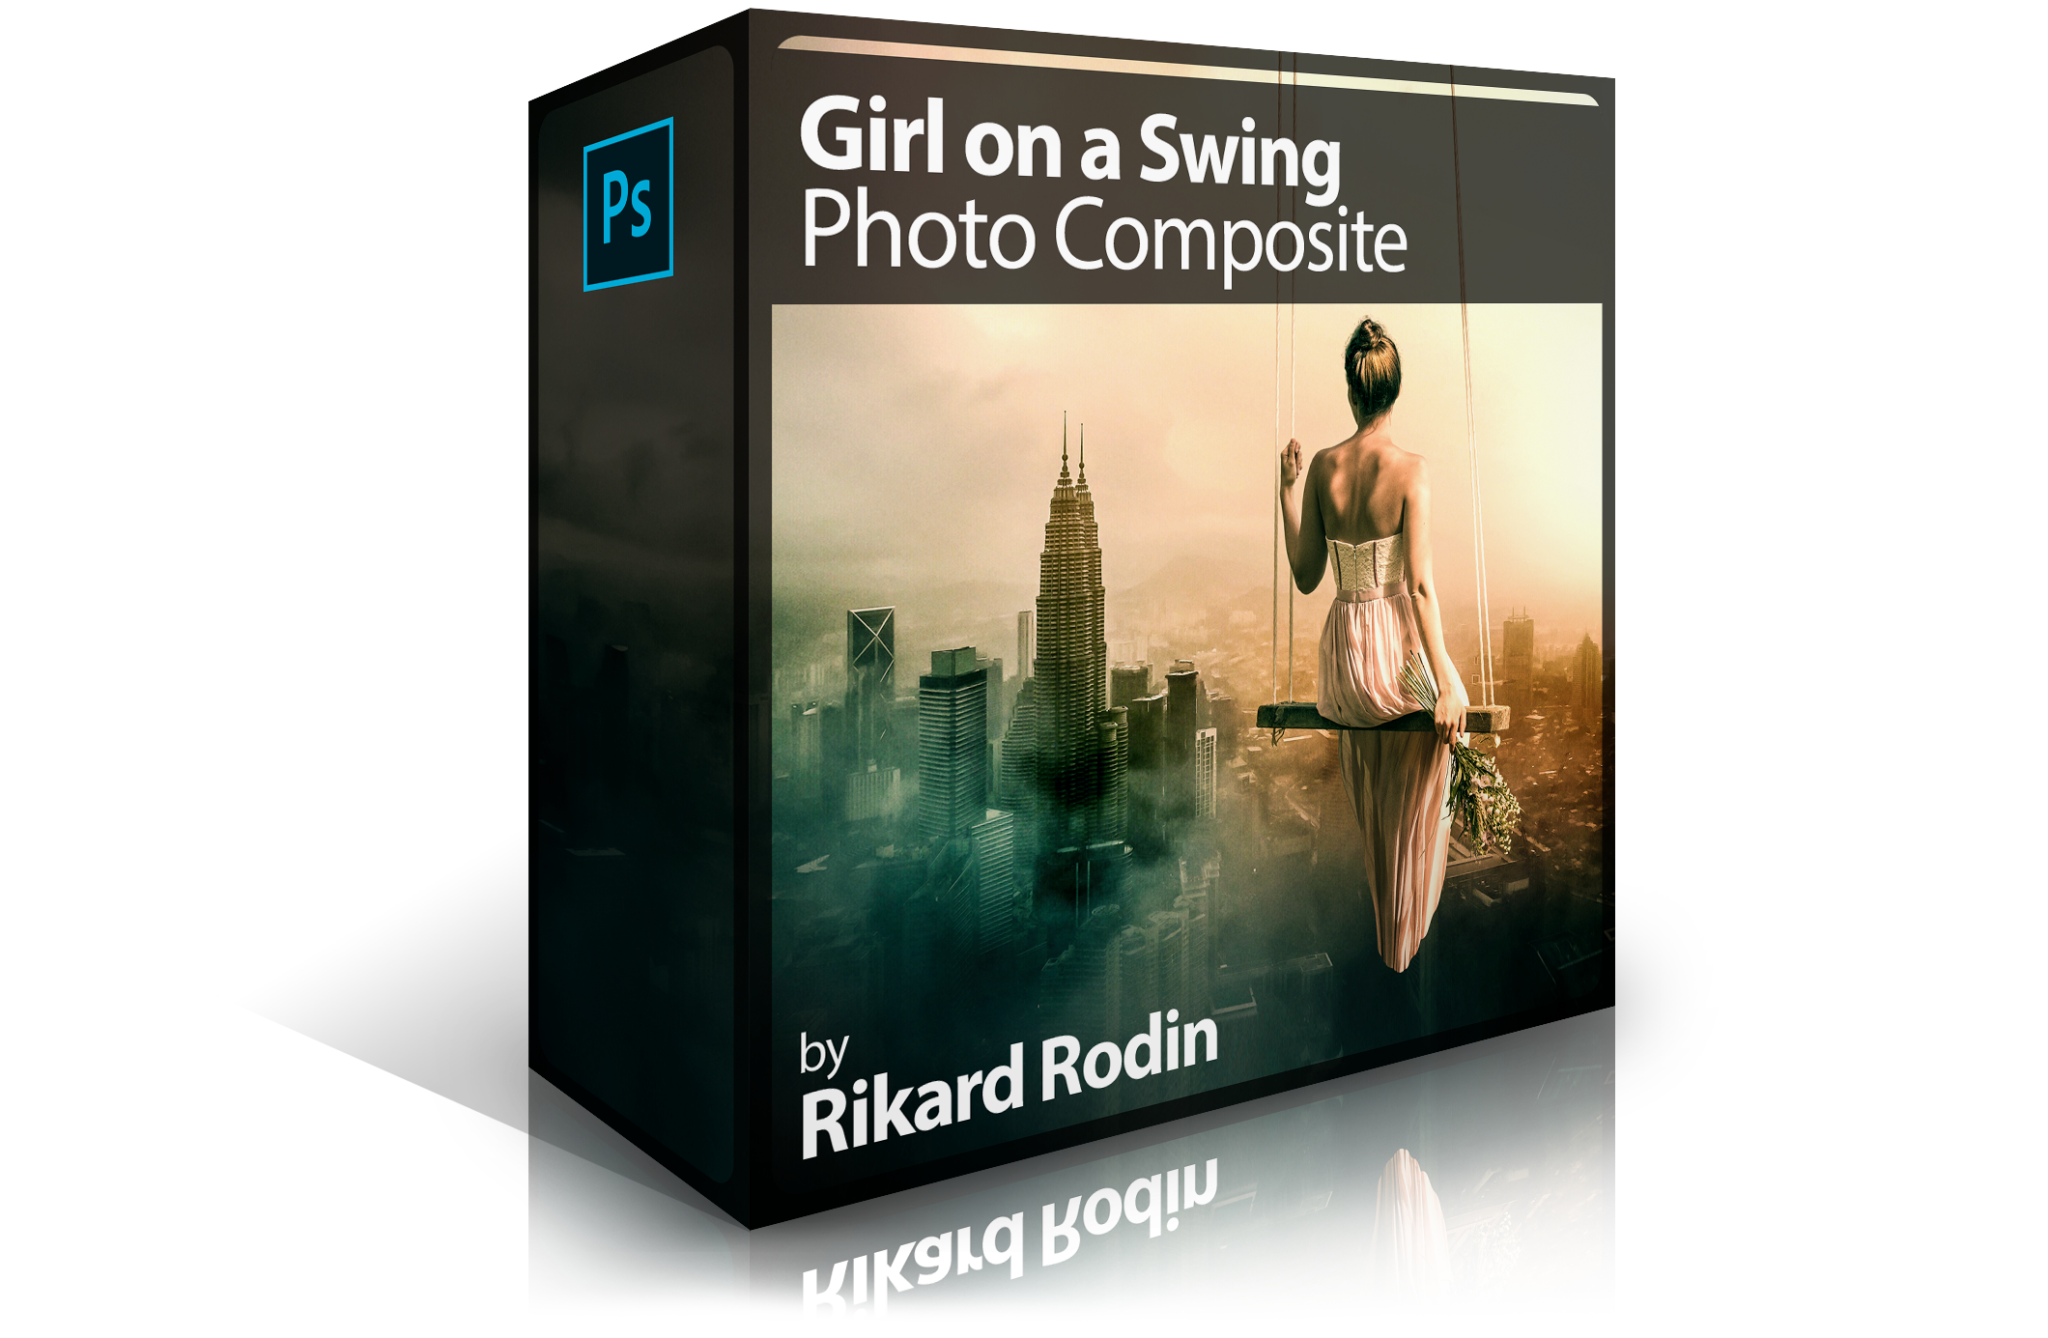
Girl on a Swing Photo Composite
This is our next course from Guest Instructor Rikard Rodin—Creative Director and photoshop guru. In this course he takes you through the entire process of creating a photo composite of a woman sitting on a swing, overlooking a city—from cutting out and masking, to rebuilding entire parts of an image using existing elements.
Length: 1 hour, 13 minutes | Experience Level: Beginner to Intermediate | Required Software: Photoshop CC
[purchase_link id="3661" text="Buy Now" style="button" color="white"]
Before
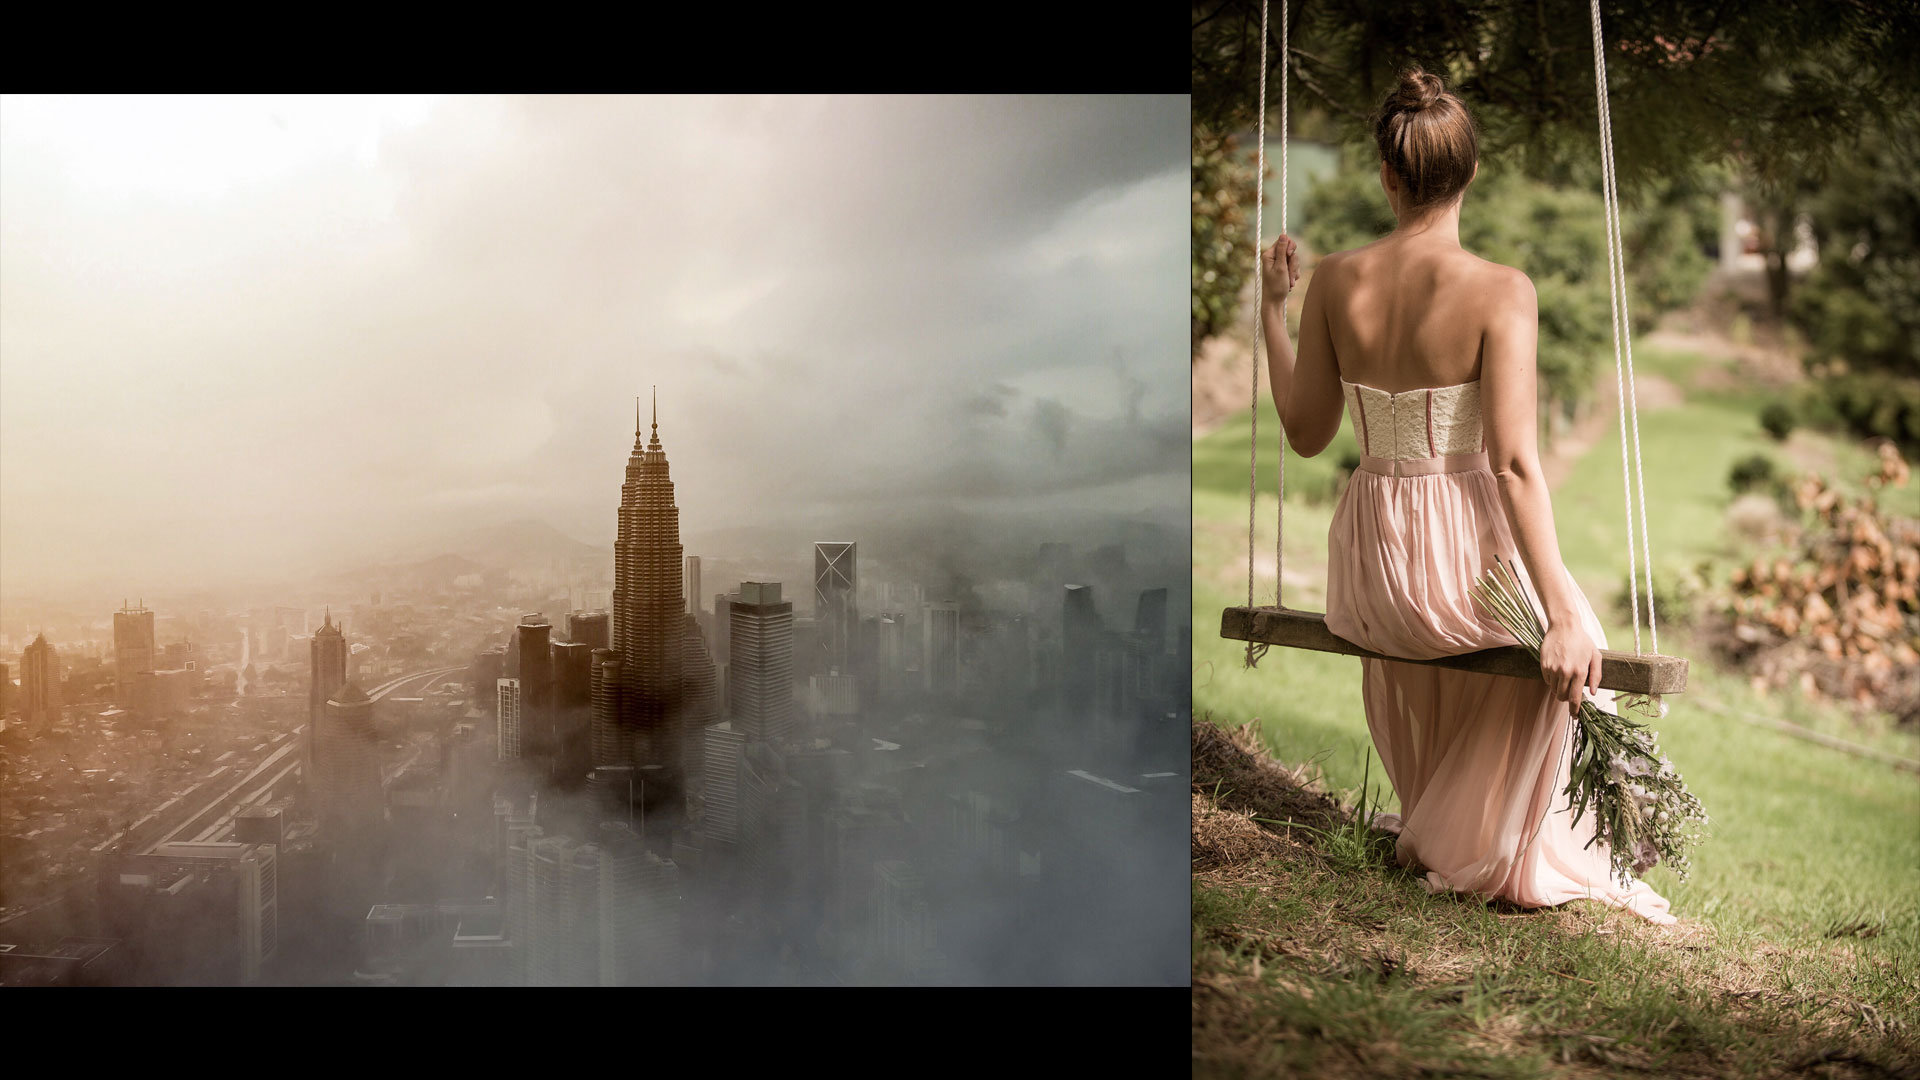
After
Lessons

Lesson 1: Cutting with Paths
Learn to use the pen tool to make accurate curve-based paths which can then be used for masking and selection.

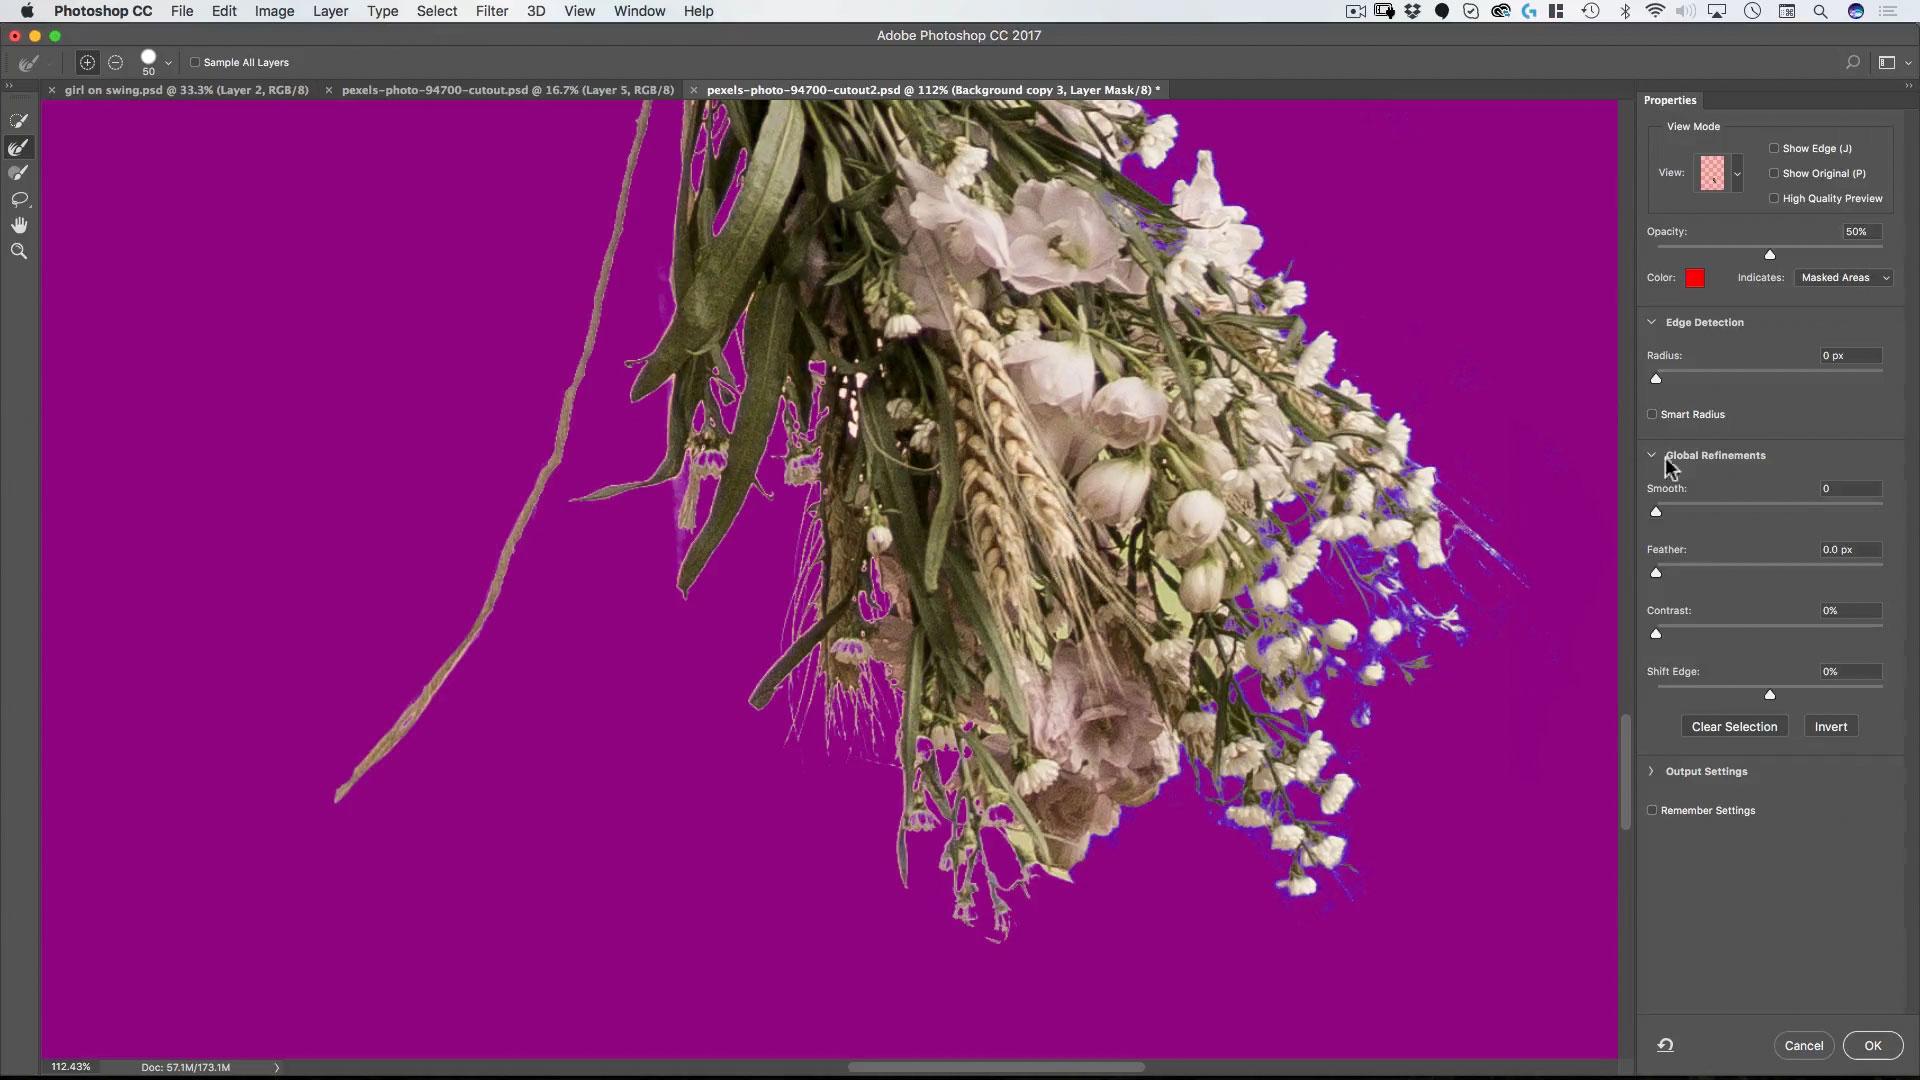
Lesson 2: Refining the Selection
Selecting with color range, the select and mask tool, the refine edge tool and directly painting masks with brushes—it’s all covered here.
Lesson 3: Isolating the Dress
Creating smart objects, combining selections and isolated objects for further compositing are covered in this lesson.

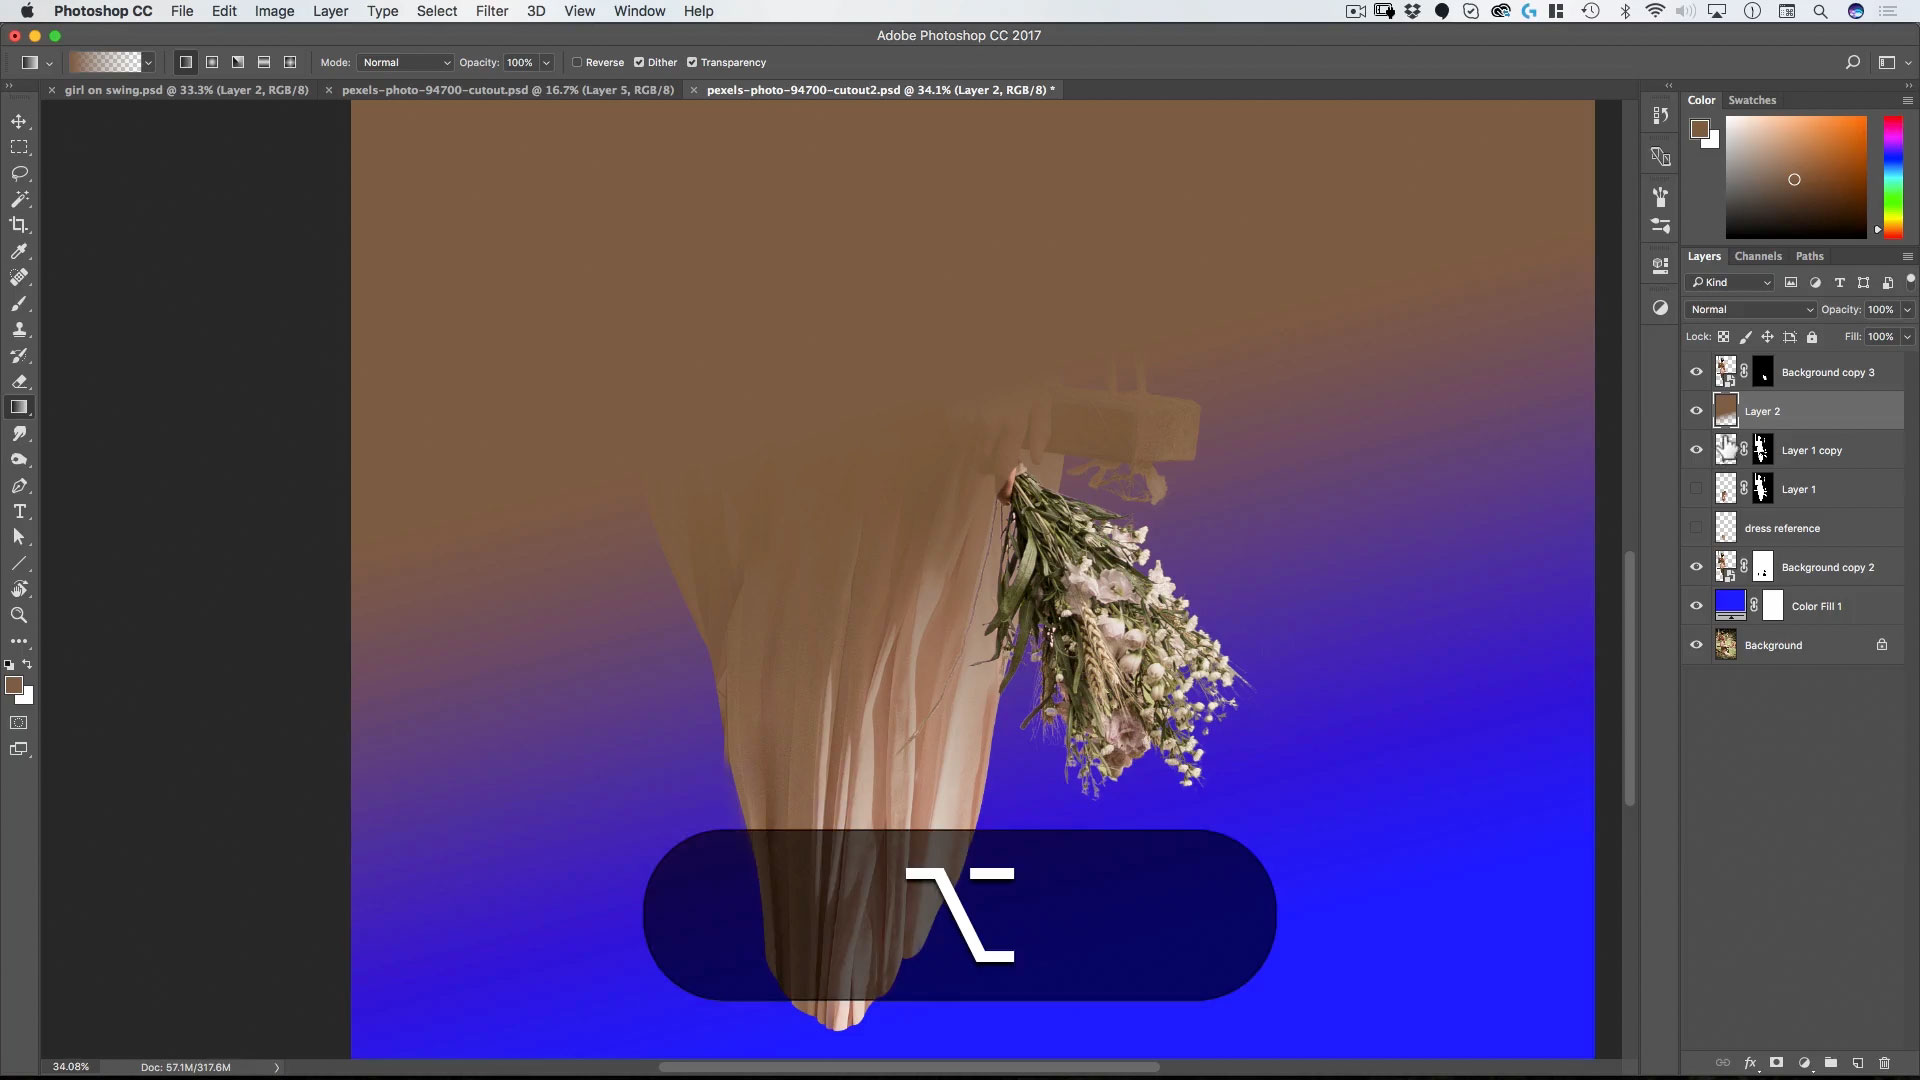
Lesson 4: Designing the Dress
How do you create something that was never in the original photo? In this lesson we recreate the bottom of the dress with the pen tool, lasso tool and transform tools.
Lesson 5: Integrating the Dress
Finally, how do we make it convincing? The clone tool, curves, gradients and feathering are all covered in this lesson.
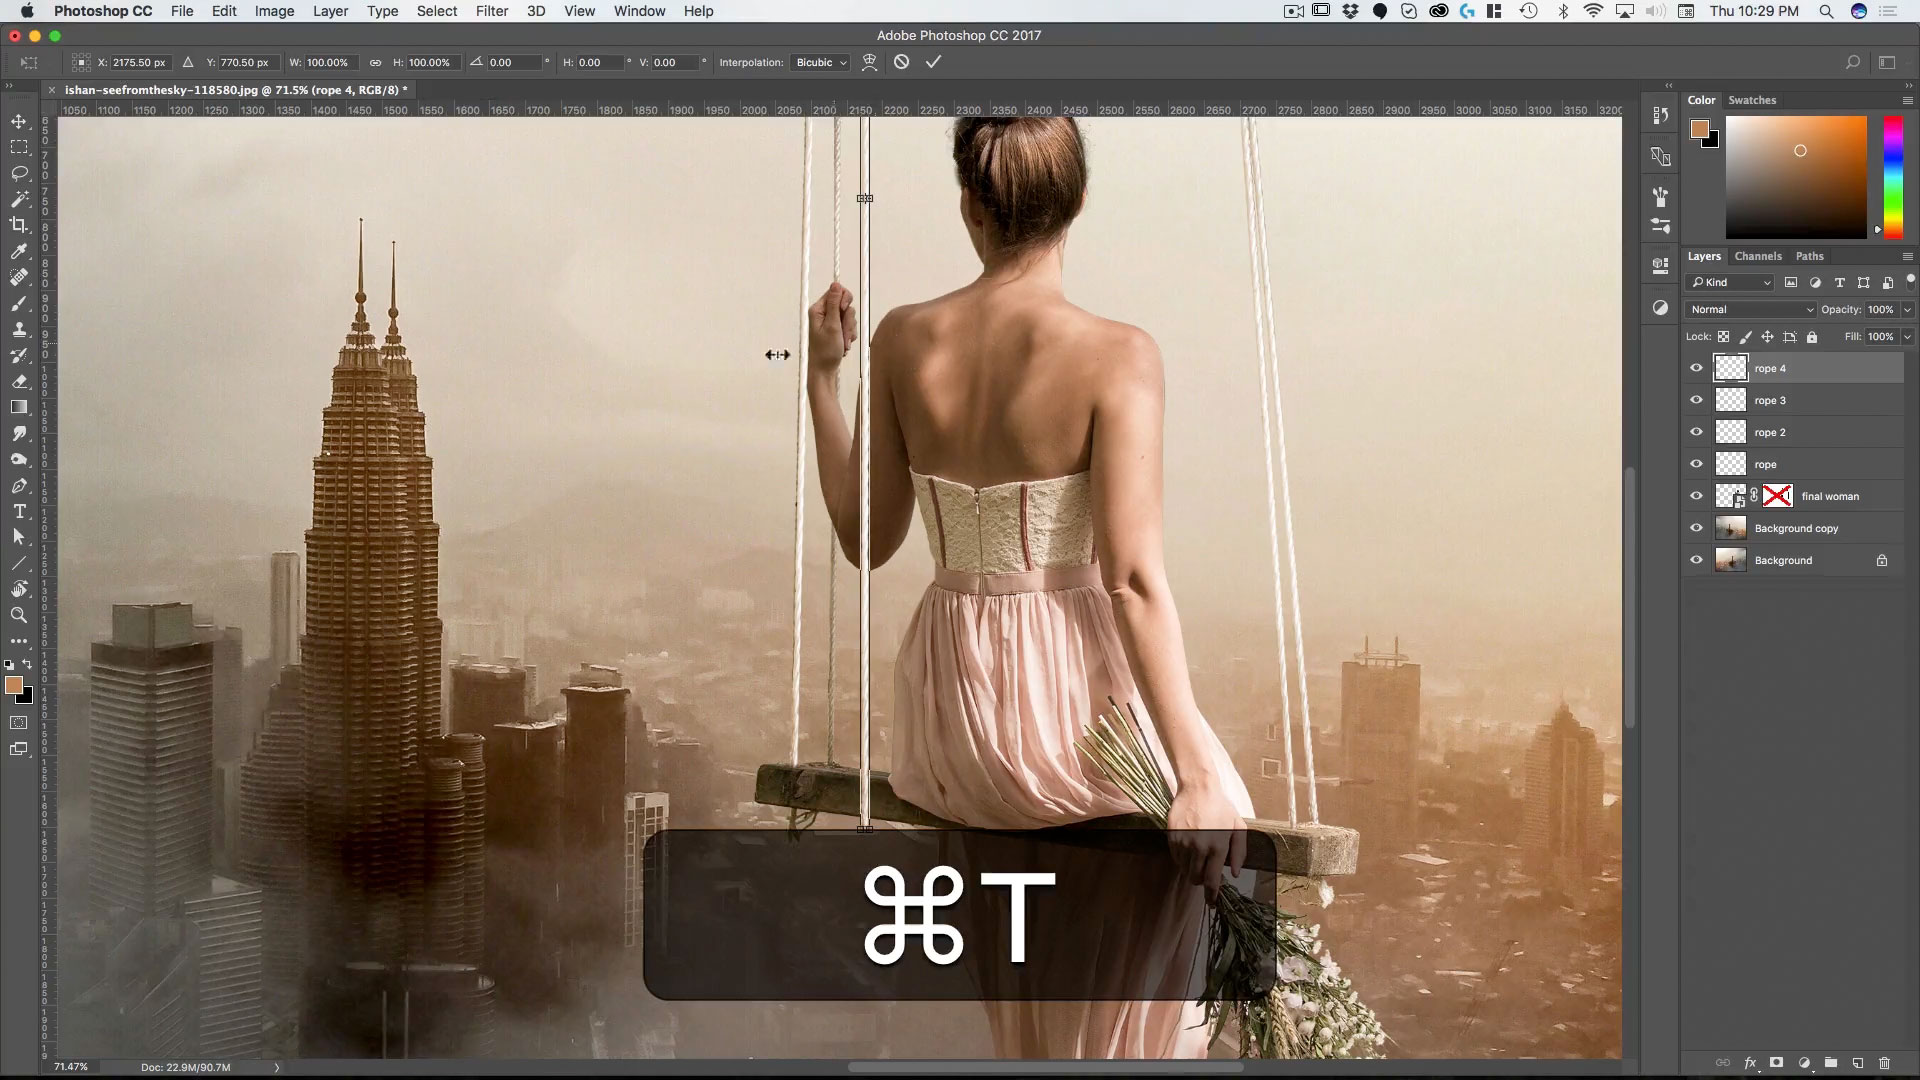
Lesson 6: Putting Woman into Background
With our main subject cutout, we start combining the two images—matching lighting and extending the ropes using masks, the transform tool and gradients.

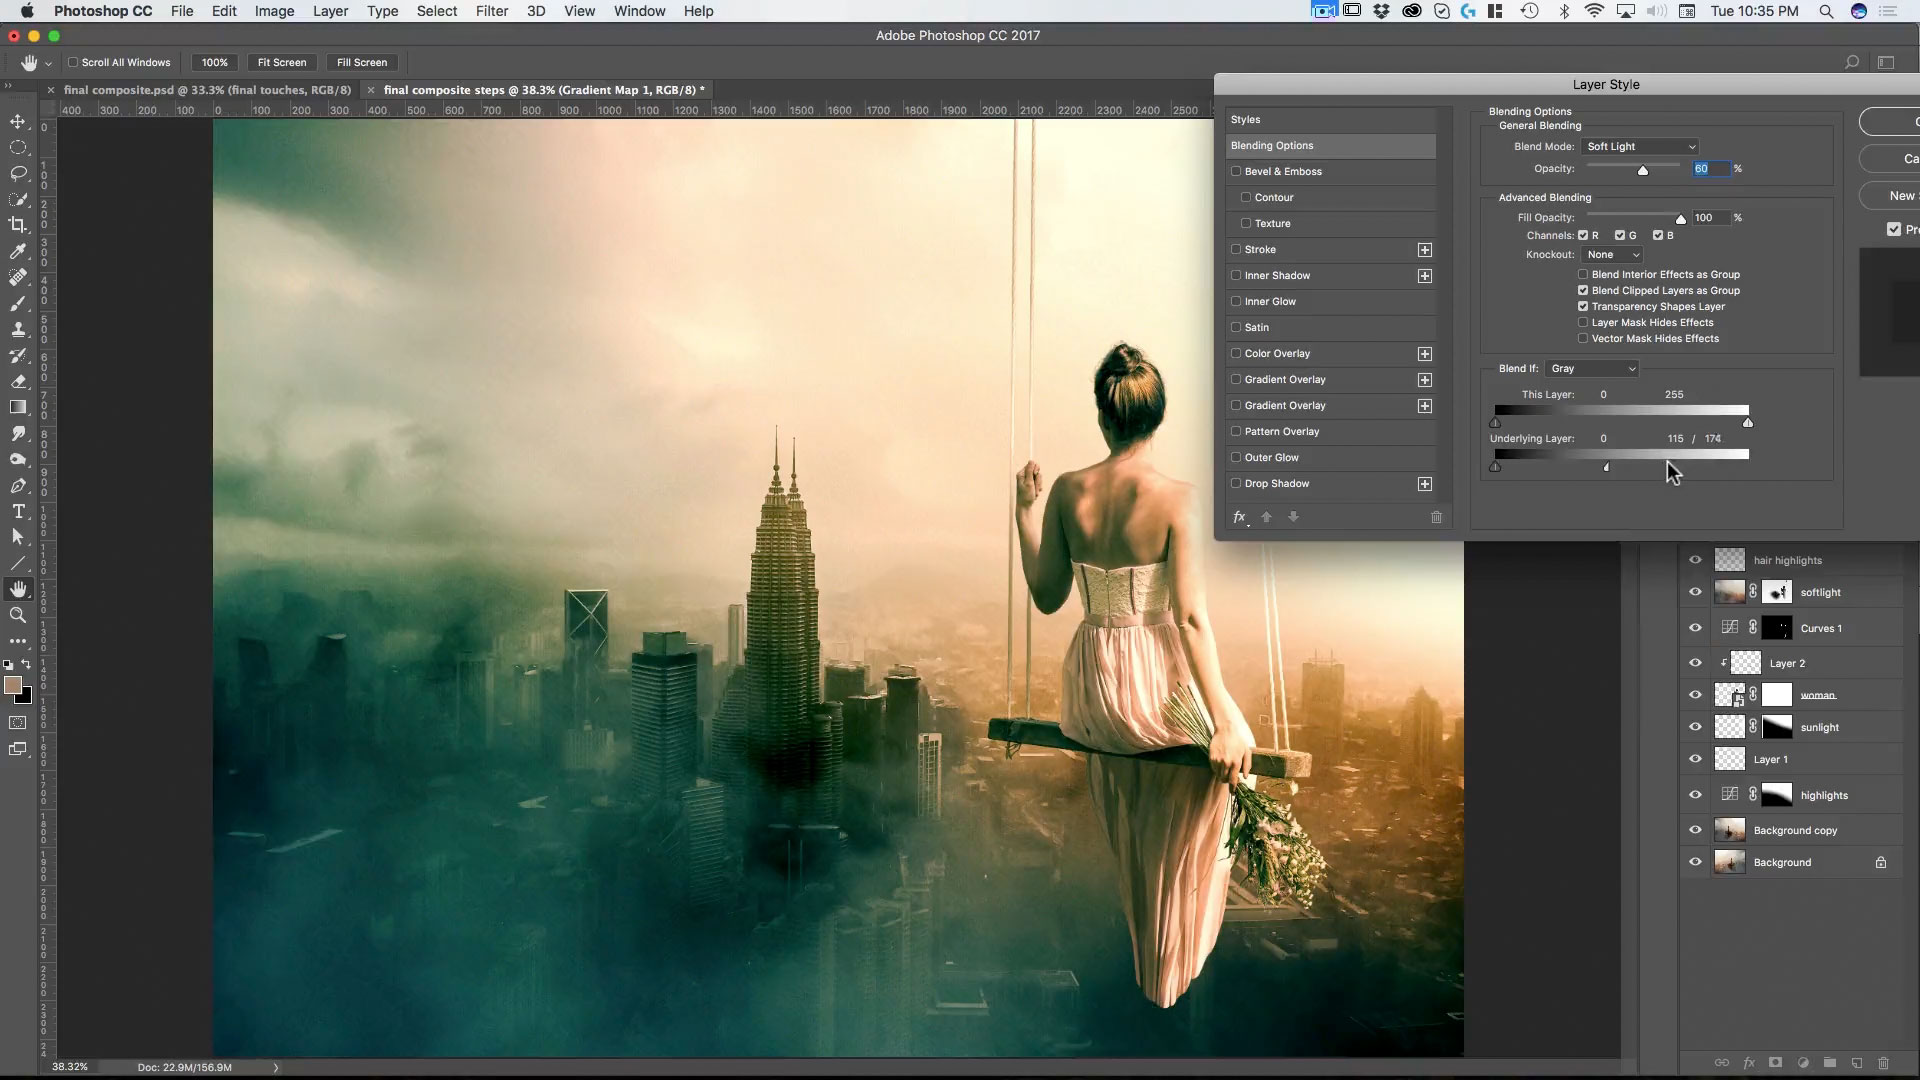
Lesson 7: Integrating the Two Images
Learn about modifying selections, using the “soft light” blending mode to cast color and channels to add highlights to hair.

Lesson 8: Color Grading
From gradient ramps, layer blending modes, color balance and curves to vibrance and mask-isolated adjustments, here are tools to make your composite artistic and beautifully colored.
Lesson 9: “One” Last Thing (Final Touches)
These are the final touches that will give your photo composite the professional look it needs to really sell it! Includes adding film grain, blending adjustment layers and using the Camera Raw filter.
Each lesson video is provided in HD along with the art and graphic assets used in each lesson. Videos can be downloaded and viewed on any device or on any computer. After you’ve completed the course, you can email your completed photo composites (as flattened jpgs) to rikard@zevendesign.com for free reviews, critiques and tips to further increase your skill.
[purchase_link id="3661" text="Buy Now" style="button" color="white"]
Check out my other available courses