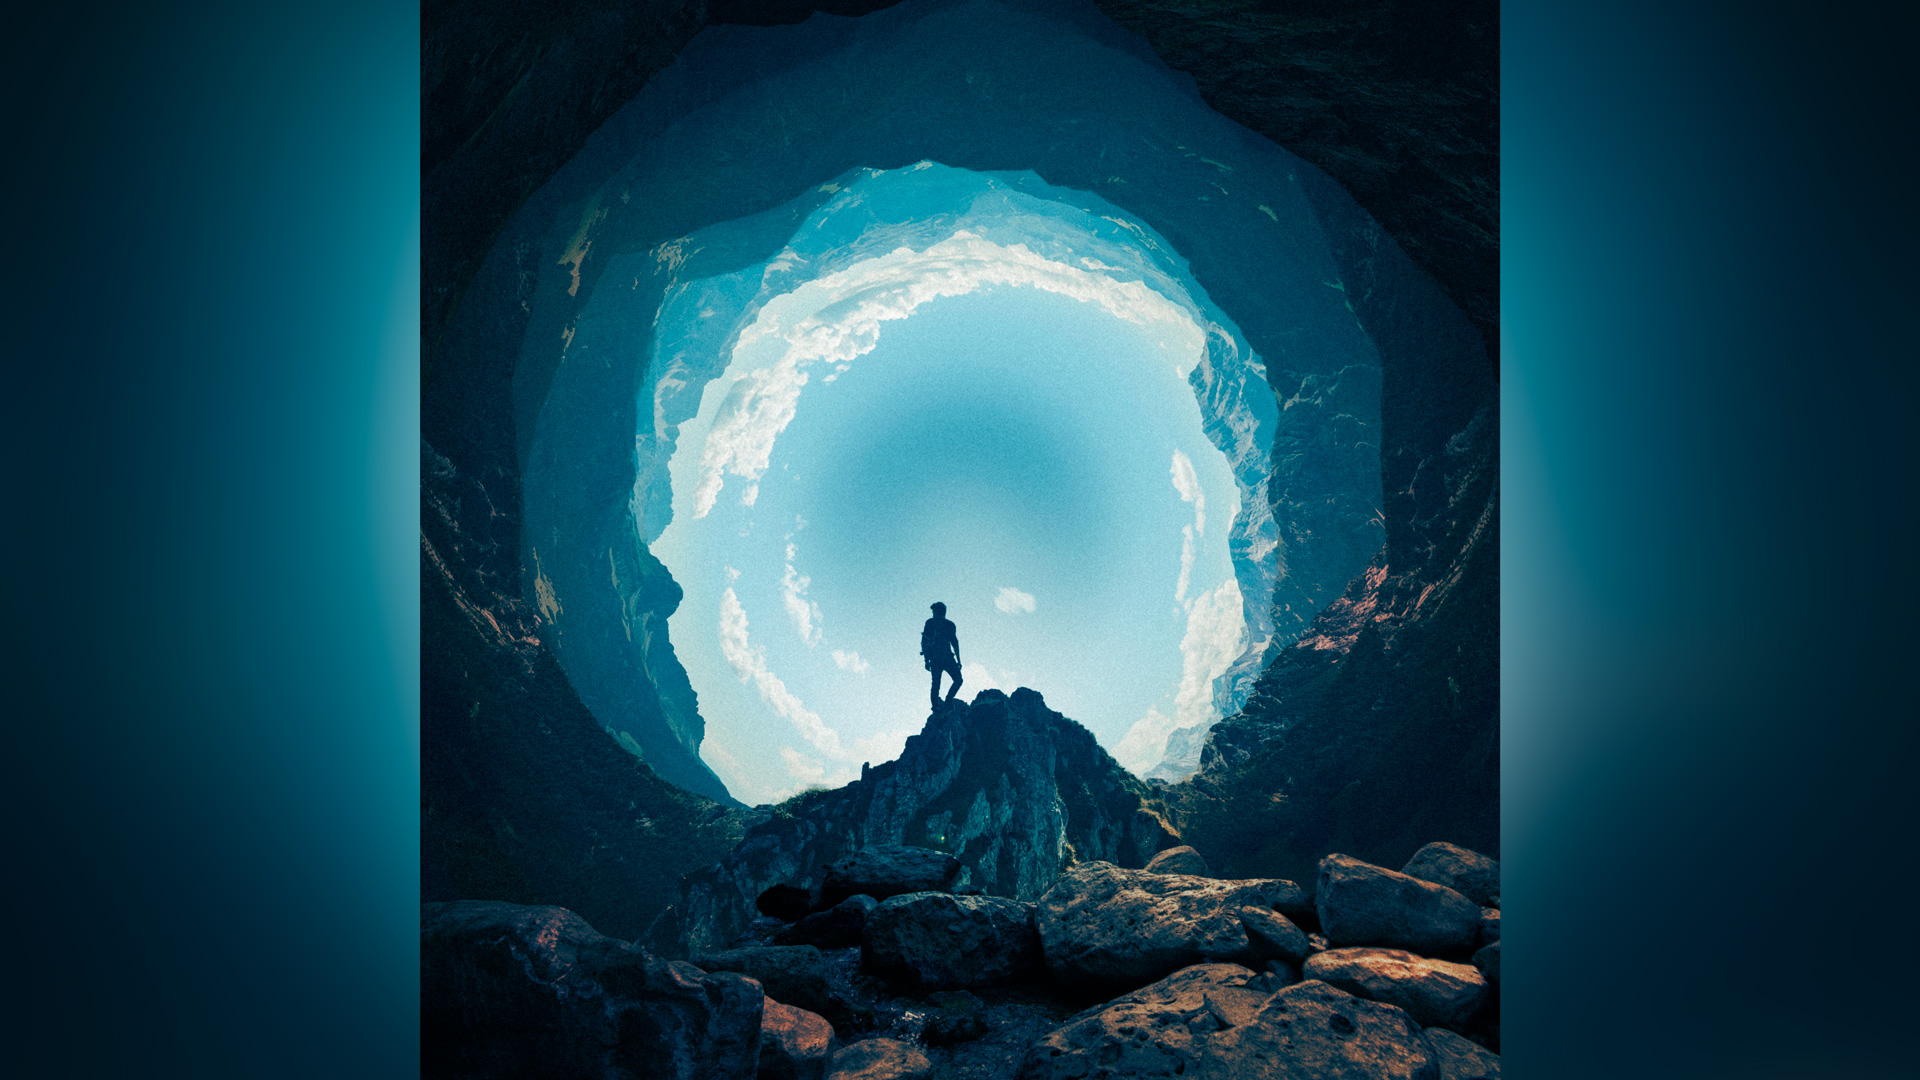

The Great Abyss Photo Composite
Creative Director and Photoshop Guru Rikard Rodin takes you through the entire process of creating a composite inspired by the Photoshop splash screen. Learn how to use the “offset” and “polar coordinates” filters in Photoshop to create breathtaking composites—turning your landscape photography into works of art.
Length: 1 hour, 21 minutes | Experience Level: Beginner to Intermediate | Required Software: Photoshop CC
Use Promo Code: ZEVEN for 66% Discount
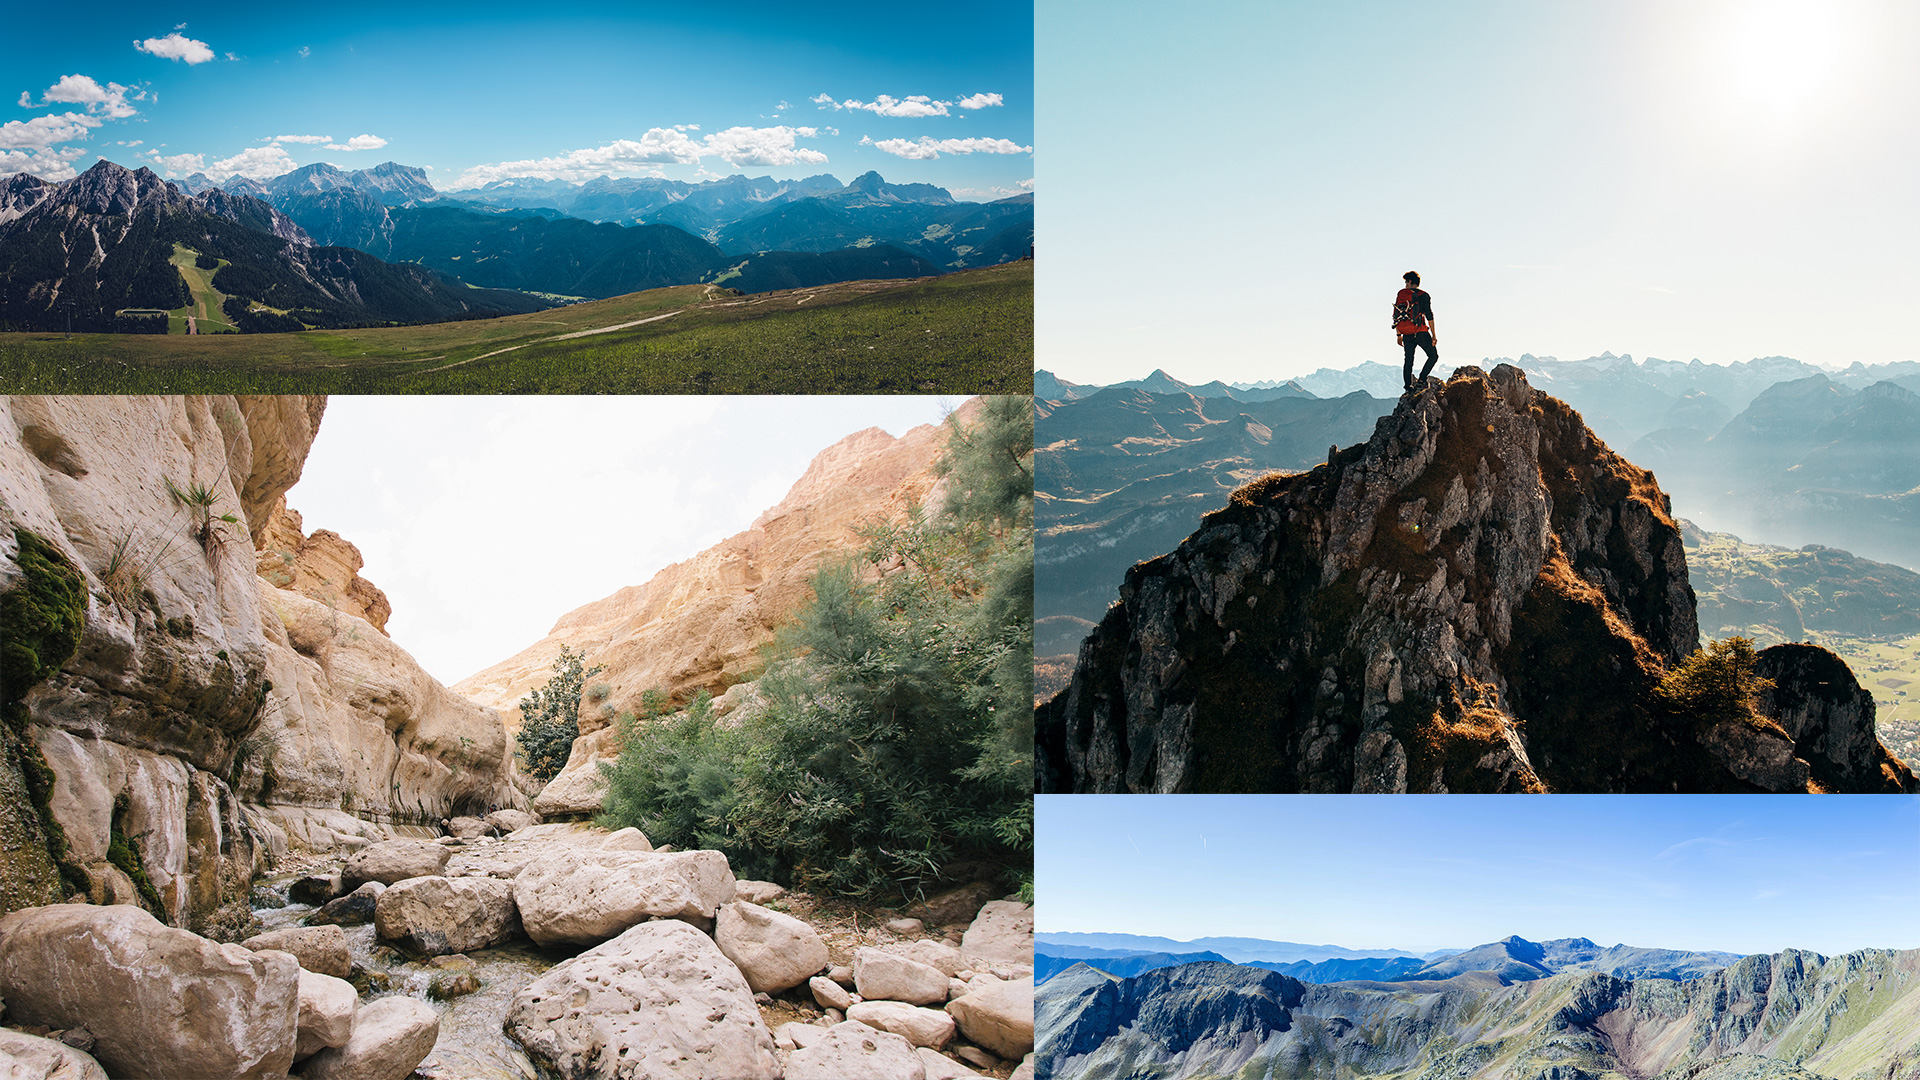
Before
After
Lessons

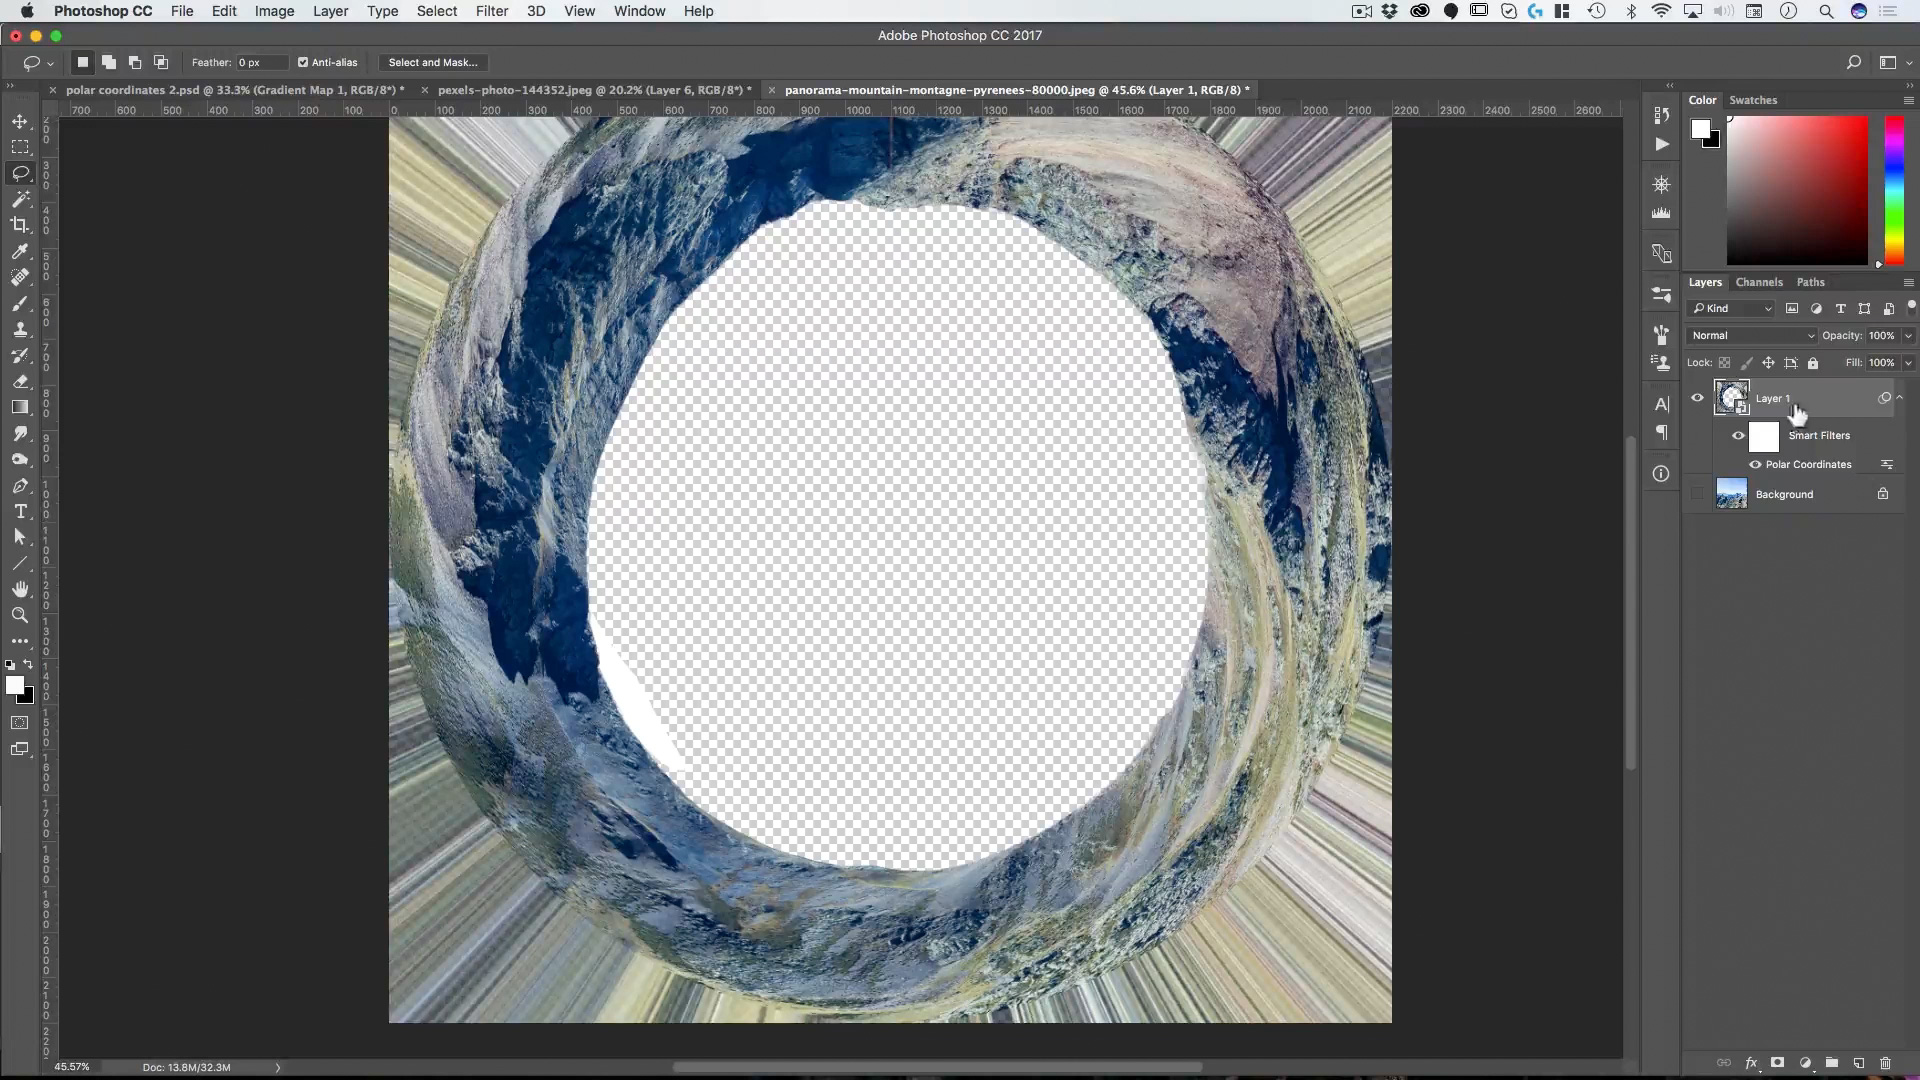
Lesson 1: Polar Coordinates Part I
Learn how to create edge-to-edge, seamless artwork using the offset filter, cloning, painting and other tools in Photoshop.
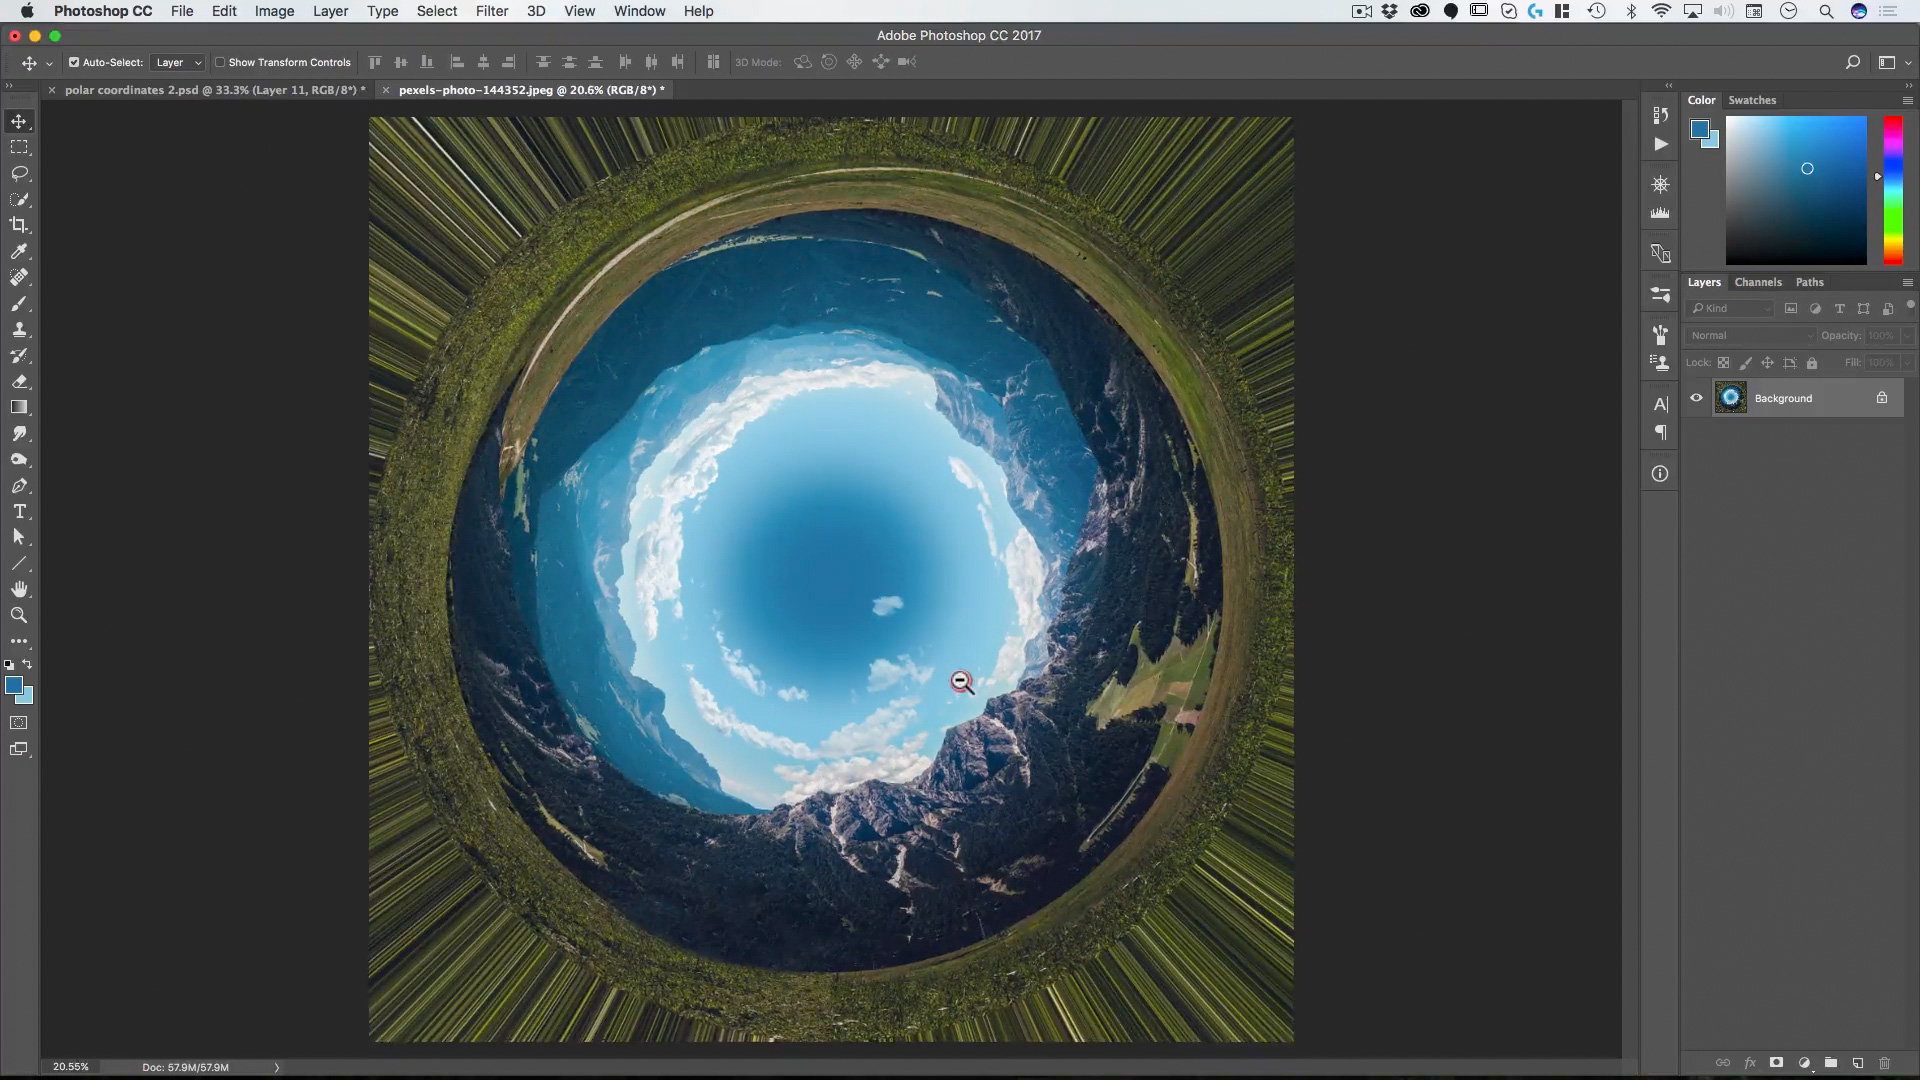
Lesson 2: Polar Coordinates Part II
Polar Coordinates is a hidden gem in Photoshop and here you will learn how to use it effectively—which is all in how you prepare your artwork.

Lesson 3: Maximizing Our Image
In this lesson you’ll learn how to take the results of the Polar Coordinates filter and enhance them to get the most out of your source image.
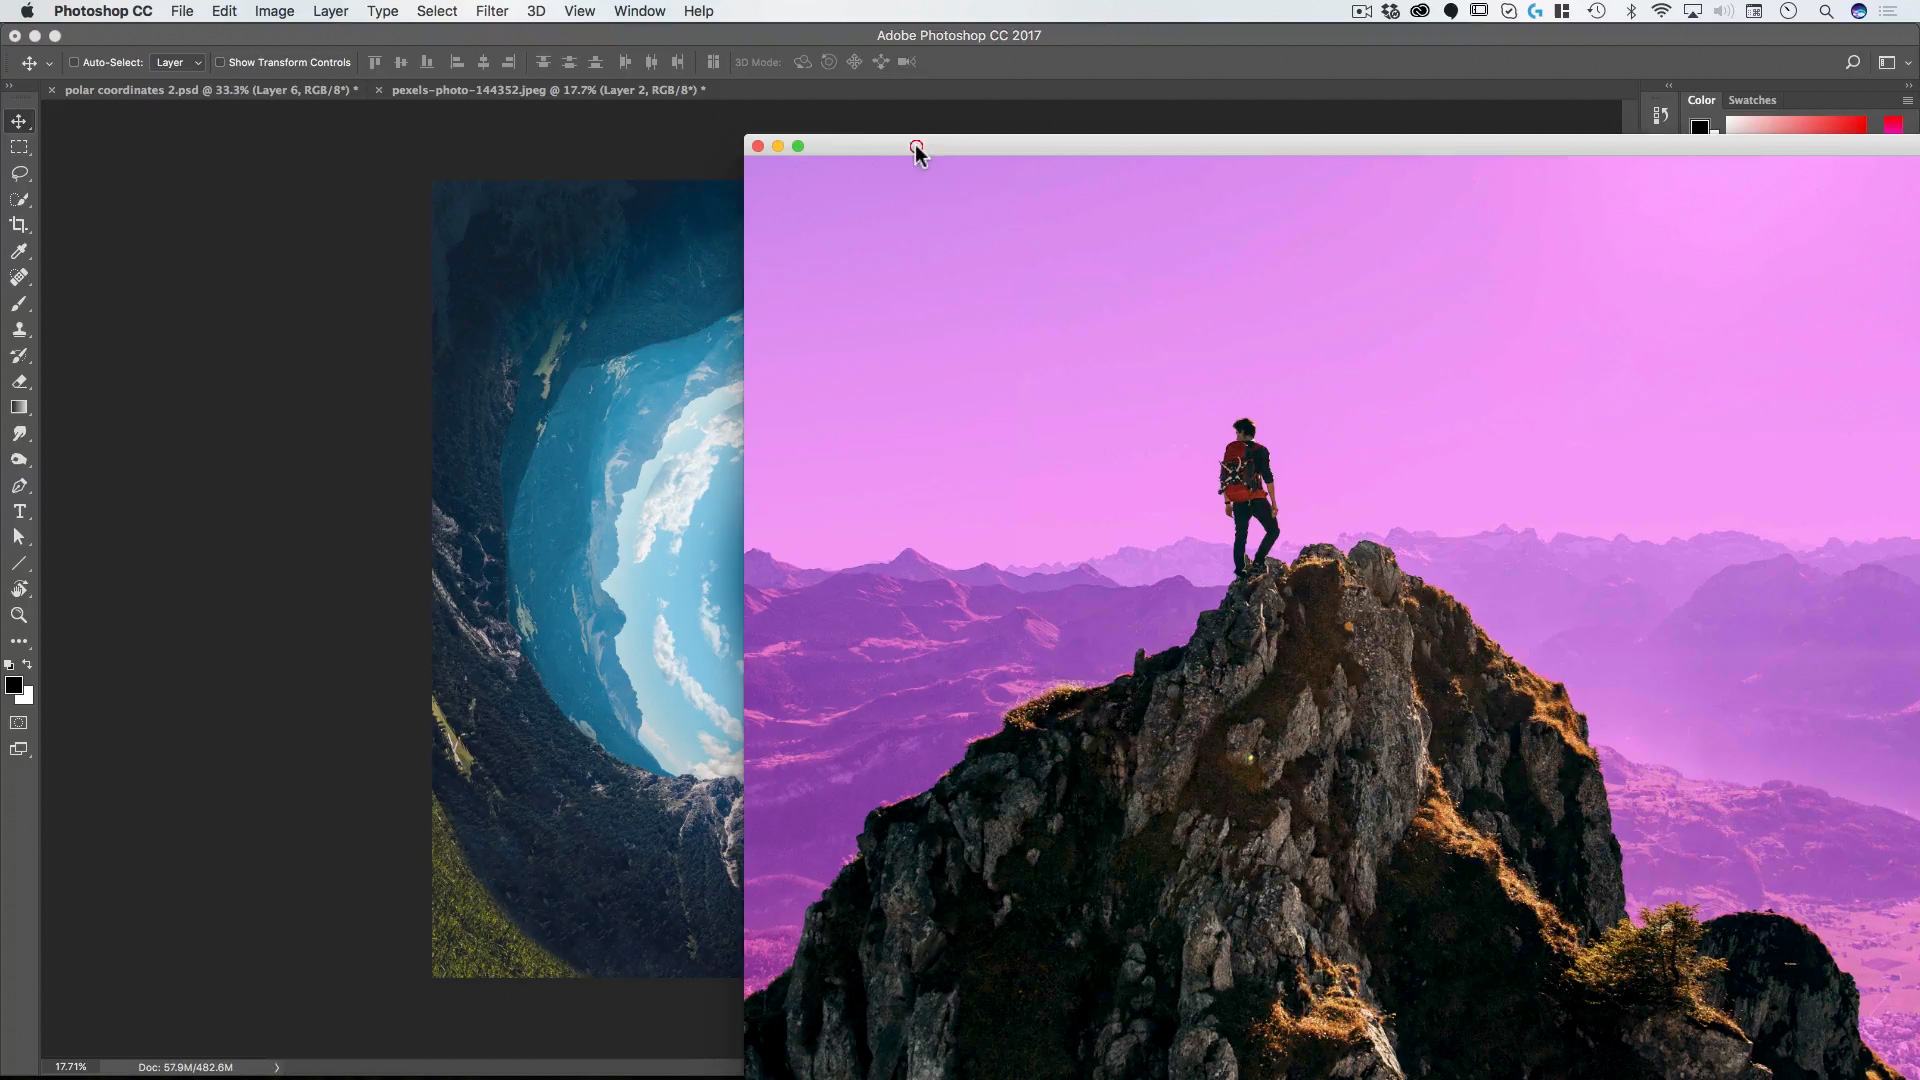
Lesson 4: Adding Our Adventurer
Using the Quick Selection tool and masks, here you’ll learn the basics of combining two images and making them integrate together.
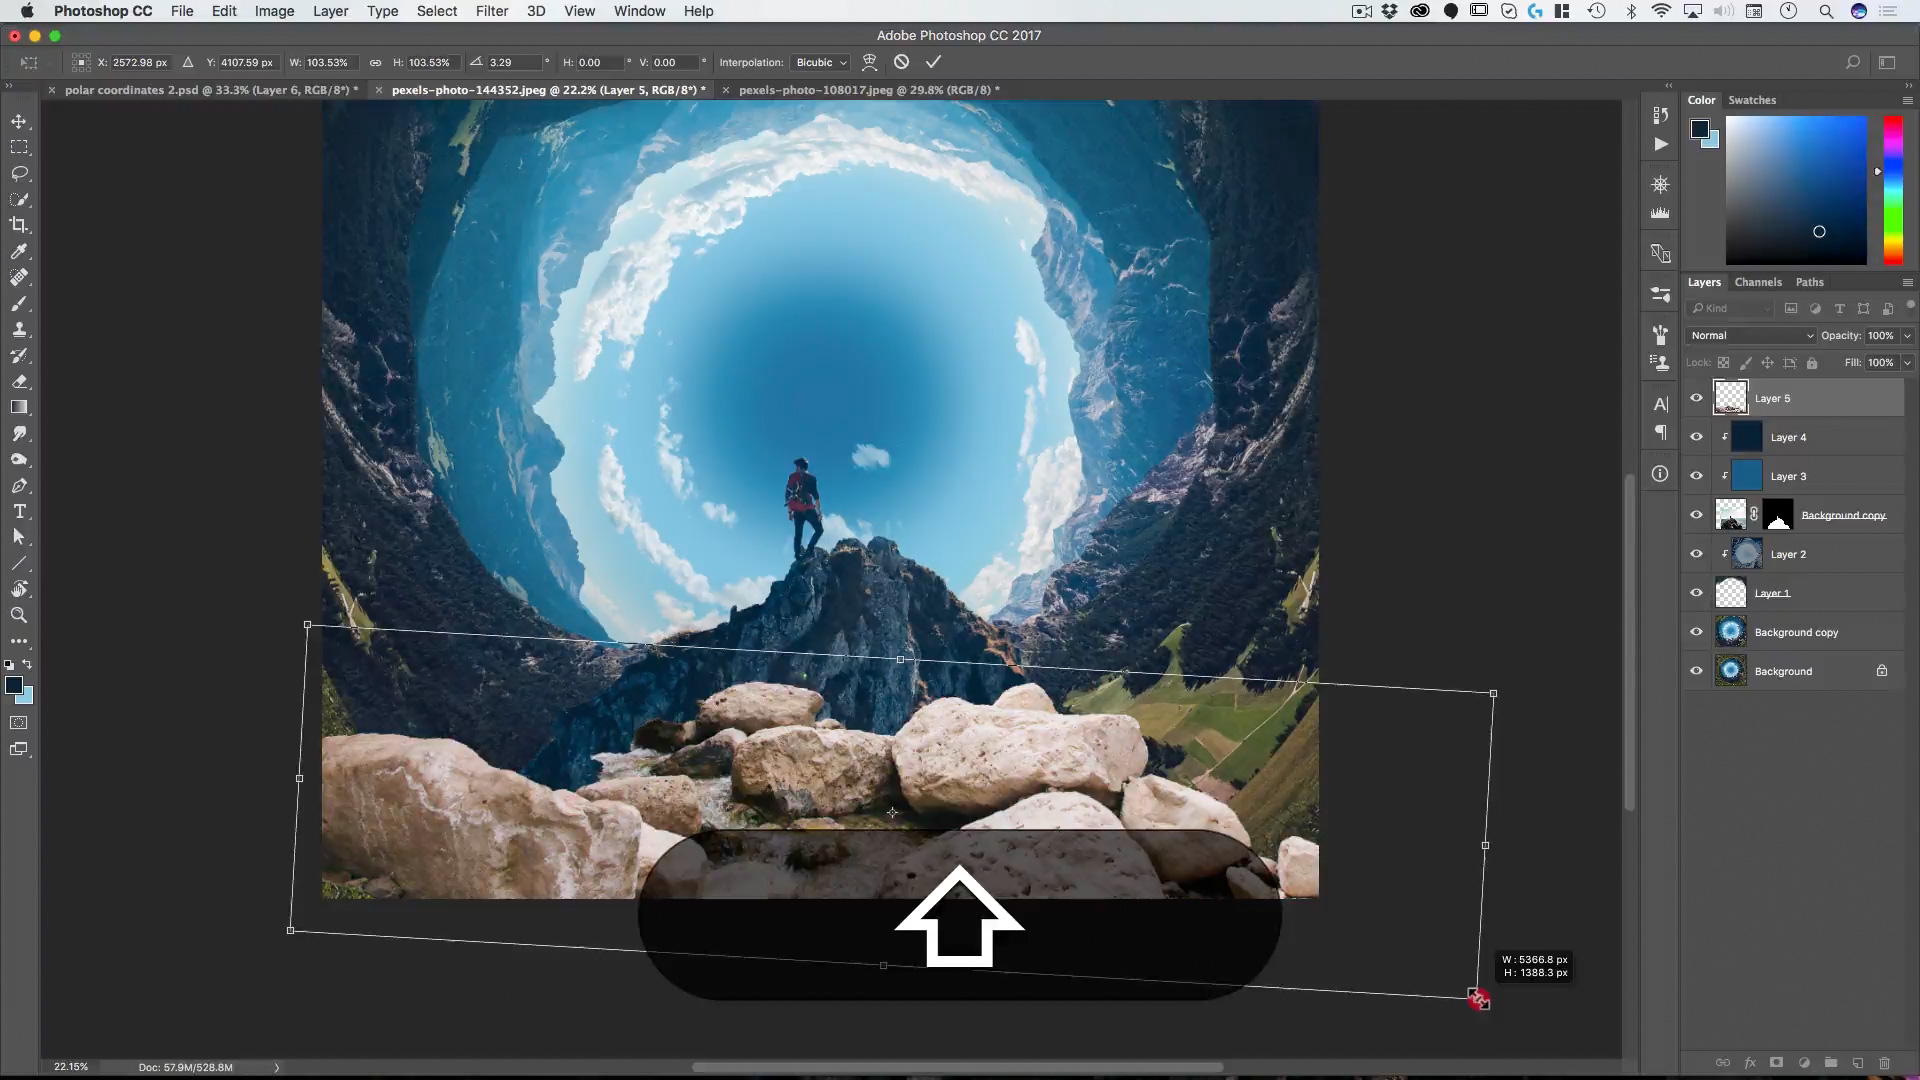
Lesson 5: Adding the Foreground
The best photo composites put the subject in the middle, between a background and a foreground. In this lesson you’ll learn how to add a foreground element and make it look like it belongs in the artwork.

Lesson 6: Basic Color Grading
From gradient ramps, layer blending modes, color balance and curves, here are tools to make your composite artistic and beautifully colored.

Lesson 7: Adding Layers of Depth
In this lesson you’ll learn how to separate your image into more distinct layers, separated by atmosphere to create the illusion of greater depth.
Lesson 8: Return of Polar Coordinates
As the theme of the course is Polar Coordinates, here we go a bit further into quickly setting up files for it and tips to get the most out of the filter.

Lesson 9: The Final Touches
A great photo composite is only as good as the sum of its parts! Here you will learn how to add those finishing touches which push a photo composite toward a breath-taking piece of art.
Each lesson video is provided in HD along with the art and graphic assets used in each lesson. Videos can be downloaded and viewed on any device or on any computer. After you’ve completed the course, you can email your completed photo composites (as flattened jpgs) to rikard@zevendesign.com for free reviews, critiques and tips to further increase your skill.
Use Promo Code: ZEVEN for 66% Discount
Check out my other available courses