It’s Year Two of my new family tradition: a camping trip with my two daughters!
Last year I took them to Yosemite, but we ended up staying only one night before the park was evacuated for the fire. The first time in two decades that the park closes and we happen to be there on that day… talk about dutch luck.
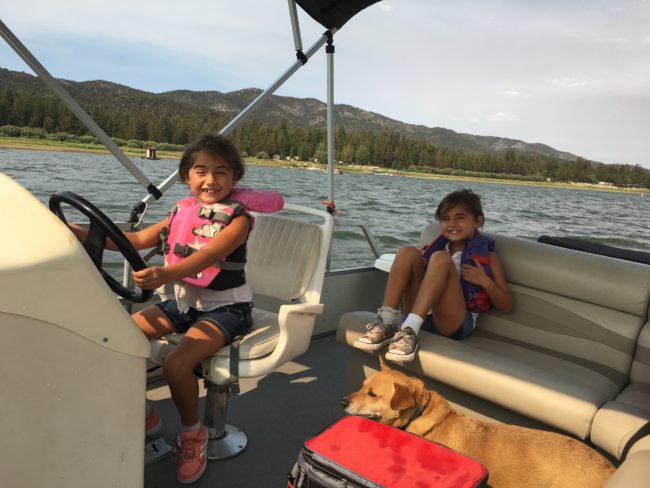
After leaving Yosemite and driving back home, we recuperated for a day and then camped at Big Bear Lake. A rather easy drive from where we live in SoCal and we could take a rented boat out on the lake. Not too bad!
A Quick Review of 2018
As I was preparing to go on this year’s trip, it occured to me that I should have documented last year’s. There’s a lot you prepare for on a camping trip and don’t end up using. And there’s always those things that you wish you had brought during the trip itself.
While it’s a little late to try to remember everything we did or didn’t bring last year, I do remember quite well the camp sites themselves—and their pluses and minuses. So let’s cover those quickly before diving into this year’s trip.
Yosemite Upper Pines
The individual campsite offers a wood table with benches, a fire pit, a bear-safe box and a parking spot. There are also common bathrooms (with flush toilets) and clean water for drinking and washing. There were no showers at this site, which is a challenge if you’re staying more than a couple nights.
From the site, you’re walking distance to hiking trails and the river, where you can swim or kayak or go on a floating tube. We weren’t there for long, but did take our inflatable raft into the river and did some swimming, which was fun (the water is cold, but you get used to it pretty quickly).
There are many camping sites at the campground and almost all of them are full all summer so don’t come here expecting solitude. It’s like a small village.
Serrano (Big Bear Lake)
Of the 4 sites we’ve camped at, this was the nicest. The individual campsites offer picnic tables, drinking water and fire pits with grills. The campground also has flush toilets, hot showers and bathrooms with electrical outlets. The site is very well maintained, with the bathrooms being cleaner than your average restaurant bathroom.
Like Yosemite, the site isn’t designed for solitude—certainly not during summer. When we were there, almost every site was filled, although there were never lines of more than one or two people for the showers.
From the site, you can hike to the lake (although you hit the pier rather than any natural lake bank) or you can hike up into the mountains (you’ll have to cross the street first).
Summer 2019 Review
First, I want to talk about some equipment and gear. Mainly because I want to remember this for my next trip and also reflect on some of the things which were a big plus this year over last.
Camping Gear
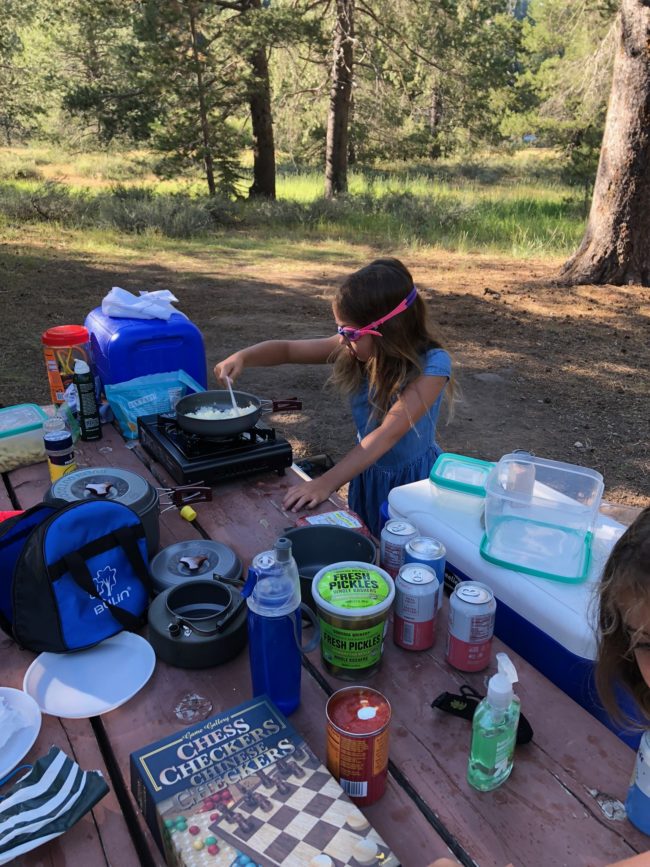
Portable Gas Stove: I didn’t have this last year, thinking I could simply use the fire grills to do my cooking. Big mistake. I almost burned the handle off my pan. And my back didn’t thank me for hunching over full time.
I got one this year and it was a great addition to my gear. I camped for 4 days, using it for breakfast and dinner and still haven’t finished the first butane canister ($3.99).
Setting it up and breaking it down takes seconds. And I can start cooking right away. I highly recommend this if you’re going to be doing any cooking on your trip.
Roof top tent: Before my camping trip I got a roof rack installed on my Ford Edge. I got the Rhino Rack Vortex, which is heavy duty and can take about 600lbs (when the car isn’t moving). While I had this installed for my kayak, I thought it would be a great opportunity to try a roof top tent. The problem is that my budget was exhausted with the rack system and these tents aren’t cheap! Fortunately, you can rent a roof top tent for less than $50 a night!
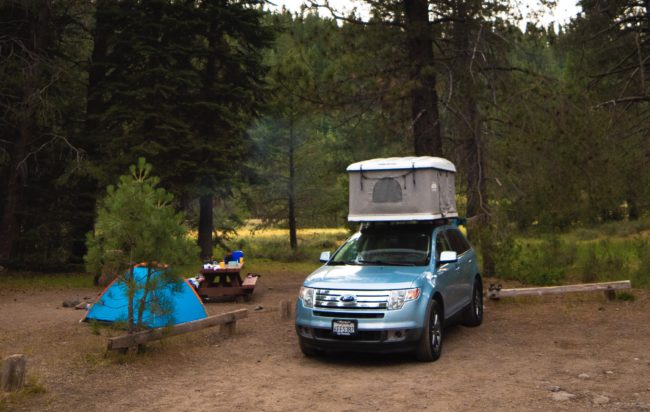
I rented the Airtop Roof tent from Autohome. And man was it awesome to have! Setting up the tent took about 1 minute—no joke. You simply undo the four latches and the gas-ram activated lift arms open up the tent. The tent is wider than a twin bed—a little smaller than queen. My two daughters, my dog and I were a little cramped but comfortable. The tent has a built in mattress, so no inflatable mattress required. And we were able to keep our three sleeping bags and pillows in the closed tent, saving room in the car and making the setup for going to sleep that much faster.
Breaking down the tent is a little more challenging with three sleeping bags and pillows, but took no more than 5 minutes.
I had to carry my dog up and down the ladder to get into the tent, but once in there he was happy. We did bring an easy set-up tent for the dog in case he was too scared to get into the roof top tent, but in the end he definitely wanted to sleep with us rather than in his own tent.
The tent has a hard-shell, making it more aerodynamic when driving. I could feel some resistance when hitting 80mph on the freeway, but otherwise it was pretty unobtrusive and the rhino rack had no problem carrying the weight of all of us sleeping up there.
In summary—highly recommend!
Camera Gear
As I do on every trip, I brought my camera gear and, as I also do on every trip, I only used half of it.
Here’s what I brought:
- Nikon D750 Camera
- 50mm f1.4 lens
- 85mm f1.8 lens
- 14mm f2.8 lens
- 24-120mm f4 lens (the D750 kit lens)
- full size tripod
- mini-tripod
- flash
- trigger
- laptop with lightroom and photoshop
What I ended up using:
- Nikon D750
- 85mm f1.8 lens
- 14mm f2.8 lens
- 24-120mm f4 kit lens
- mini-tripod
While all of my gear (except the full-size tripod) does fit into my camera gear backpack, it is quite heavy and when going on any trail hike, I need to have my hiking backpack on for snacks, water, first aid kit and the like.
I have a smaller padded shoulder bag that just holds the camera with a lens on it and this is what I used on all of the trails. What this means is that the lens I put on the camera at the beginning of the hike is the only lens I can use and this did result in missing some great shots.
Things I’m considering for my next trip:
- I would like to replace my kit lens with something that stops down lower than f4. I got some really nice photos with the 14mm 2.8 lens, but this lens doesn’t work for portraits or general shooting. While 14mm means a dome lens, there are some nice zooms that go down to 24mm while keeping a 2.8 f stop. Essentially, I want to upgrade my kit lens to something nicer. I’ve got my eye on the Nikkor AF-S 24-70mm f/2.8G ED Lens. This would become my default lens.
- A smaller camera! The Nikon D750 is an awesome full frame camera but it is heavy and not ideal for hiking. I’m always worried I might damage it or knock it on something. A compact camera, such as a Leica or mirrorless Sony is most likely my next camera.
- A better compact tripod. I have a mini-tripod that was handed down to me from my dad. I used it for some cool long exposure river shots. But it only extends up to 6″ off the ground and isn’t very stable.
Miscellaneous Items
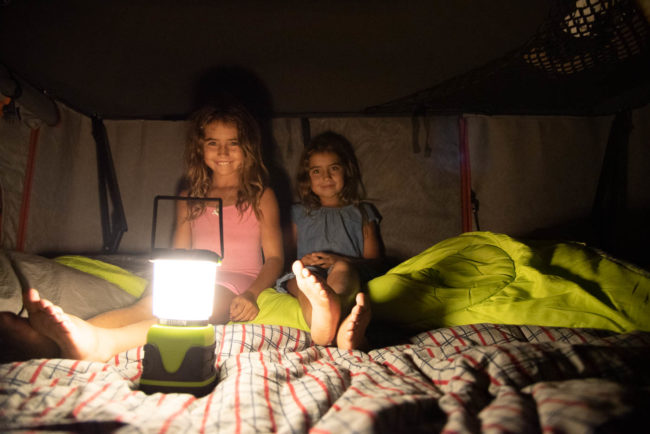
Lantern: Last year, I had a lantern with a fan, which did its job alright, but the light wasn’t very strong. This year, I purchased the LE LED Camping lantern. Using three DD batteries, this thing worked like a charm. It’s got a bright mode and a warm light mode. We used the bright mode outside and the warm light mode inside the tent.
Cooler: I used a cheap Coleman cooler to store our food. For our next camping trip, I definitely want to upgrade this. Two things I’ll be looking for in our next cooler: 1) a drain plug at the bottom and 2) a better seal for longer lasting coolness.
In the cooler I have, ice lasts about 36 hours. This isn’t bad as we could refresh the ice every day, but without a plug, I had to empty all contents, refresh the ice and then repack it.
Pop-up Tent: Last year, after our camping trip, I got an ad on instagram for a popup tent from China. It was cheap with a 1 month delivery time so I thought it would be no big loss if I ordered it. I didn’t get the tent advertised, but the one I did get was worth keeping for how easy it was to set up. As mentioned earlier, I used it for my dog. Although he slept with us, he did use the tent when hanging out at the camp site as a dog house. The tent takes about 3 minutes to set up and break down and came in handy at the Sequoia National Park—which is NOT dog-friendly.
Bear Spray: If you’re going to an established campground like we did, the chances of running into a violent bear are near zero. But peace of mind with two daughters is worth the $40 I spent on some bear spray. It comes with a holster and I wore it on the hikes we went on. I also had both my daughters wear bear bells for additional protection. These have the added benefit of always knowing that the kids are not falling too far behind or going too far ahead on a trail.
Water tank: In preparation for this camping trip I did bring a water container. While it wasn’t a necessity as the campgrounds all had clean running water, it did come in handy for having instant access to water at our sites. Also, on a long road trip, having 5 gallons of water does give you some peace of mind and is worth the $15 I spent on it.
Cooking Set: For last year’s camping trip I bought a camping cookware mess kit and I used it again this year. With it’s plastic handles, the set didn’t work very well when used on an open fire or even on top of the camp fire grills, but with the portable gas stove, it was perfect. If I had to upgrade the set, I’d go for something without plastic. I know cast iron is recommended and at some point I’ll take that plunge, but nonstick sure makes for easier cleaning and maintenance.
Entertainment: In preparation for the trip, I bought a cheap portable DVD player with good ratings—in fact, it was listed as the best portable DVD player in a few lists. Our nightly ritual included watching a movie in our tent before going to sleep. Picking the DVD, watching the trailers and even seeing that old DVD menu popup was part of the fun. But despite the ratings, the screen wasn’t great and the volume wasn’t loud enough. I had a portable speaker with me that gave us far better sound (using an aux cable to connect the two) but the screen only has one good viewing angle, which made it a challenge. I may look for a better screen for our next trip… but I’m probably sticking with a DVD player over a tablet.
Things I want for my next trip
- A better cooler. This is at the top of my list. I want a cooler with a drain and that will keep items cooler for longer.
- A Chef’s Knife: I used my Kershaw speedsafe knife for pretty much everything, but a chef’s knife would have made chopping onions and cutting steak a whole lot easier.
- Better DVD player: I need a DVD player with a better screen. The low volume I can deal with already, but I need a screen with a wider viewing angle.
And now onto the two sites we visited this year!
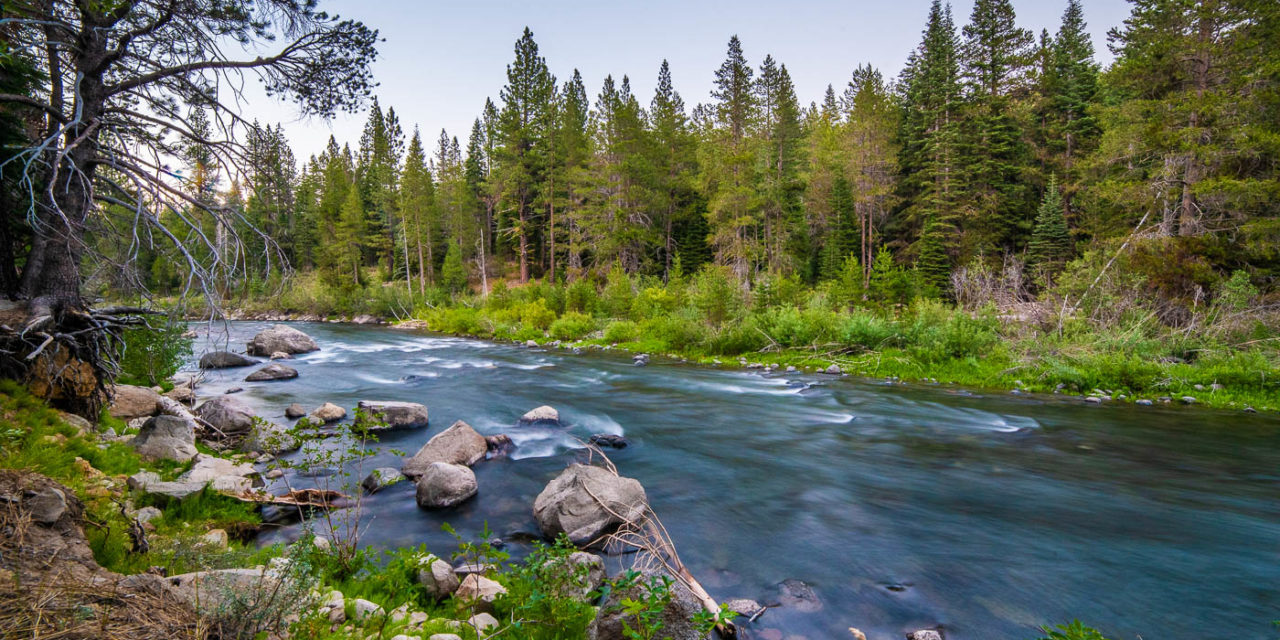
Goose Meadows, Lake Tahoe
The camp site is a 15 minute drive from Lake Tahoe, right off Highway 89. And by right off, I mean right off. My biggest gripe with this campground is that you’re so close to the highway that you have to sleep through the sound of cars and trucks driving by. It kind of takes away from the whole camping thing!
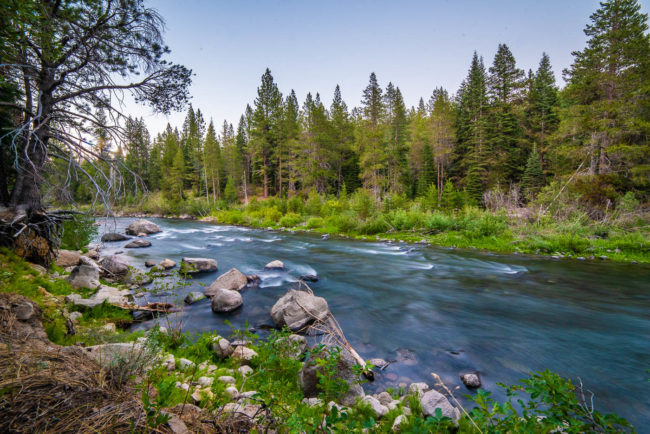
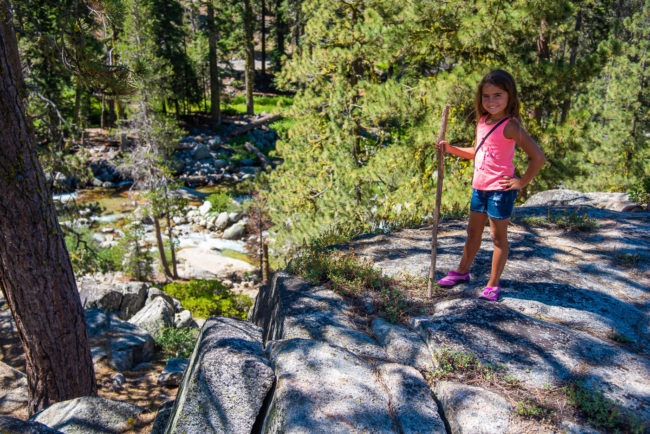
On the plus side, the campground is right next to the Truckee River, which is absolutely gorgeous. I wish I had brought a river run tube as there are miles and miles of rushing river. I did bring our lifejackets and going into the river with these was still a lot of fun. But even just hiking along the river is enjoyable with beautiful views along the way.
As for the campground itself, here’s the pros and cons.
Pros
- Clean water
- Campfire ring
- Picnic table
- Vault Toilets
- 3-minute walk to the river
Cons
- Too close to the highway
- The vault toilets smell horrible
- No showers
Our first day at the camp we went to the river. Although the water is cold, the hot weather made it bearable. We had a lot of fun just looking under the water for cool looking rocks and crossing through the rushing river with our life jackets on.
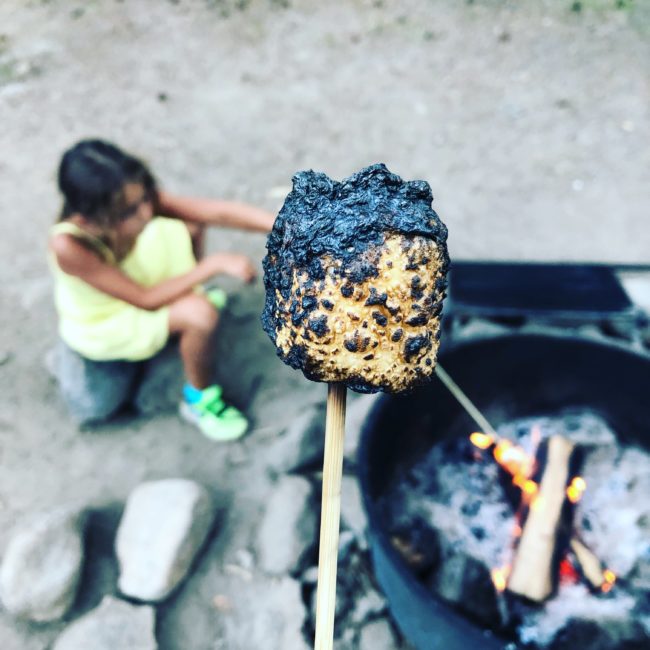
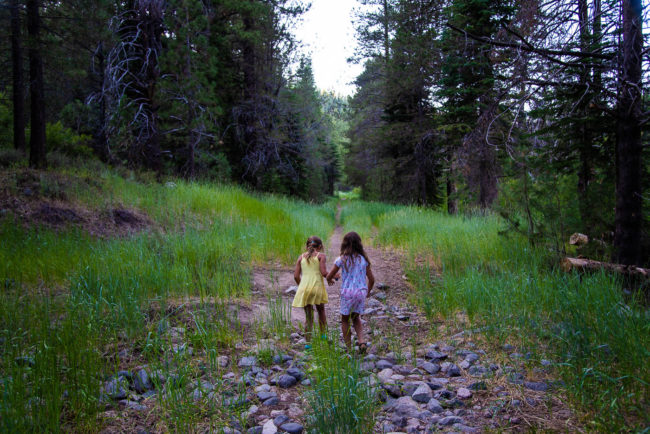
After a camp dinner and making smores, we took a hike along the river edge where the girls came up with a stone throwing competition that would last the rest of the trip, from camp site to camp site.
On our second day, we drove to Lake Tahoe (a big advantage with the roof top tent is how easy it is to break it down and set it back up). We went kayaking out on the river and then took a hike down to Emerald Cove (about a 45 minute hike from road side parking), where we went swimming in the crystal clear water. Some locals told us the water is warmest in September, but Nyah and I found the water fine—Riley thought it was a bit too cold.
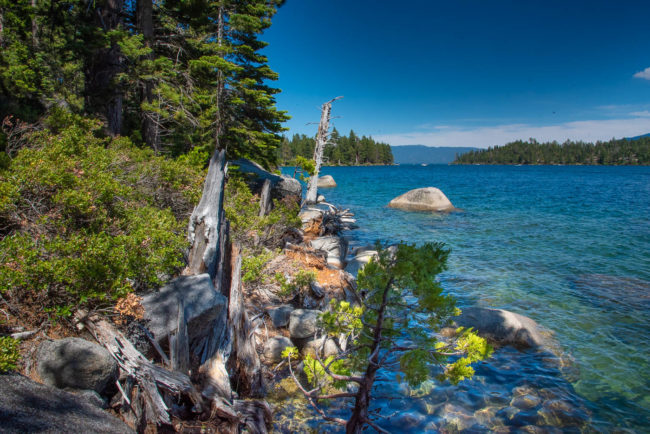
All in all, Lake Tahoe was pretty stunning and we could have easily spent a week exploring the vast coastline of the lake and all it has to offer.
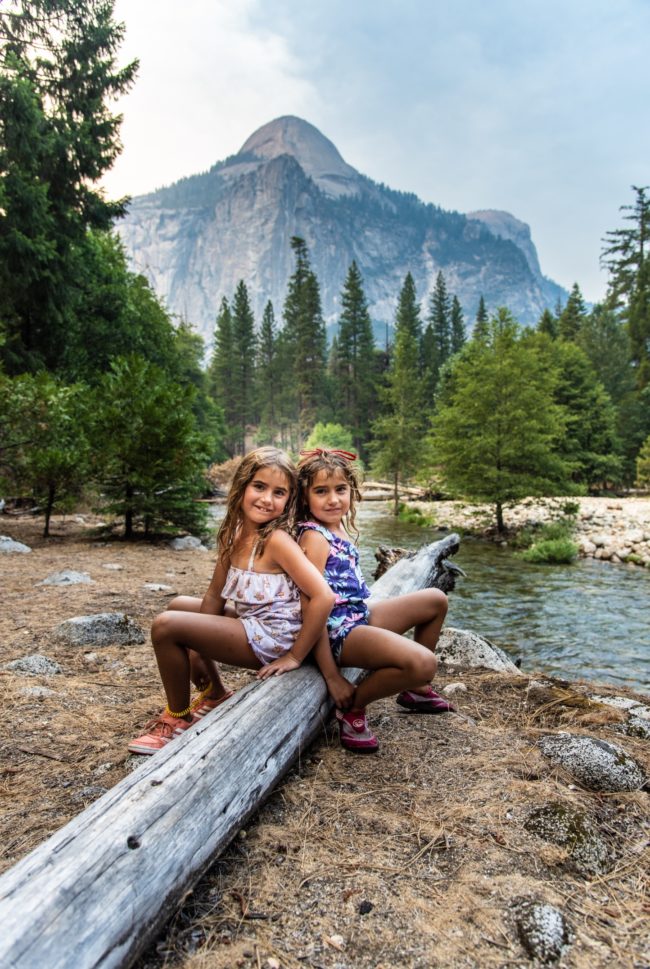
Lodgepole Campground, Sequoia and Kings Canyon National Park
This is more a village than it is a campground! There are more than 200 camp sites and almost all of them were full. There’s a market at the site that includes showers, a small grocery store and gift shop. There’s a separate Visitor Center with a mini-museum inside and there is a free shuttle service that takes you to “General Sherman” (the largest tree in the world) and the Giant Tree Museum.
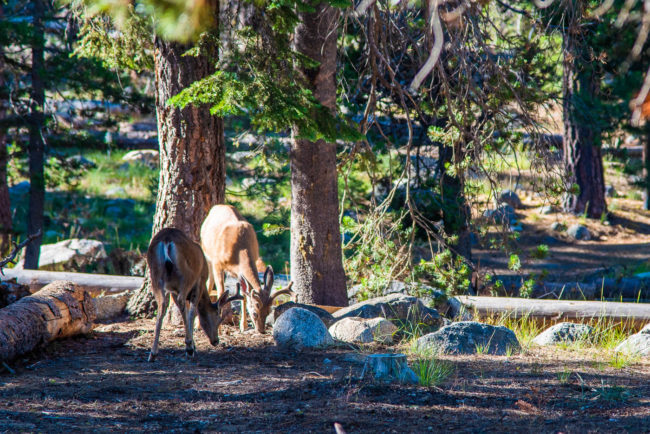
Because of all this, the campground doesn’t quite have that “wilderness” feeling I want out of camping. But waking up to deer grazing on the campgrounds—and being able to take a shower—balances things out.
Unlike the Big Bear campground, the showers weren’t free. It’s $1 for 3 minutes of water. The water is nice and hot and they do have change machines on site, but it all does have a bit of a commercial feel to it. Taking a shower and being able to wash our clothes at the site laundromat (even on one of the busiest weeks of the park) did have their upsides.
The site itself surrounds the Kaweah River, which is all that you can hear at night. A 5 minute walk from the campground and you do feel like you’re out of the village and into the wilderness. One thing to take note of is that the Sequoia National Park is NOT dog friendly! Dogs are not allowed on any of the established trails in the park and can’t be left on a leash at your camp site—sort of a damn if you do, damned if you don’t situation for dog owners!
We got around this by pitching our popup tent and having our dog stay in it as a temporary dog house. Not entirely following the rules as he was on a leash unsupervised, but after a previous day of hiking, he needed the rest and seemed content hanging out in and around his tent. And we didn’t get a complaint from the camp host.
Pros
- Picnic table
- Bear box
- Firepit and grill
- Flush toilet bathrooms (these smell a lot better than vaulted toilets)
- Showers
- Market
Cons
- Not at all dog-friendly
- The commercialized nature of it all
On our first day we didn’t have much time left after the long drive. We made a nice dinner, took showers (much needed after the no showers at Goose Meadows), did our laundry and had our ritual evening tent movie night (Kindergarten Cop).
After breakfast on day two, we went on a hike up the mountain side. Because no dogs are allowed on the trails, we forged our own path along the mountain side.
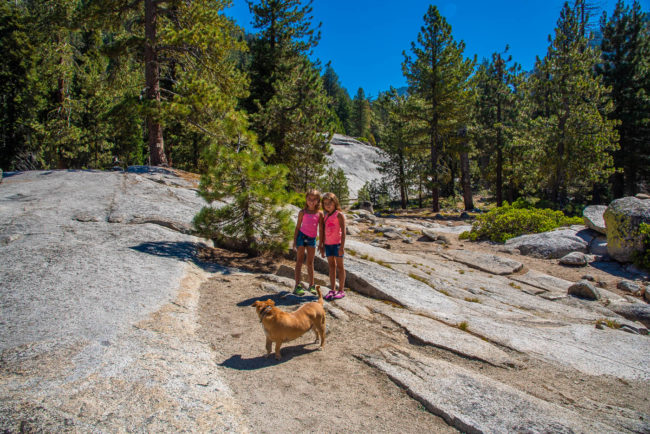
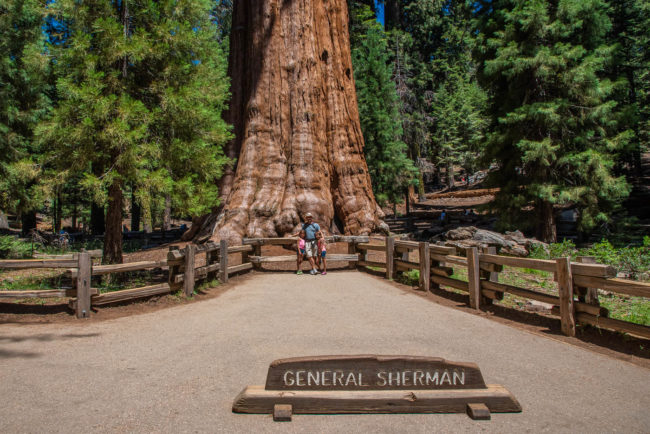
With Bingo (the dog) having had his exercise, we left him at our camp site with his popup dog house and took the shuttle to Big Sherman. There’s a 15 minute trail down to General Sherman where you can see the massive sequoia trees. Although you aren’t technically supposed to go off the trail, there are enough opportunities along the trail to do so.
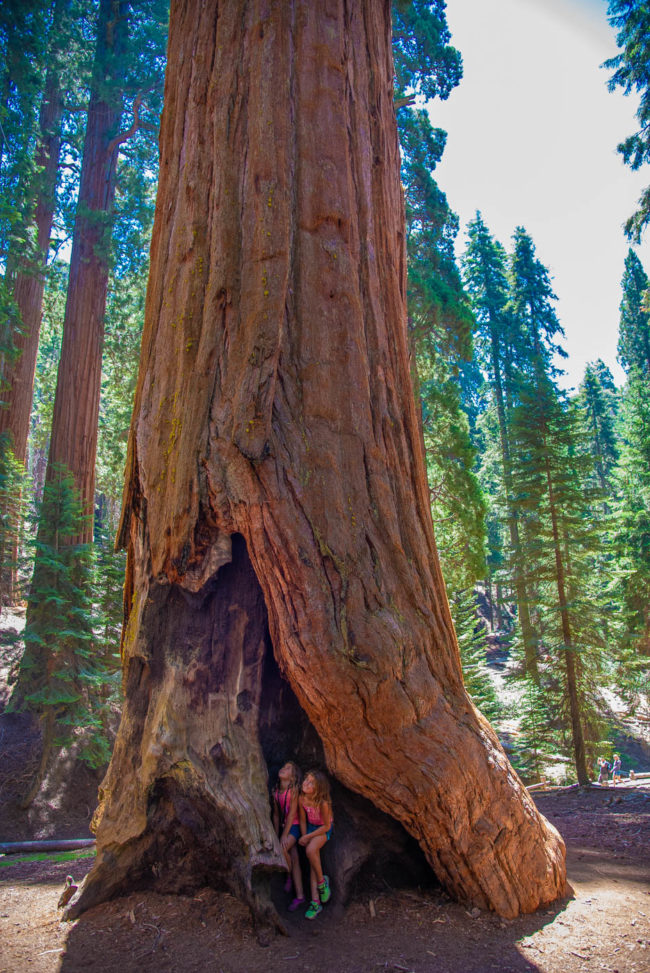
At the bottom of the trail, you can see General Sherman. It’s more tourist attraction than natural wonder at this point, but if you’re in the park, you don’t want to miss it.
After a quick lunch, our next stop was Crystal Cave. There are tours of the cave every half hour, but it’s about a one-hour (super windy) drive to get there with a 30 minute hike down to the cave. The cave itself was quite an experience and the first time my girls had been in a cave to boot.
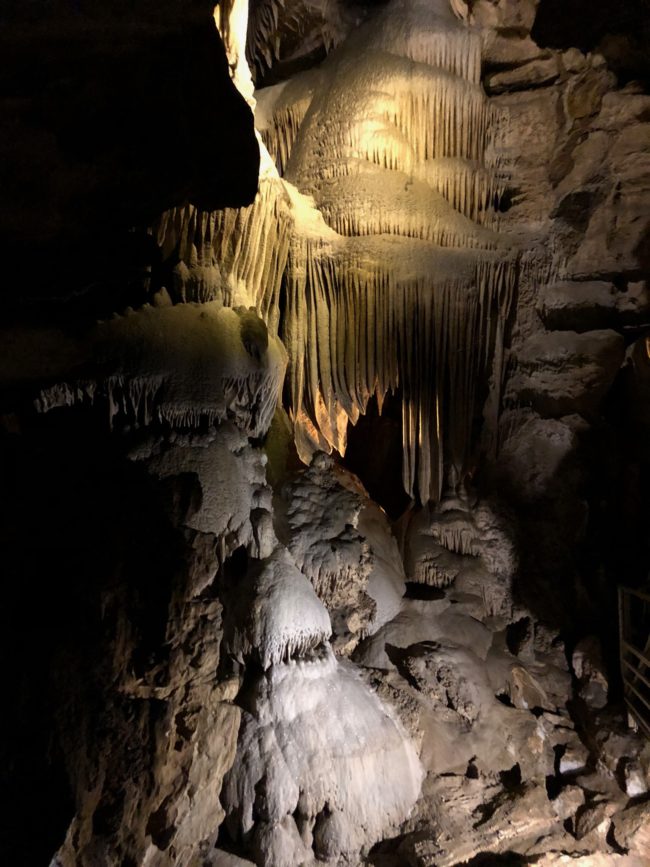
Seeing rock formations that took hundreds of thousands of years to form is awe-inspiring. The tour lasts about 45 minutes and with each one having only about 30 people, thankfully feels more like a group hike than a Disney park attraction.
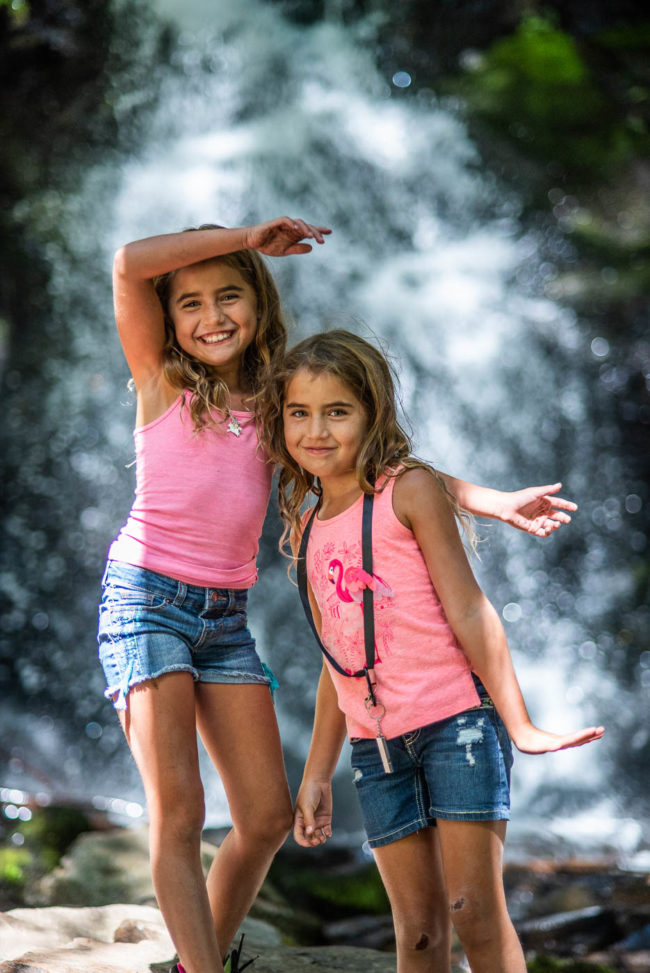
The hike to and from the cave is also quite beautiful, featuring a really large waterfall that makes an awesome photo backdrop!
Alright! That’s about it.
I wrote this mostly for myself—to reference for my next trip, but if you’re planning your next road trip you may find something useful here!


