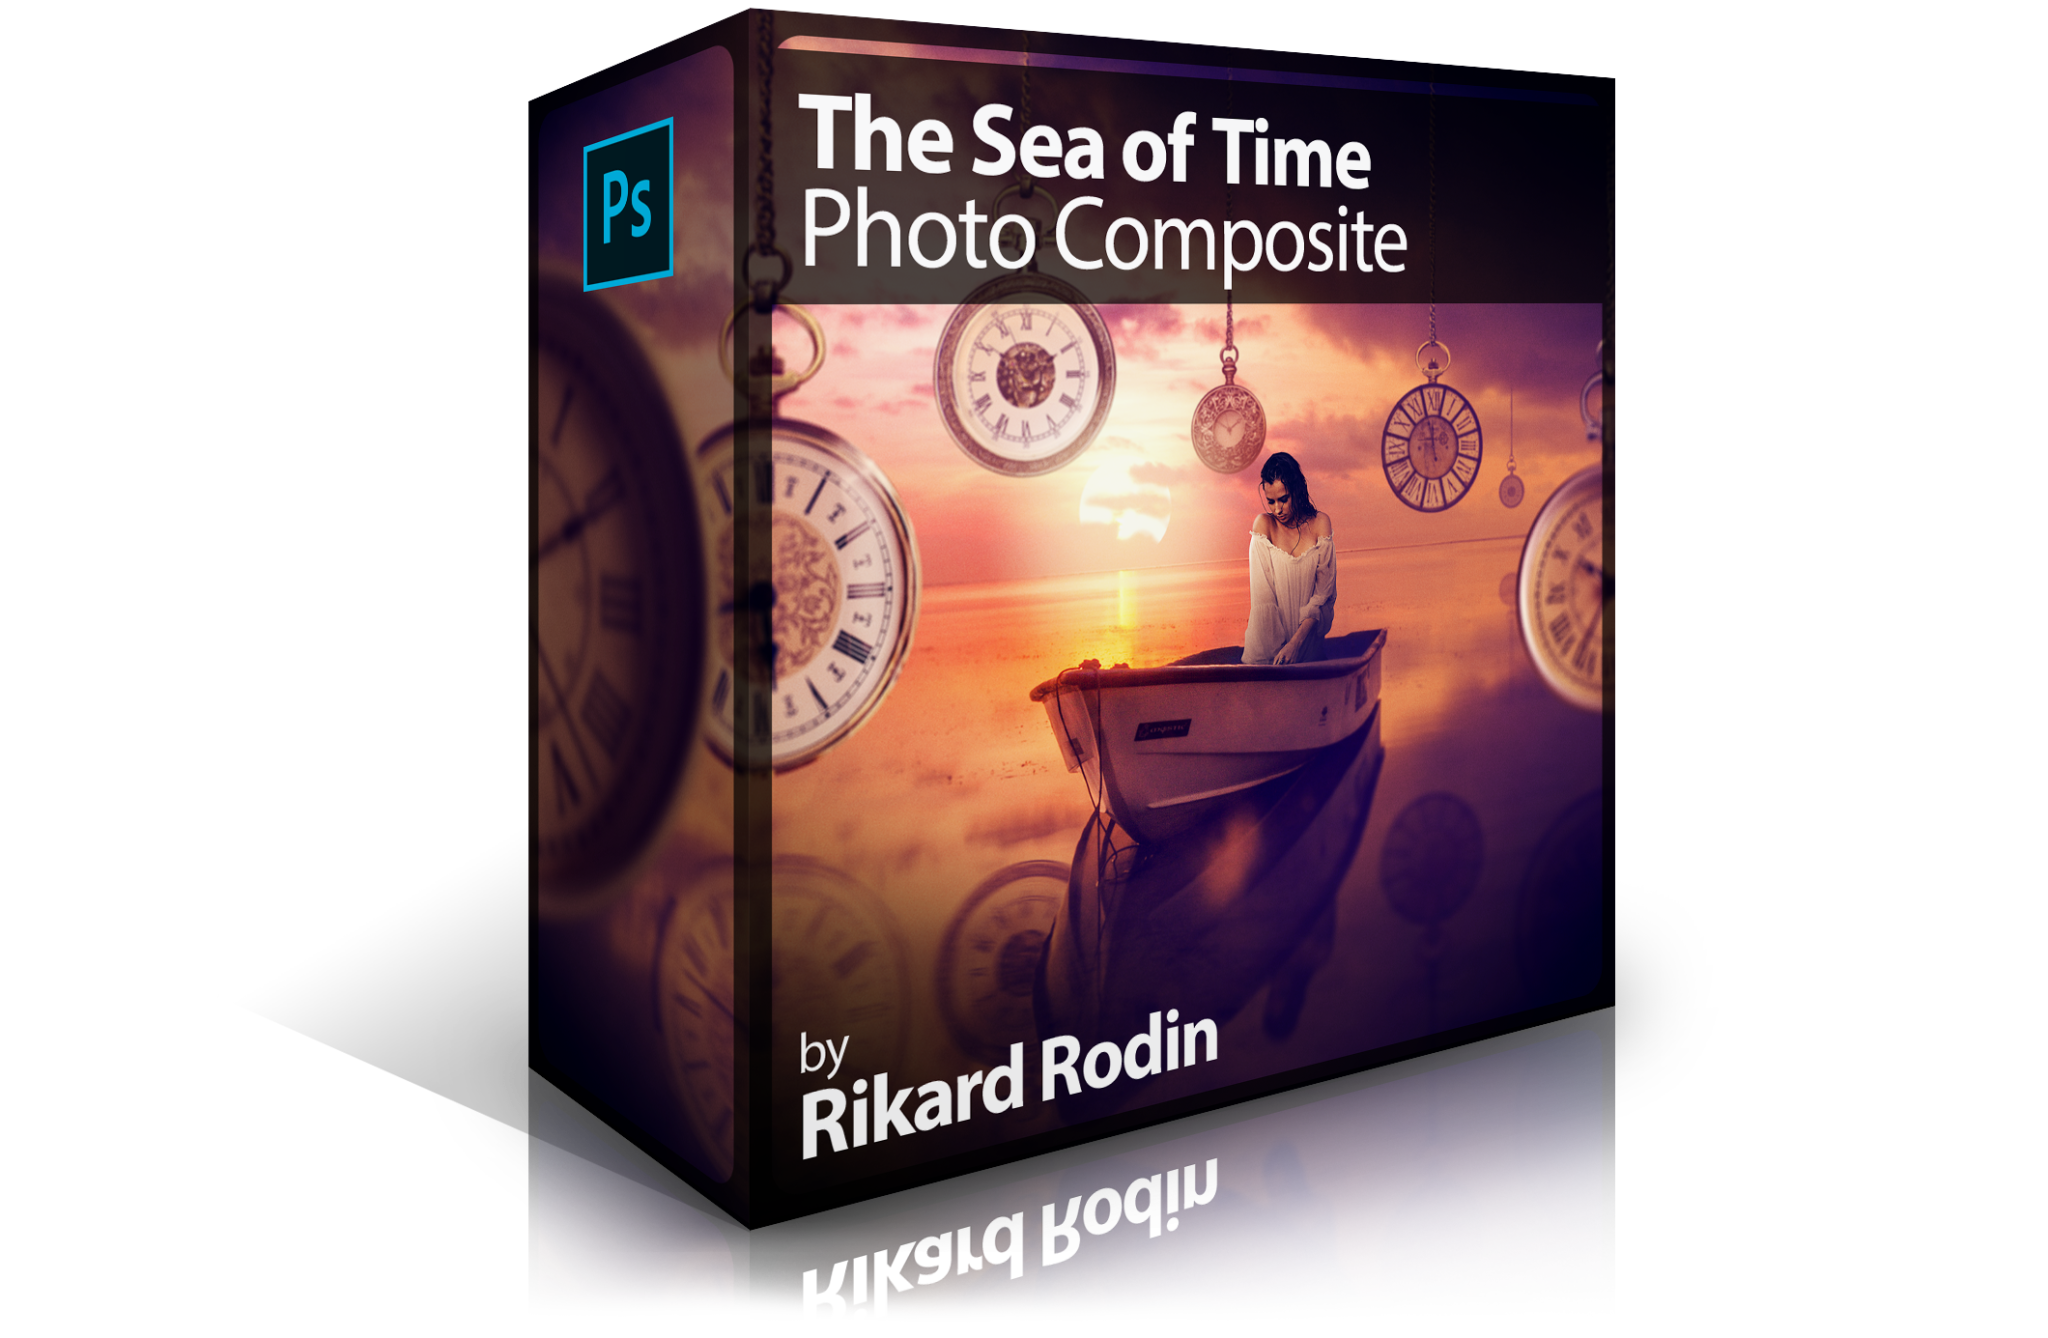
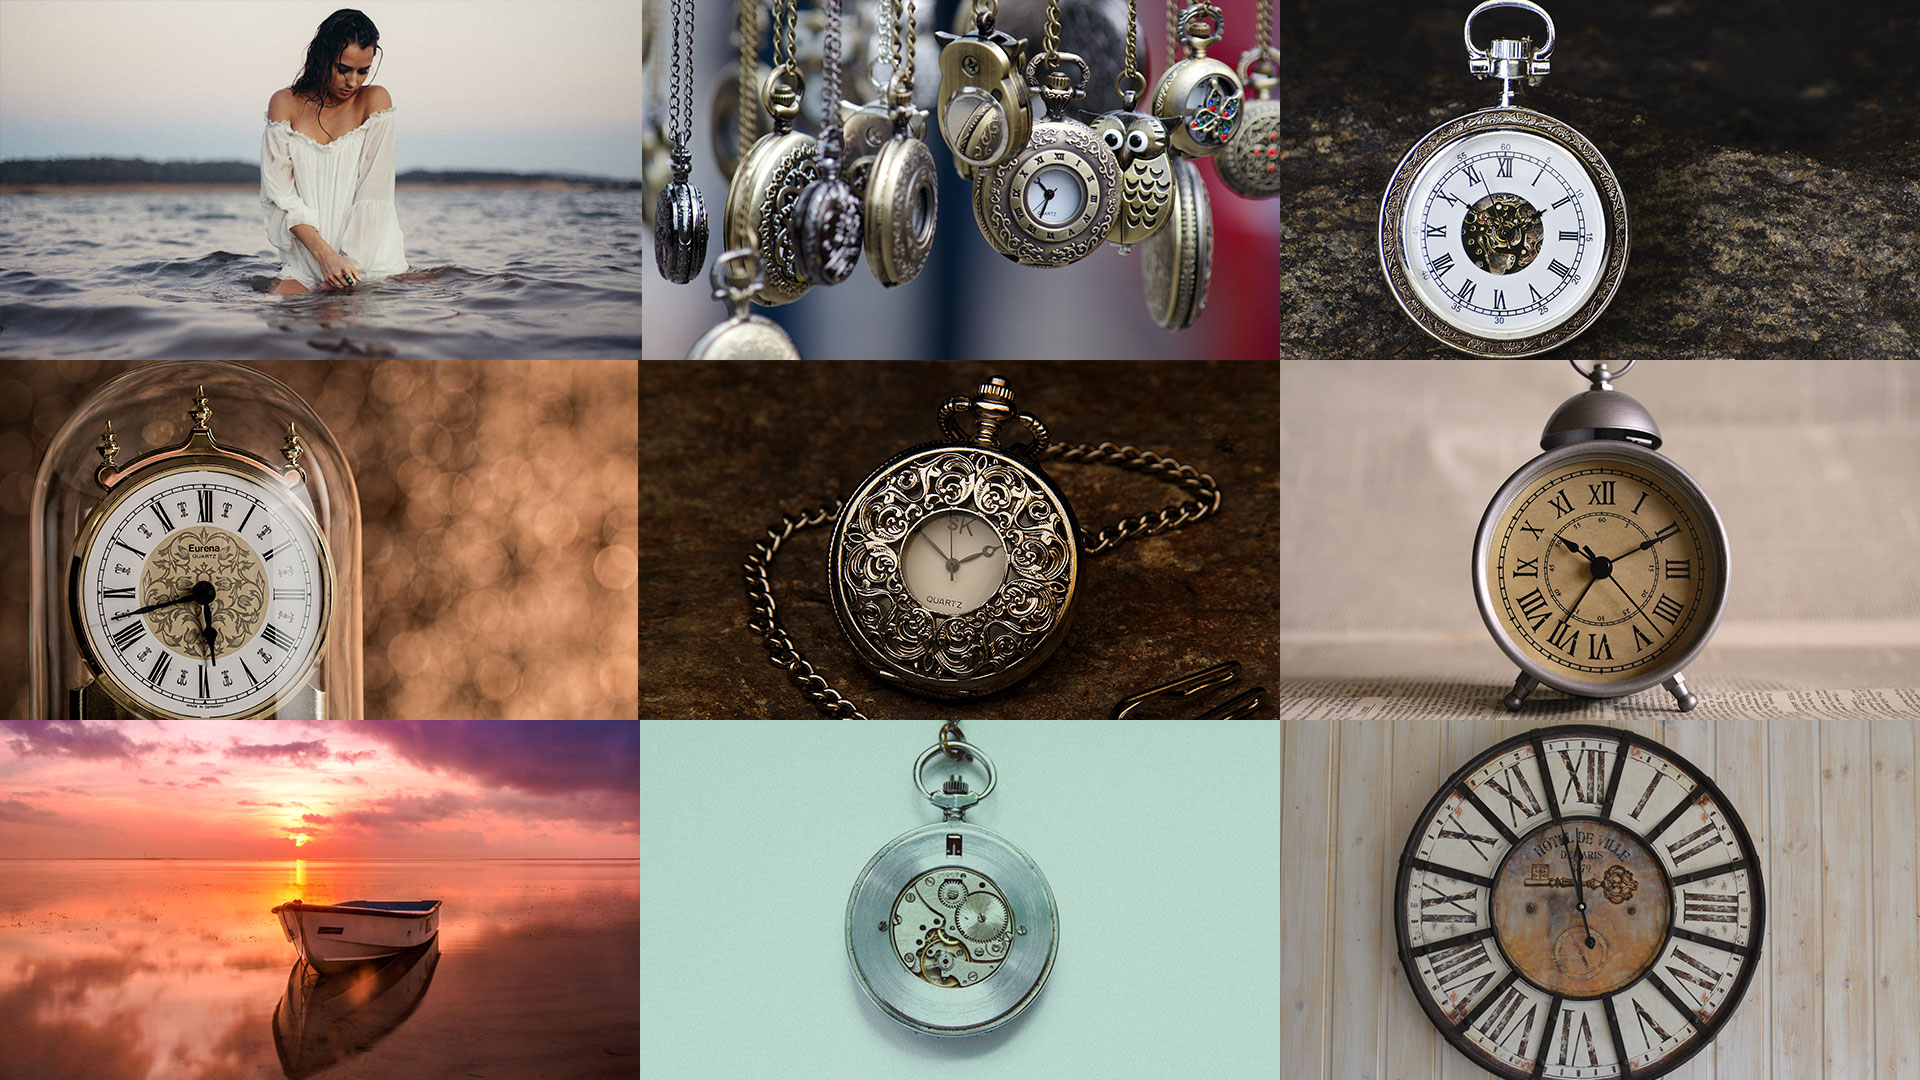
The Sea of Time Photo Composite
Creative Director and Photoshop Guru Rikard Rodin takes you through the entire process of creating a beautiful composite—The Sea of Time—out of 9 different images. The course is filled with Photoshop techniques that are useful for any photo compositing work you may want to do—including 5 different ways of cutting out elements from photos, tips for using the clone stamp tool, quick masks, transforms, smart objects, color adjustments and much, much more.
Length: 2 hours, 4 minutes | Experience Level: Beginner to Intermediate | Required Software: Photoshop CC
Use Promo Code: ZEVEN for 66% Discount
Before
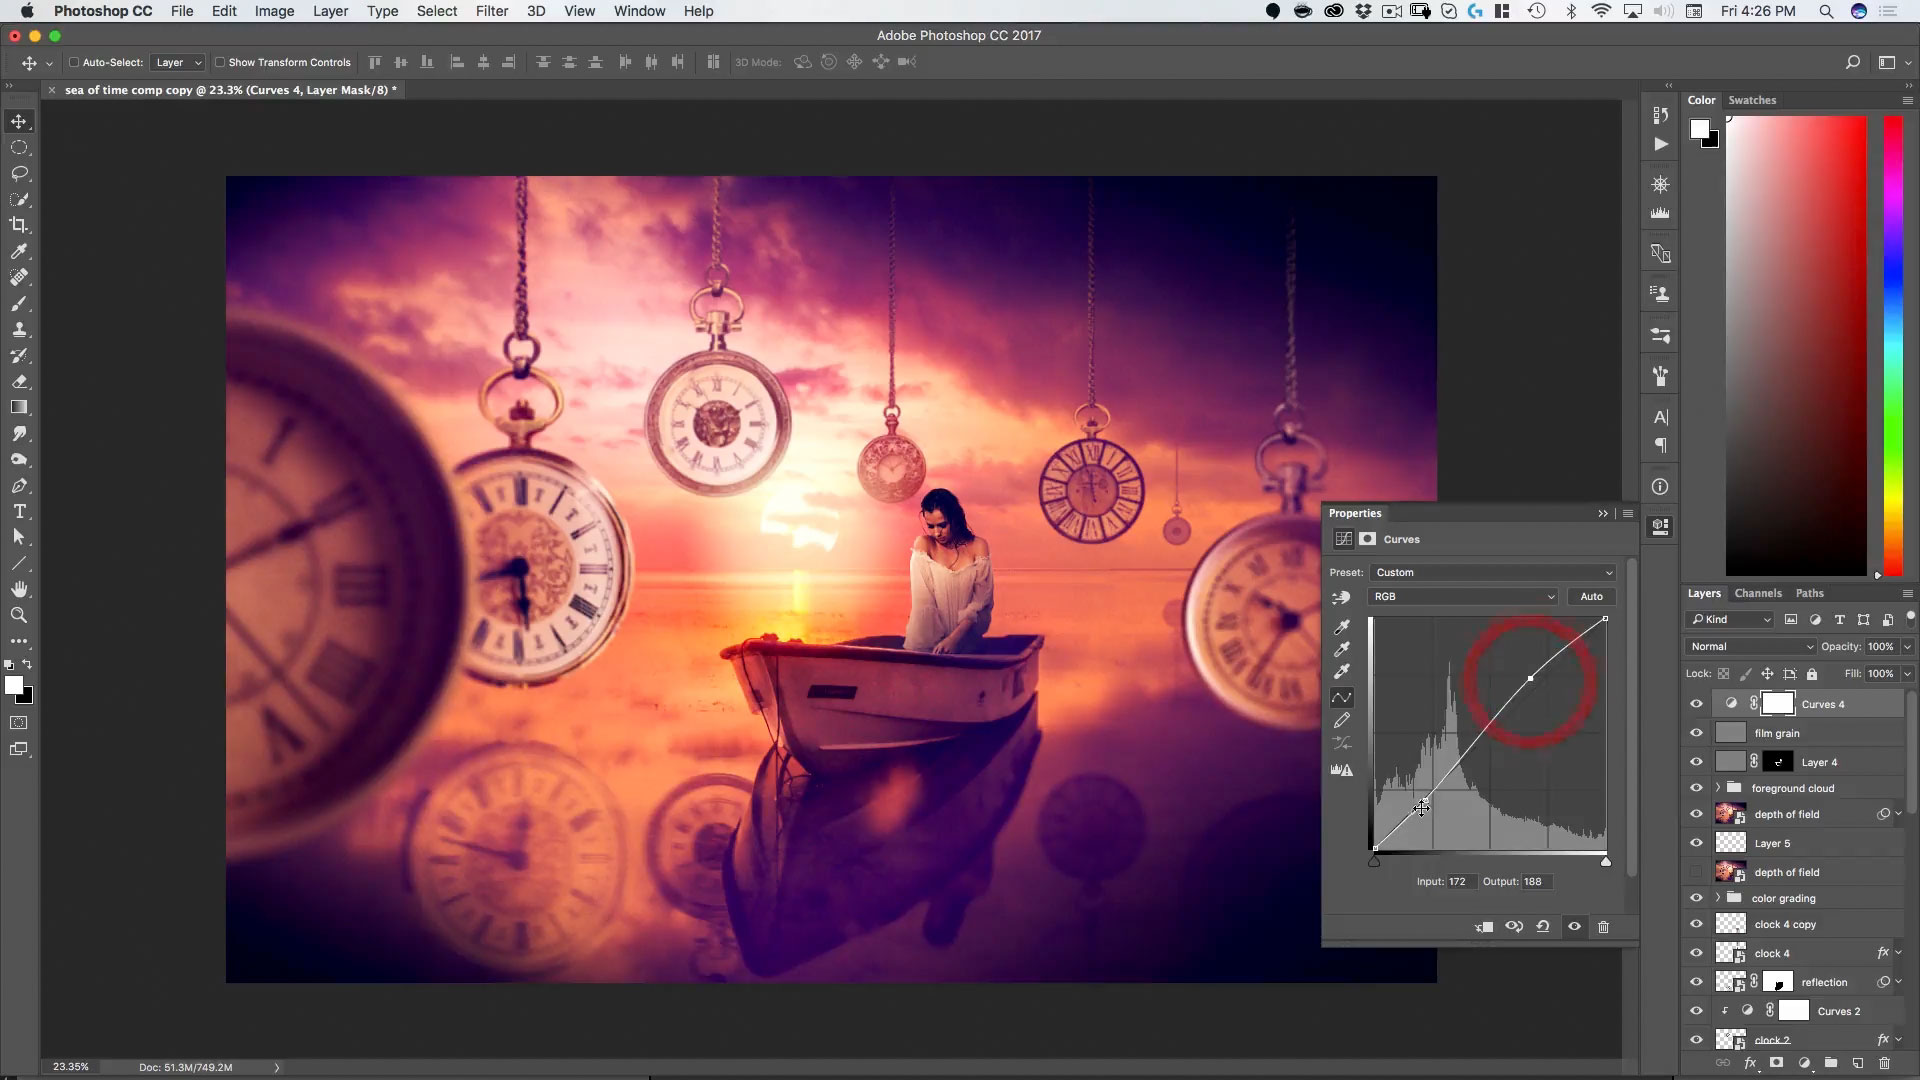
After
Lessons

Lesson 1: Getting Started
Here we set up our file, do our first cutout and mask, and learn some helpful shortcuts that we will use throughout the rest of the project.
Lesson 2: Masking 101
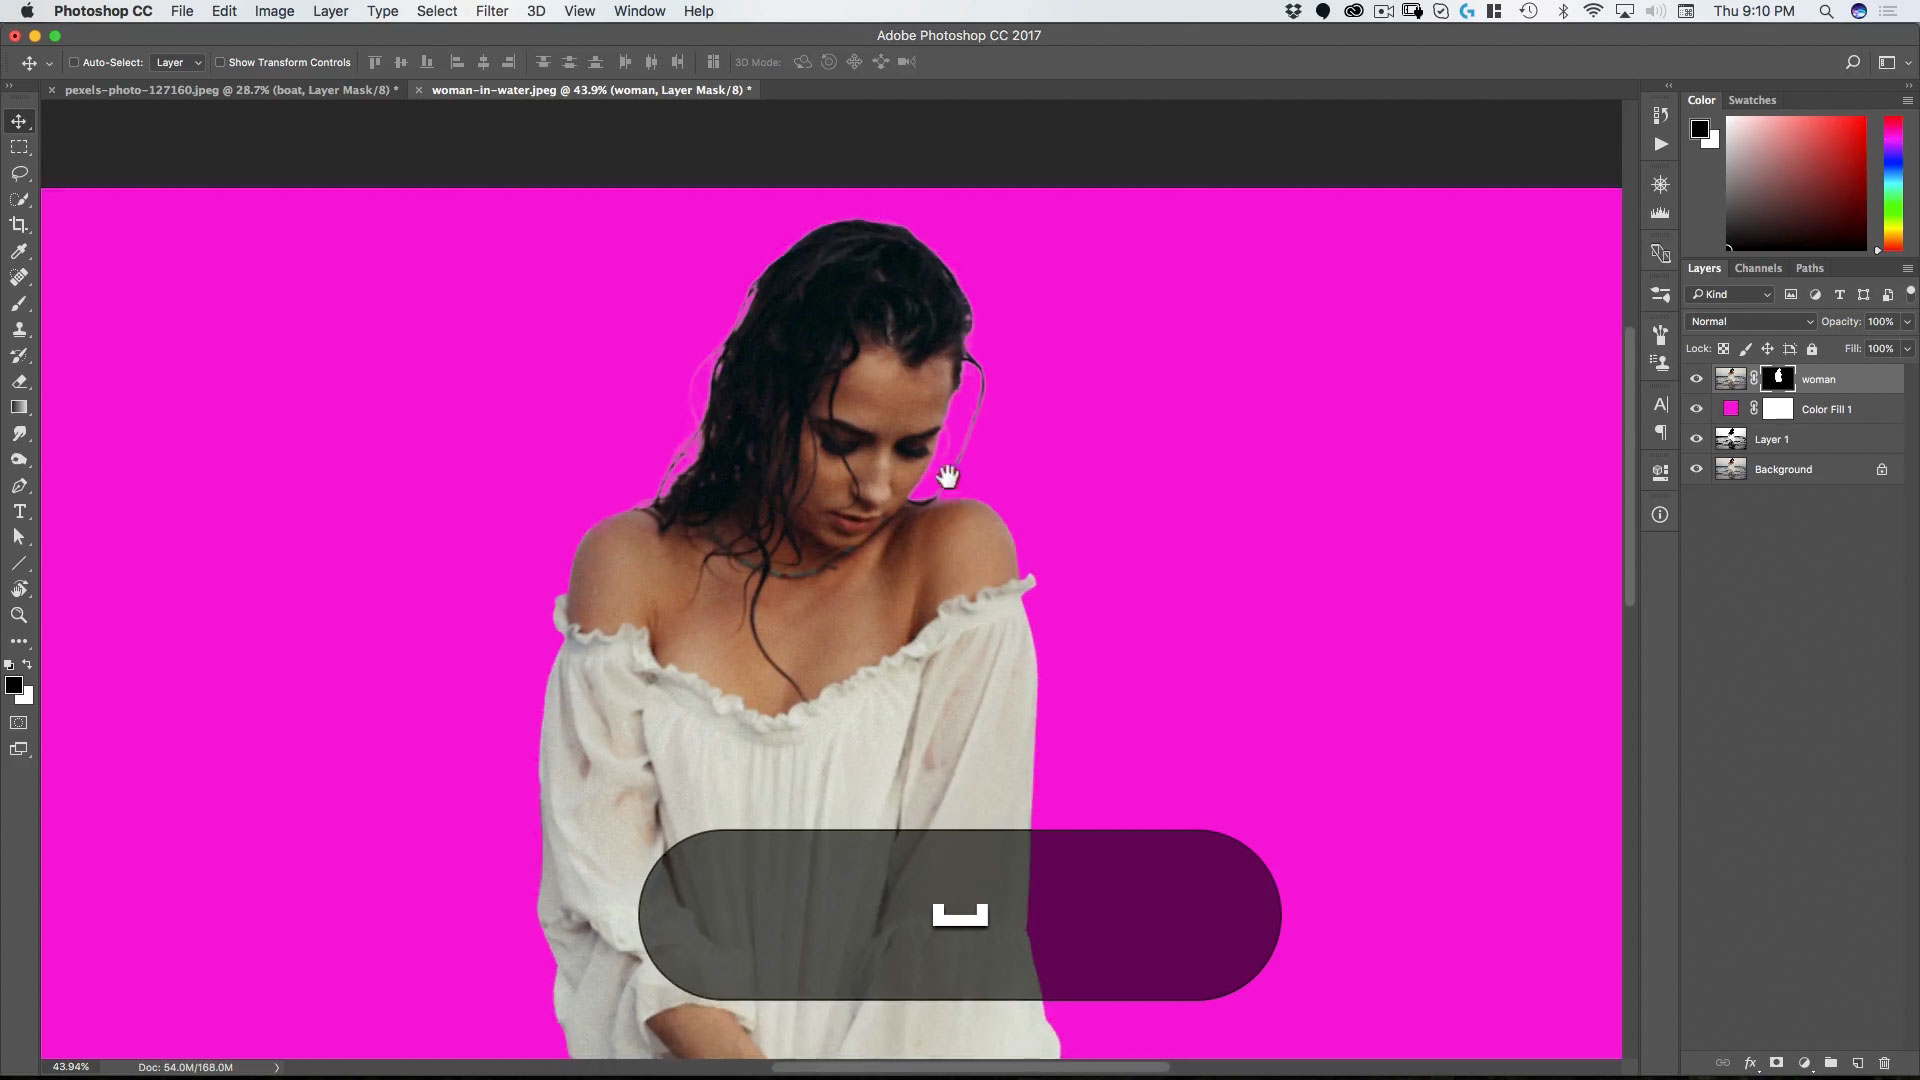
Here we use two methods (paths and channels) to mask the woman and then refine our selection.
Lesson 3: Smart Objects
In this lesson you will learn what Smart Objects are, their value and how to create them.
Lesson 4: First Clock Part I
In this lesson, we cut out the first clock using the elliptical marquee and also delve into the transform selection and Quick Mask tools.
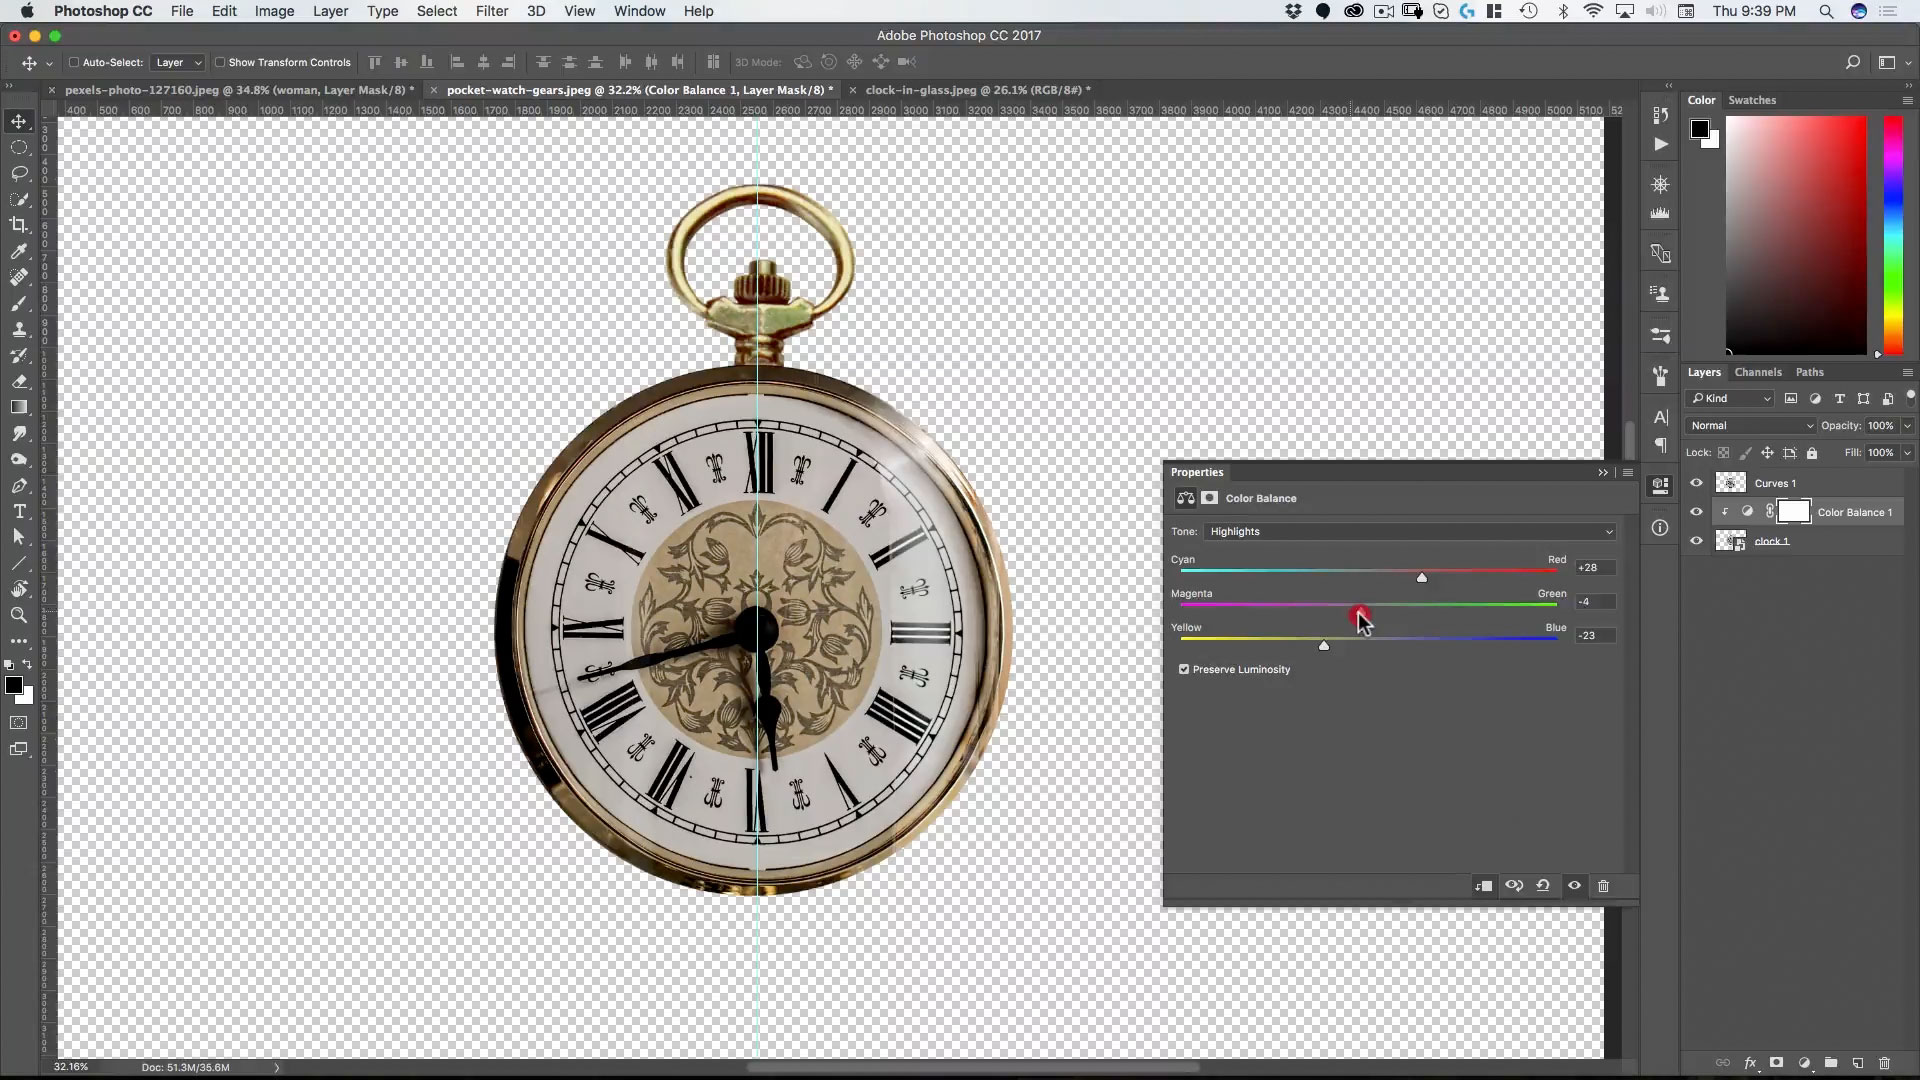
Lesson 5: First Clock Part II
In the second part of the lesson, we cut out the clock face and also learn techniques to get rid of glass reflections using masked and grouped adjustment layers.
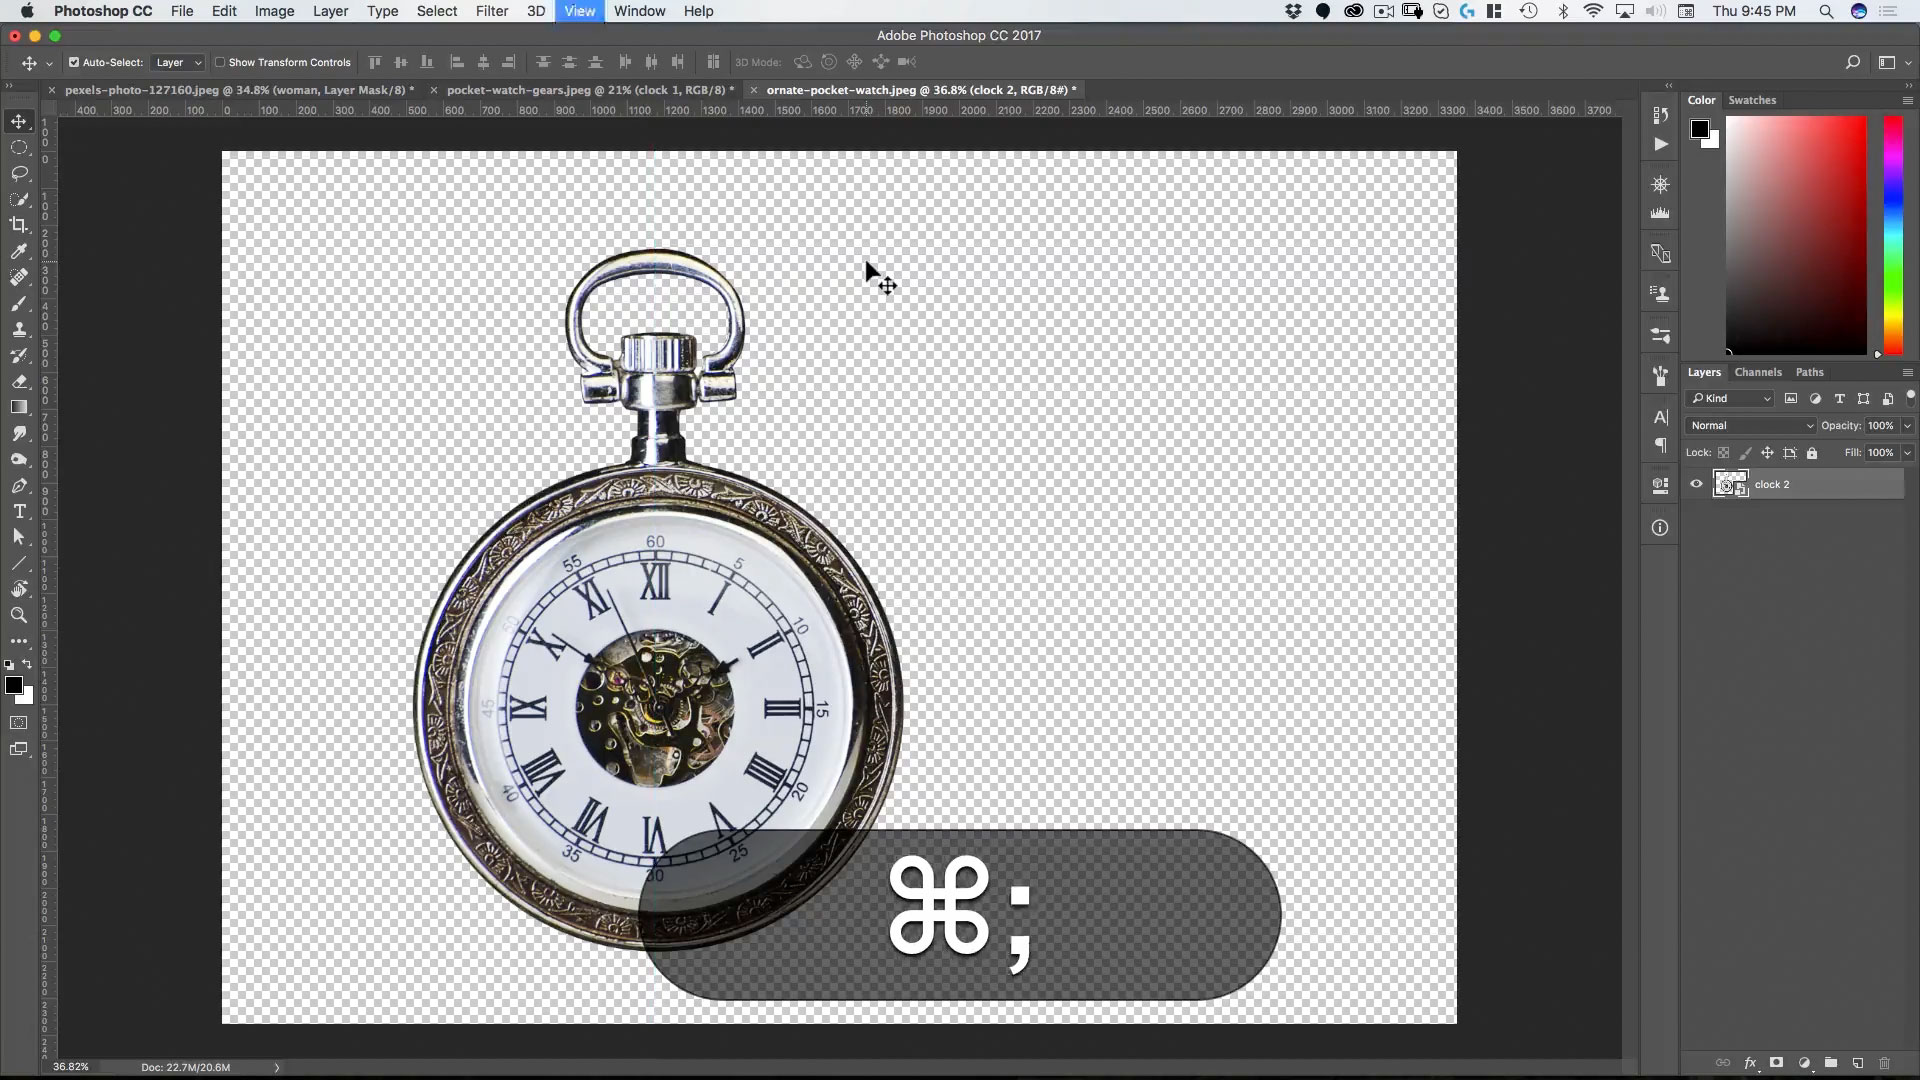
Lesson 6: Second Clock
For the second clock, we learn about using channels to save selections and some tips and tricks in using the transform tool.

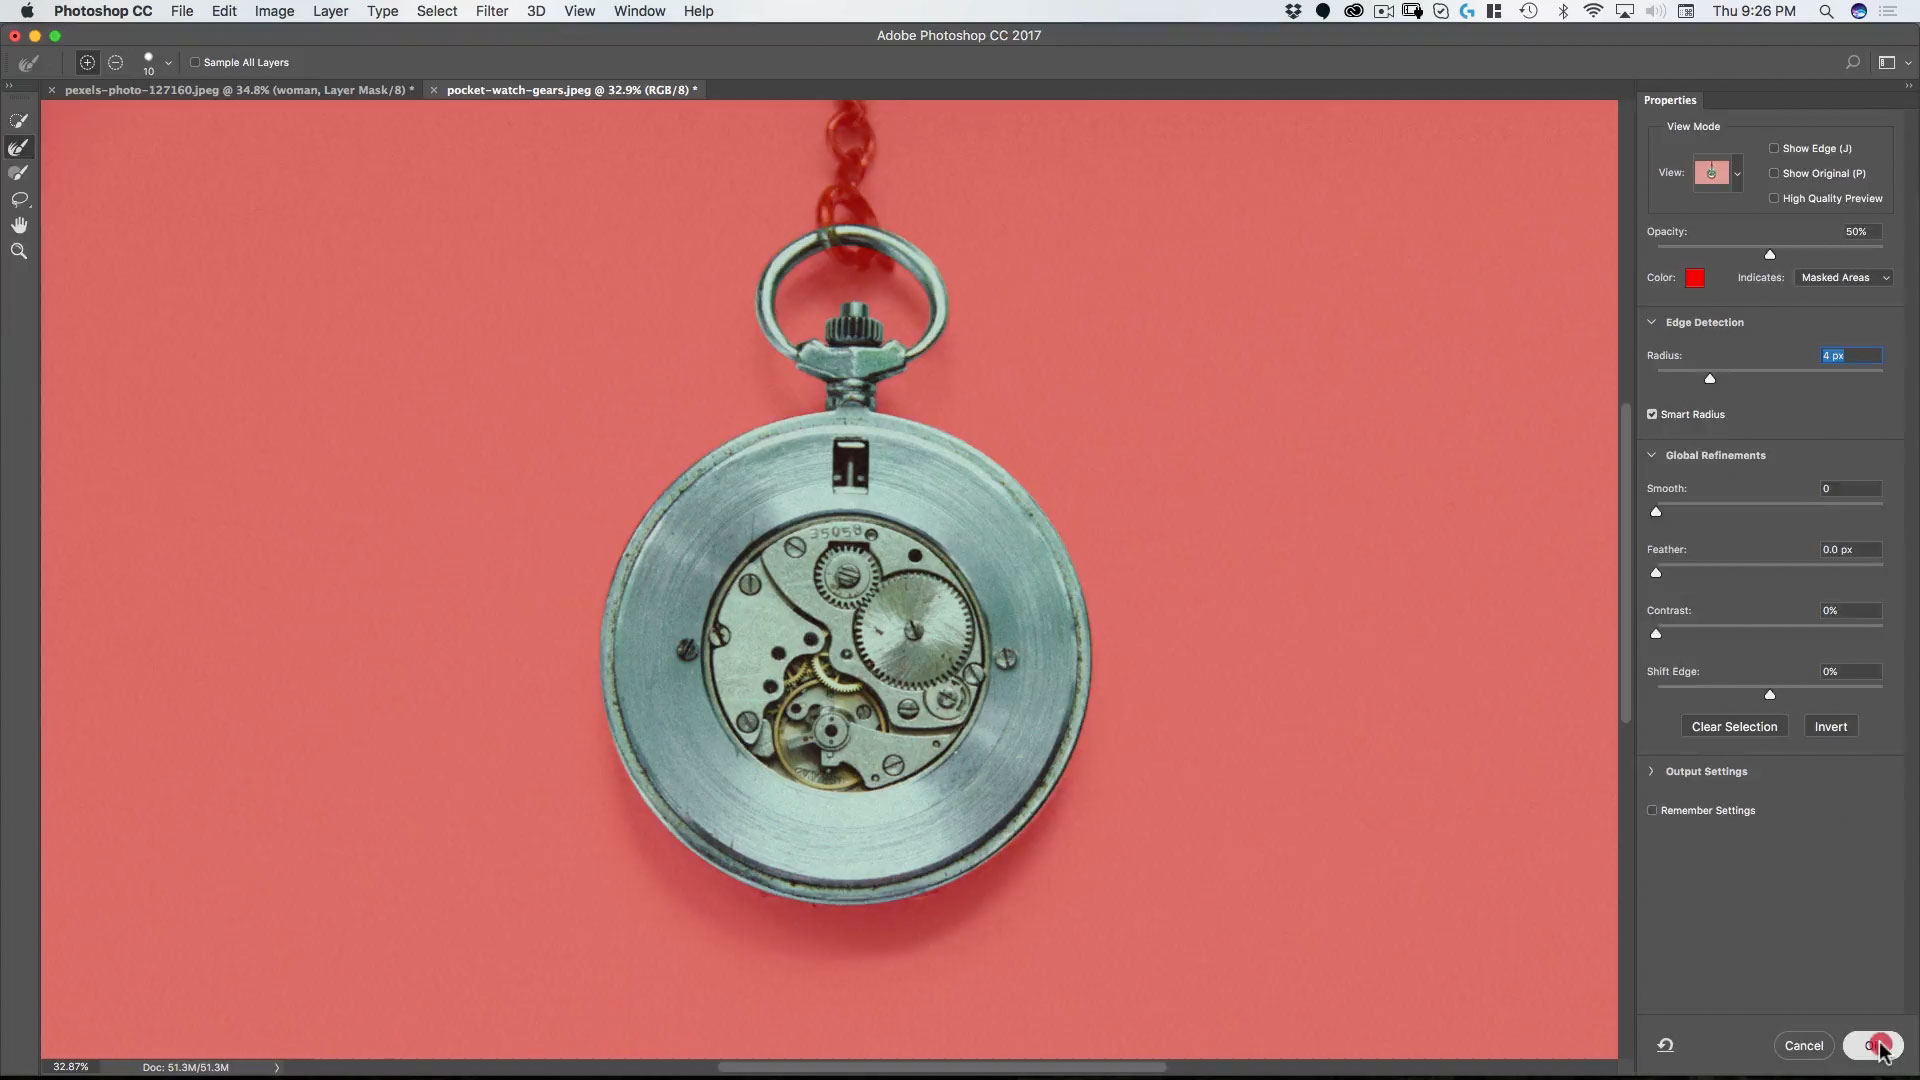
Lesson 7: Third Clock & Chain
Clone stamp, masking, skewing and more are covered in this lesson, where we cut out the last full clock as well as the chain.
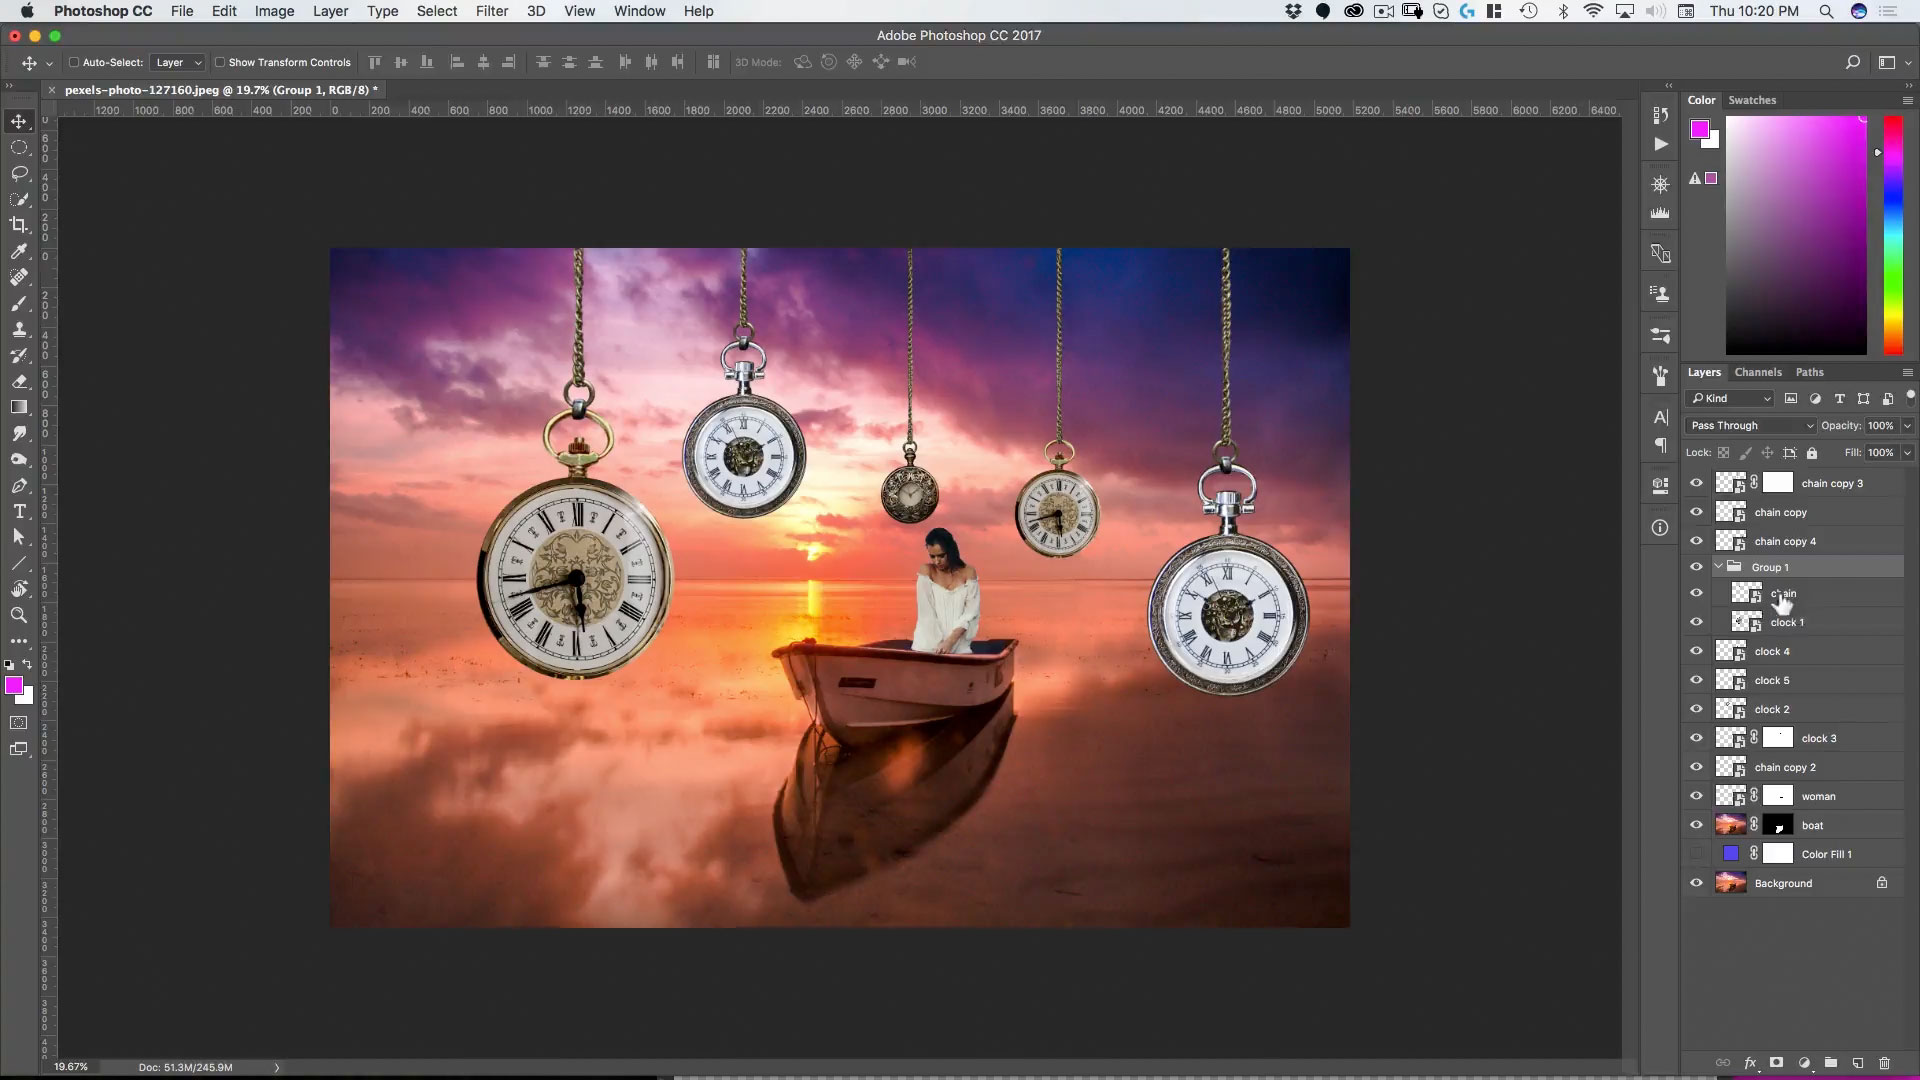
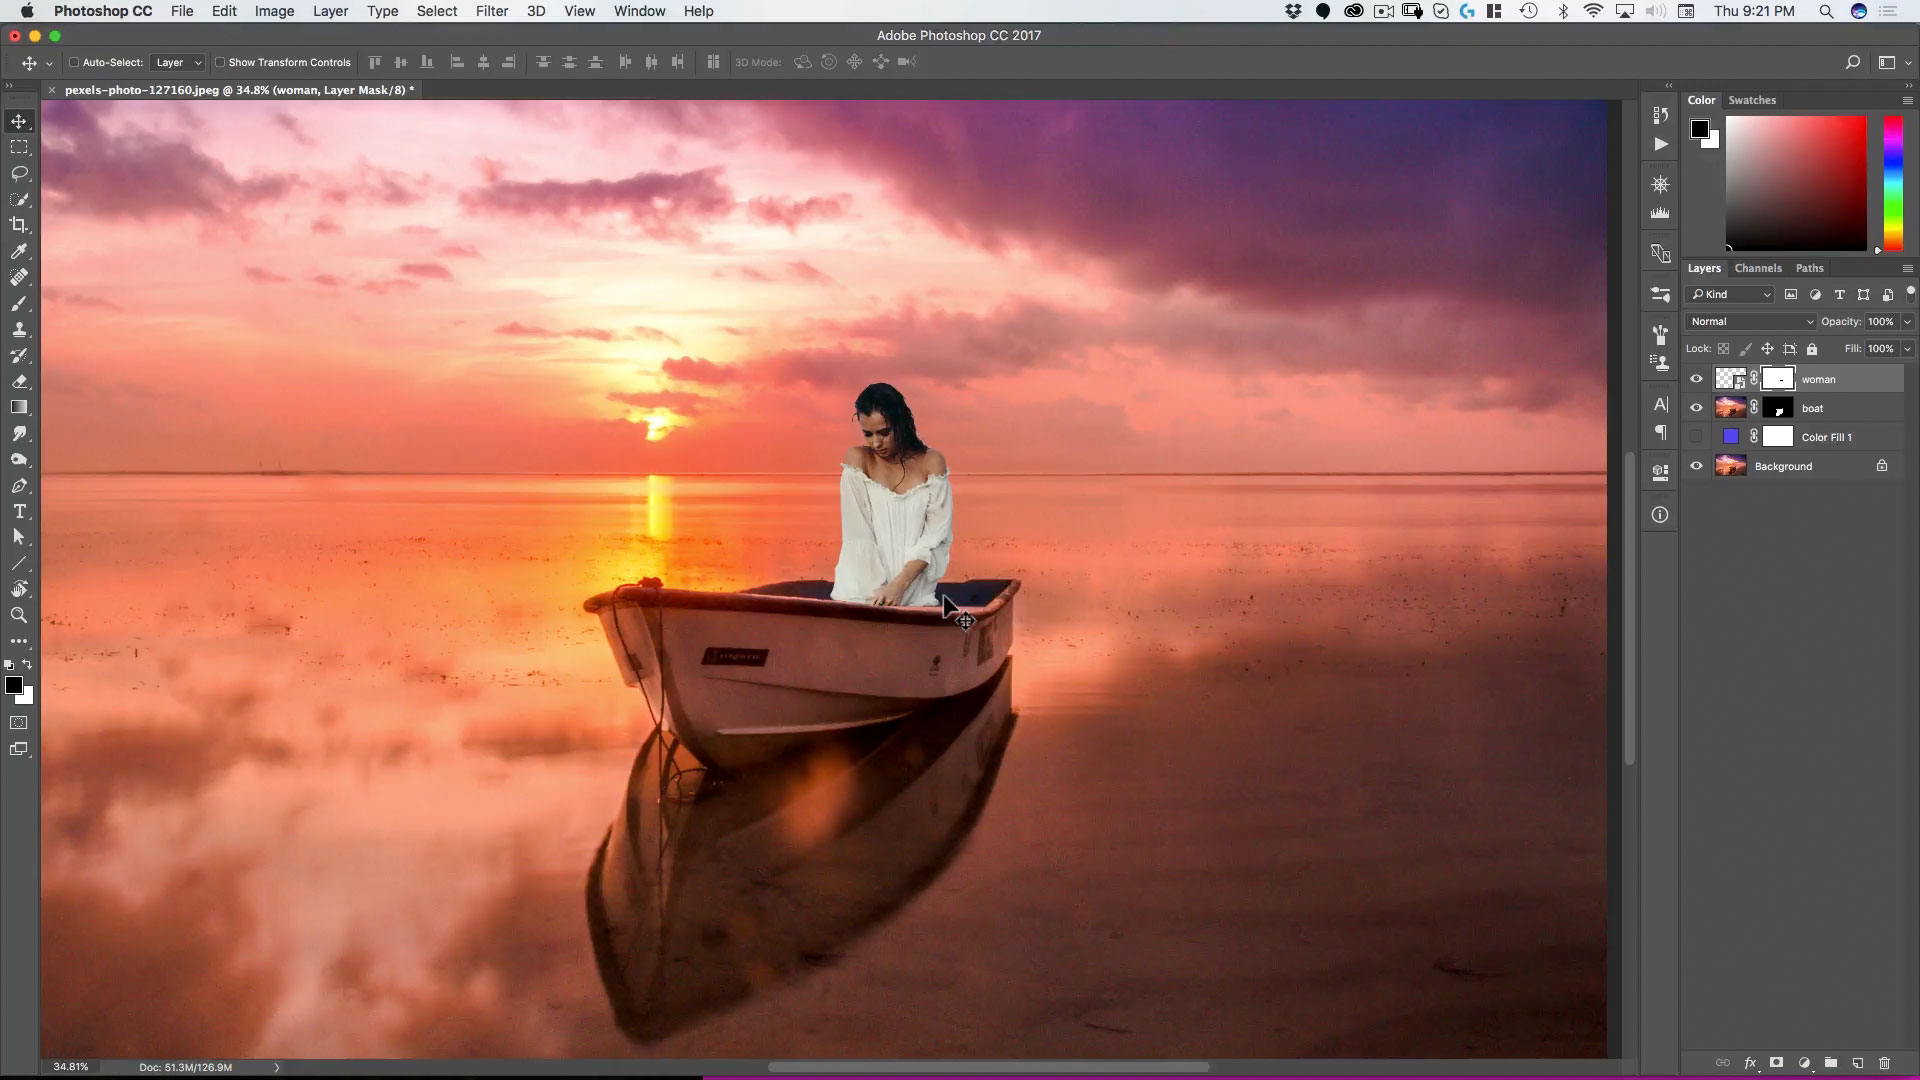
Lesson 8: Composing the Scene
In this lesson, all the parts start to come together. Using transforms and the move tool, we get all of the parts of the composition coming together.
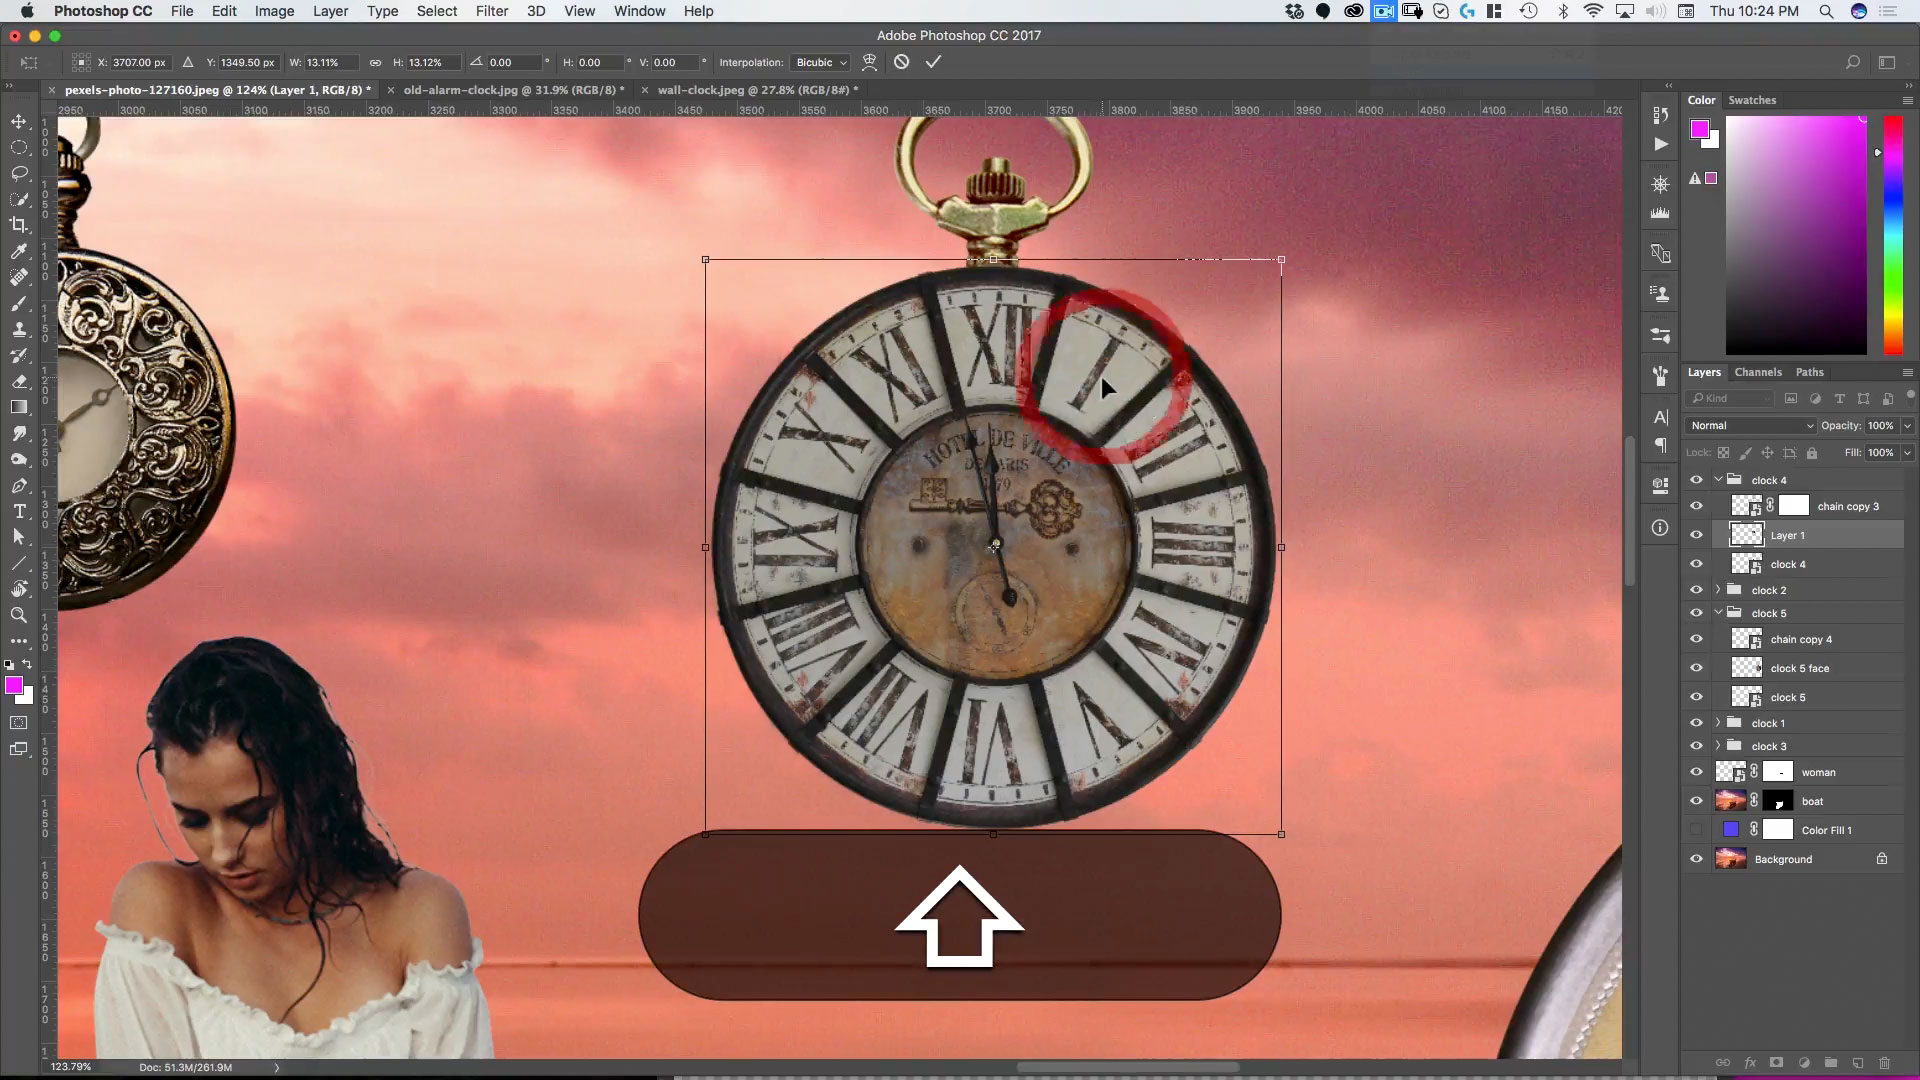
Lesson 9: Clock Face Change
In addition to changing the face on two of the clocks, this lesson covers some tricks in using the Black and White adjustment.
Lesson 10: Element Color Grading
Learn how to use multiple gradient overlays with different blending modes to get elements of an image to integrate into a colorful background.
Lesson 11: Reflections
Here’s how to create realistic reflections in the water that match perspective, are masked where needed and use the right blending mode.
Lesson 12: Integration
Before a final color grade, we work through various parts of the image to get the elements to look like they belong. Learn more about smart objects, using different blending modes and the blending options for layers.
Lesson 13: Overall Color Grading
How to get 9 photos to all look like they belong together? While making an image look more like art than a photo? This lesson shows you how.
Lesson 14: The Final Touches
In the final lesson we use the Field Blur tool to create depth of field in the image and then make some final adjustments to give the whole image a more finished look.
Each lesson video is provided in HD along with the art and graphic assets used in each lesson. Videos can be downloaded and viewed on any device or on any computer. After you’ve completed the course, you can email your completed photo composites (as flattened jpgs) to rikard@zevendesign.com for free reviews, critiques and tips to further increase your skill.
Use Promo Code: ZEVEN for 66% Discount
Check out my other available courses