
Snow White Photo Composite
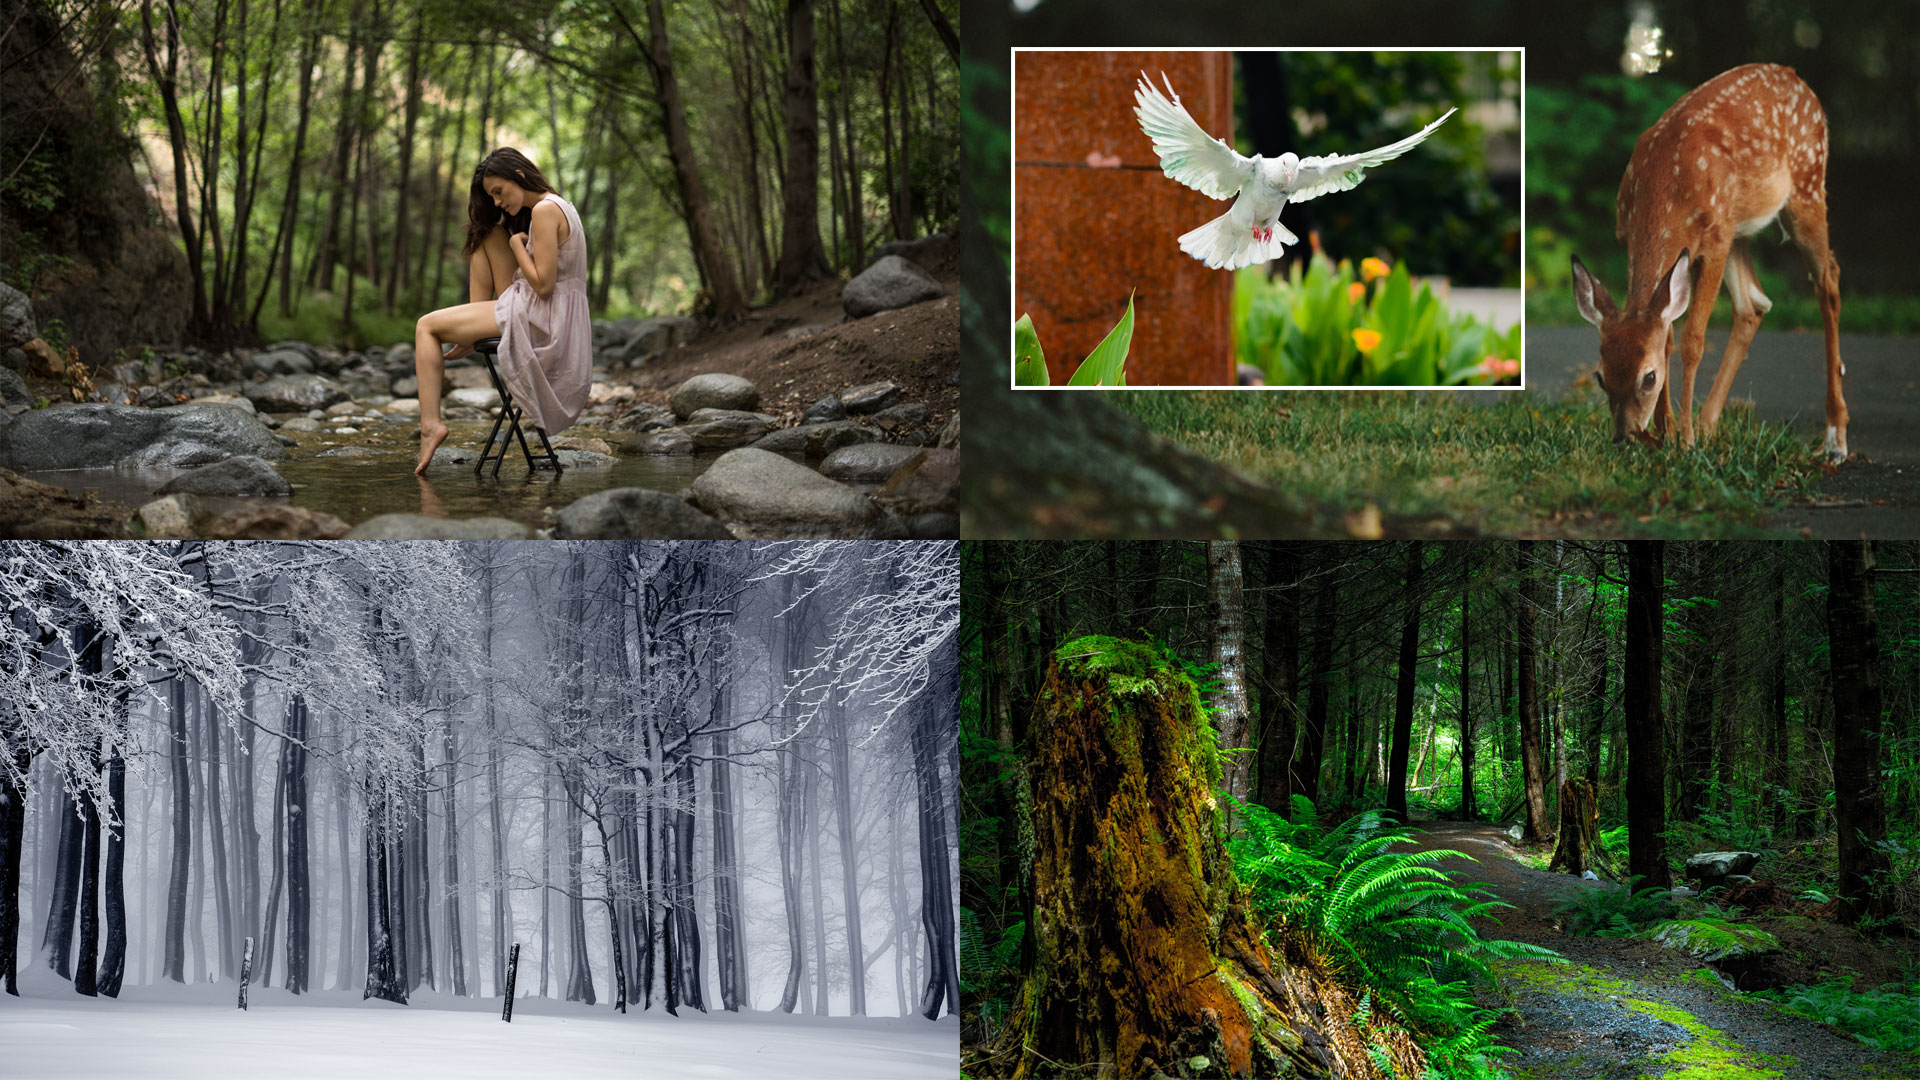
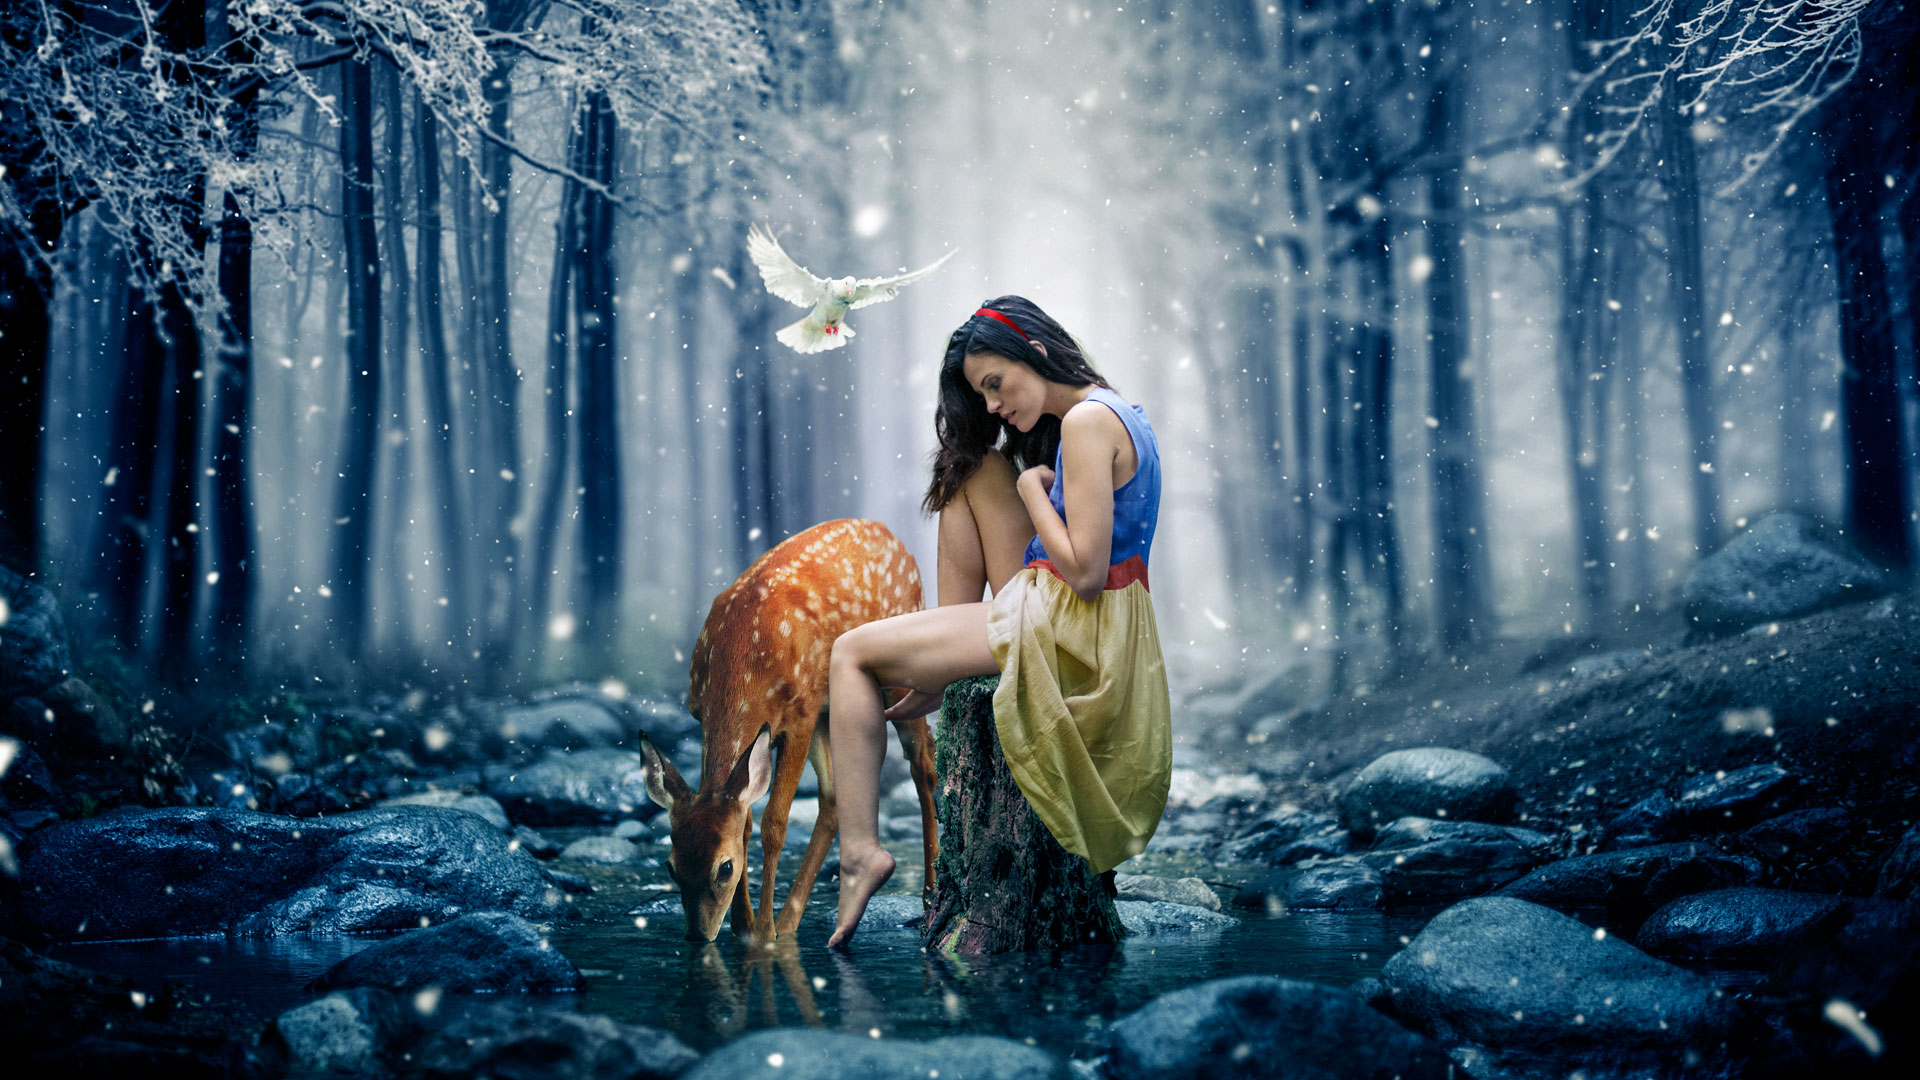
Join Creative Director and Photoshop Guru Rikard Rodin in creating a magical fairy tale scene of Snow White. The course is filled with Photoshop techniques that are useful for any photo compositing work you may want to do—including masking techniques, retouching and cloning, color grading and texture techniques. In addition to compositing, you’ll learn how to convert any scene into a winter scene!
Length: 1 hour, 34 minutes | Experience Level: Beginner to Intermediate | Required Software: Photoshop CC
Lessons
Lesson 1: Getting Started
Learn how to open files as smart objects and some keyboard shortcuts that will drastically speed up your compositing.
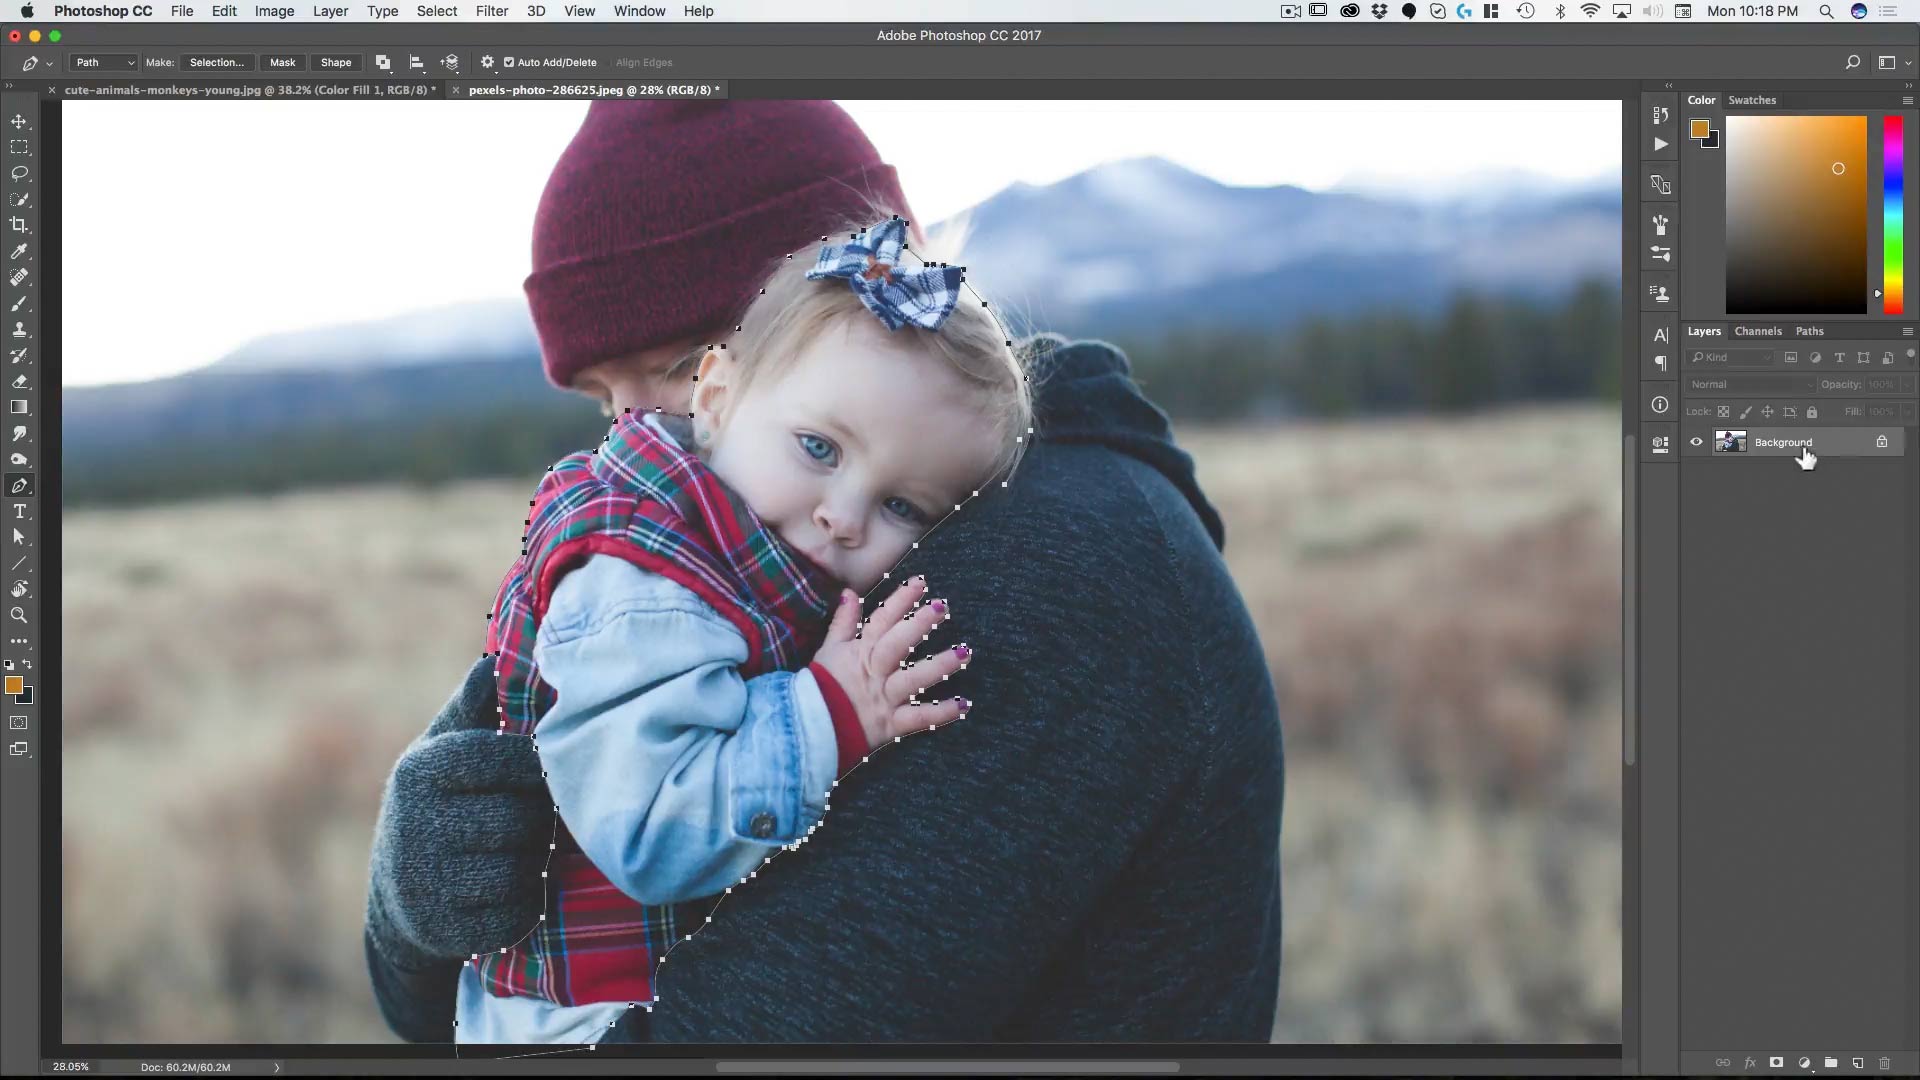
Lesson 2: Masking with Paths
Here we use paths to cutout the model from the background and then refine that selection to include hair with the Selection and Mask tool.
Lesson 3: Recoloring with Curves
Use curves and an understanding of color theory to recolor Snow White’s dress just using curves—which means maintaining the black and white point.
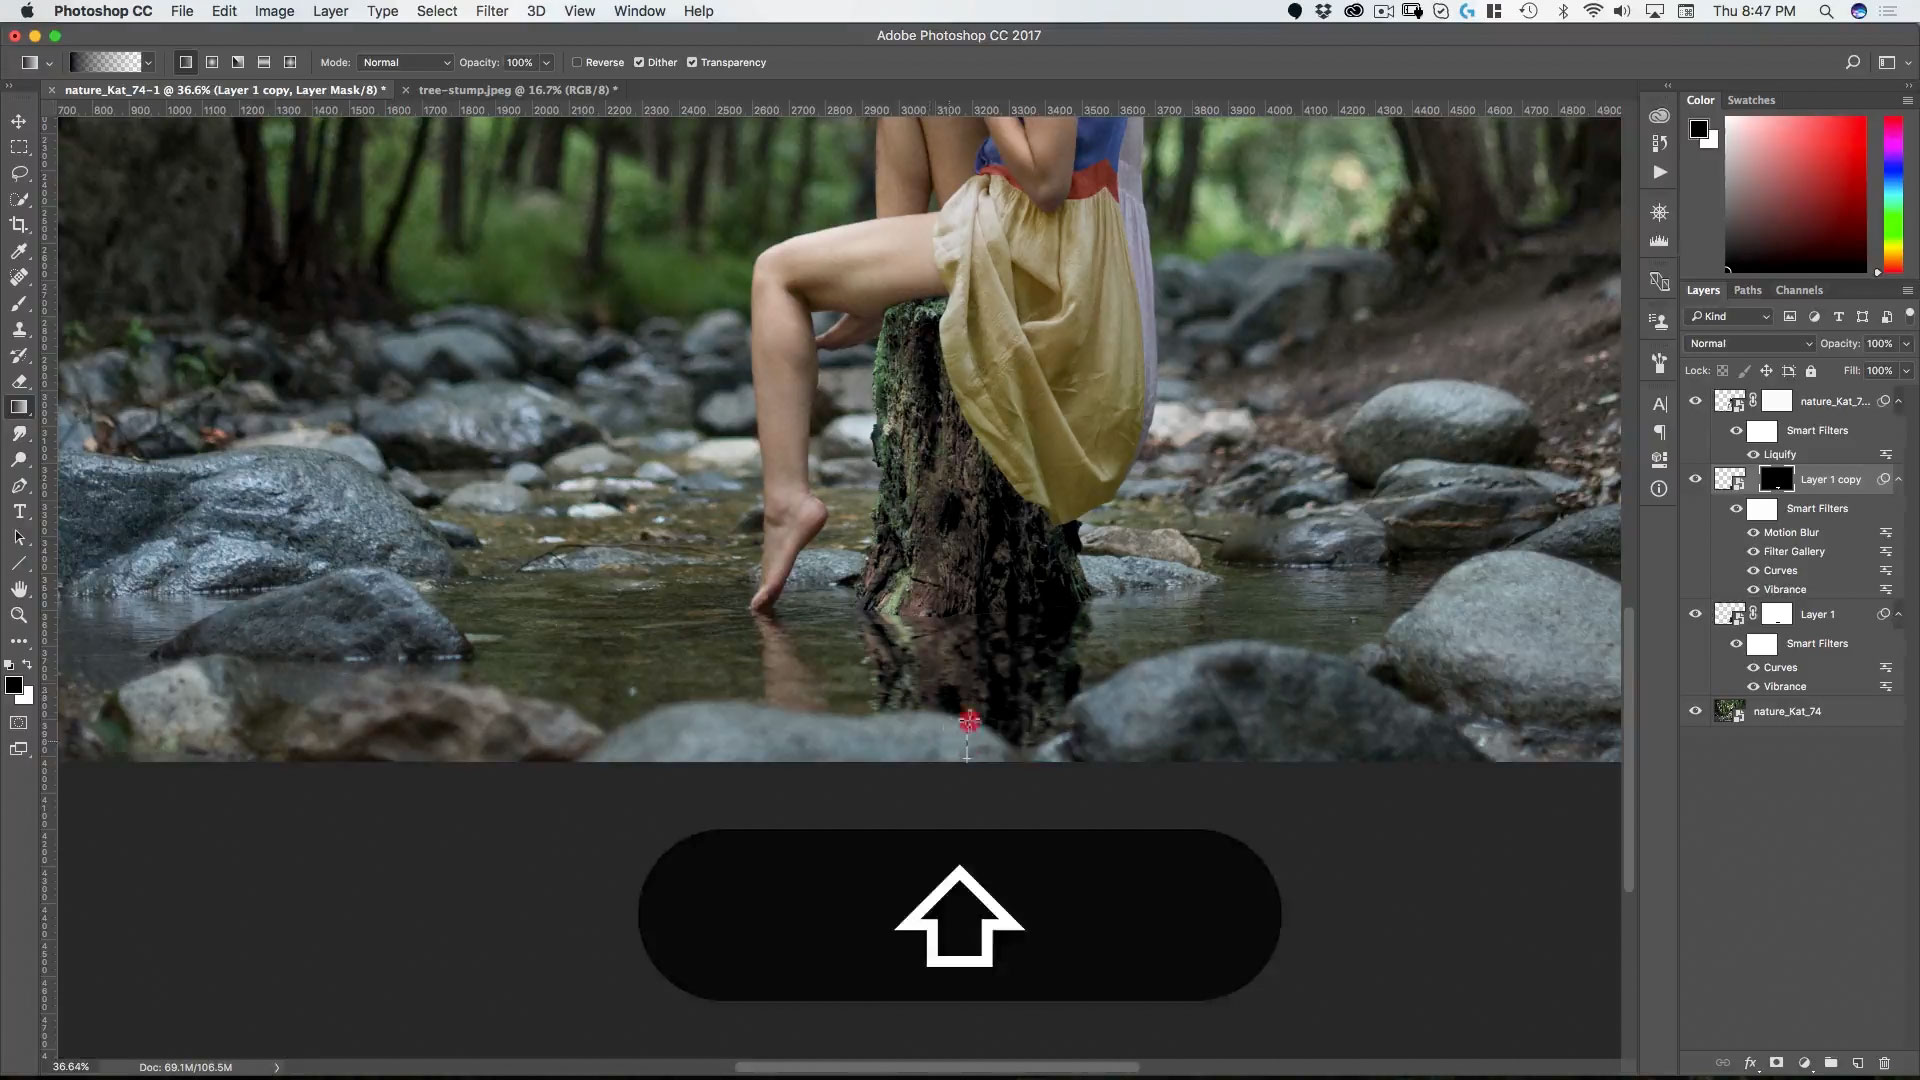
Lesson 4: The Tree Stump
Learn to use the quick selection tool and then filters and adjustments to create a realistic reflection.
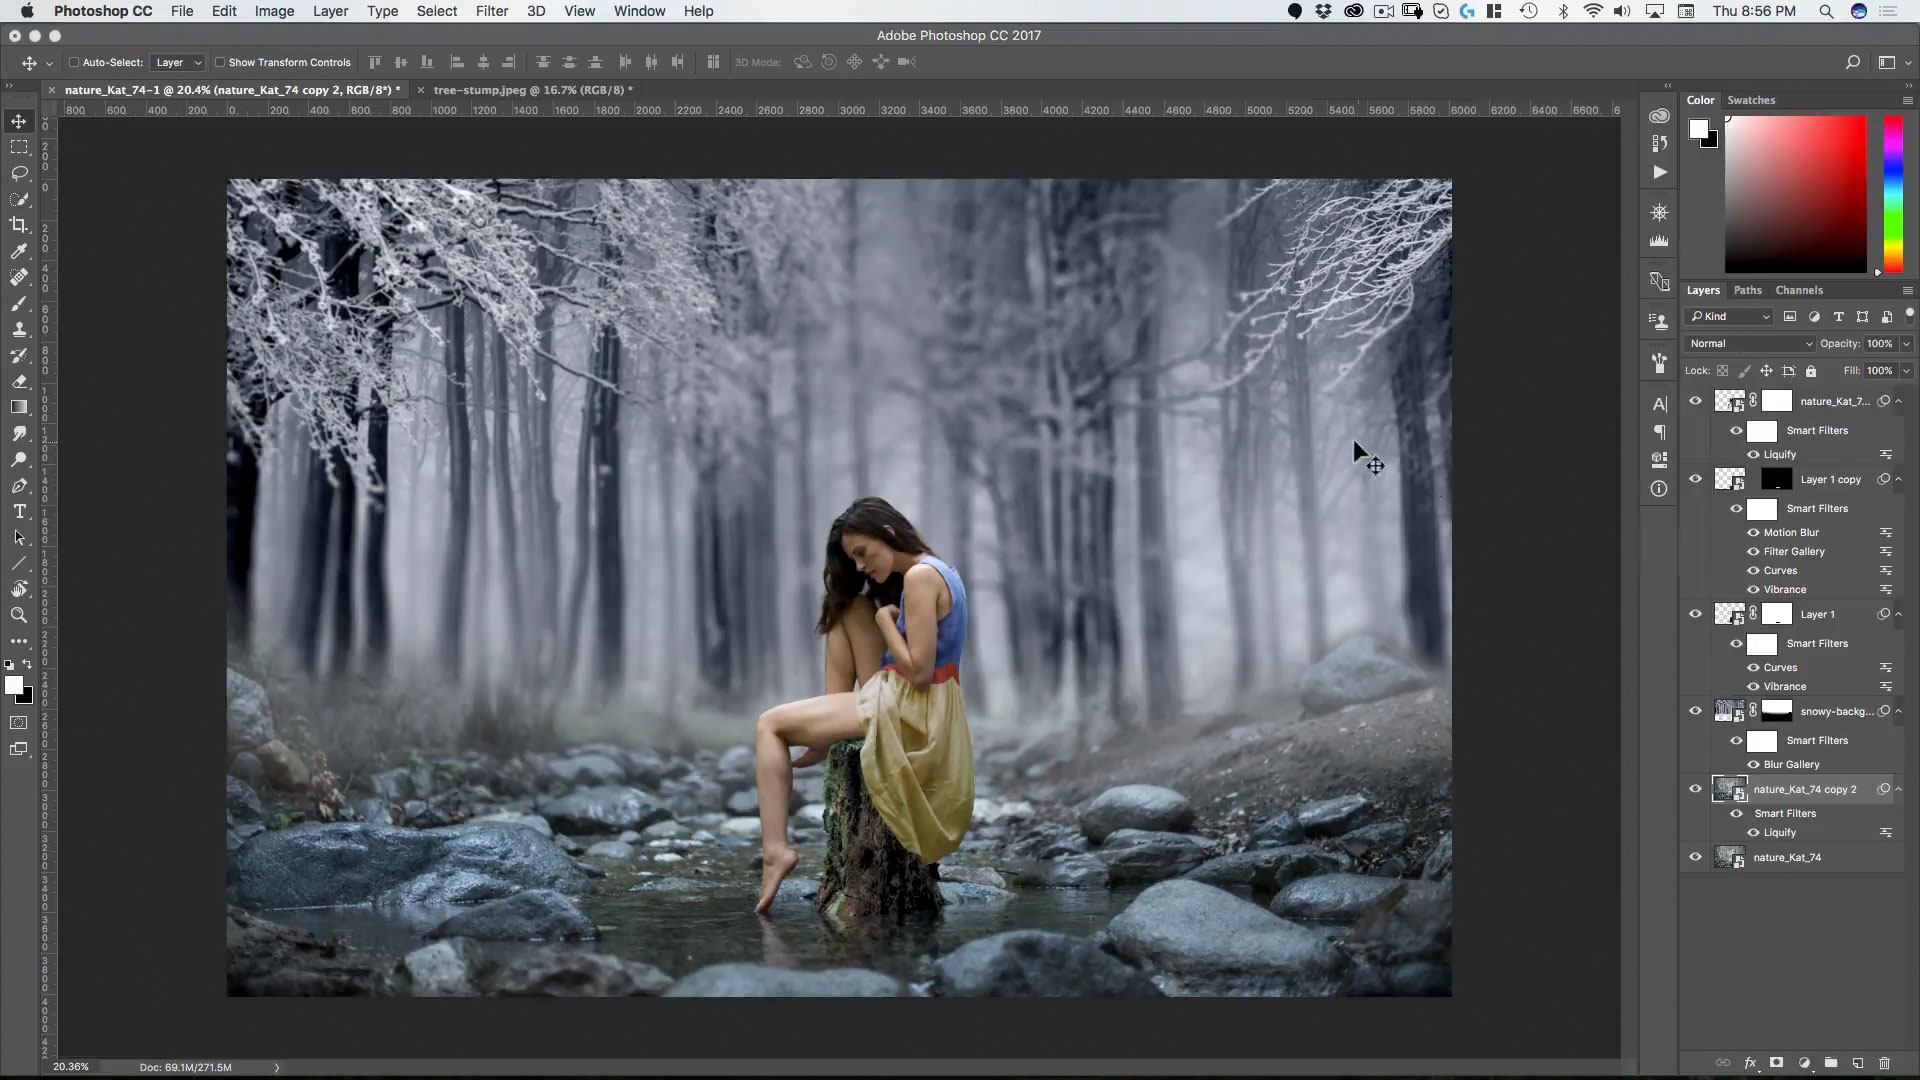
Lesson 5: Background Replacement
Learn how to quickly replace a background and integrate the new background into the existing ground plane of your image.
Lesson 6: Putting in the Deer
Here we combine various masking techniques to cut out the deer and put it into the scene.
Lesson 7: Adding the Bird
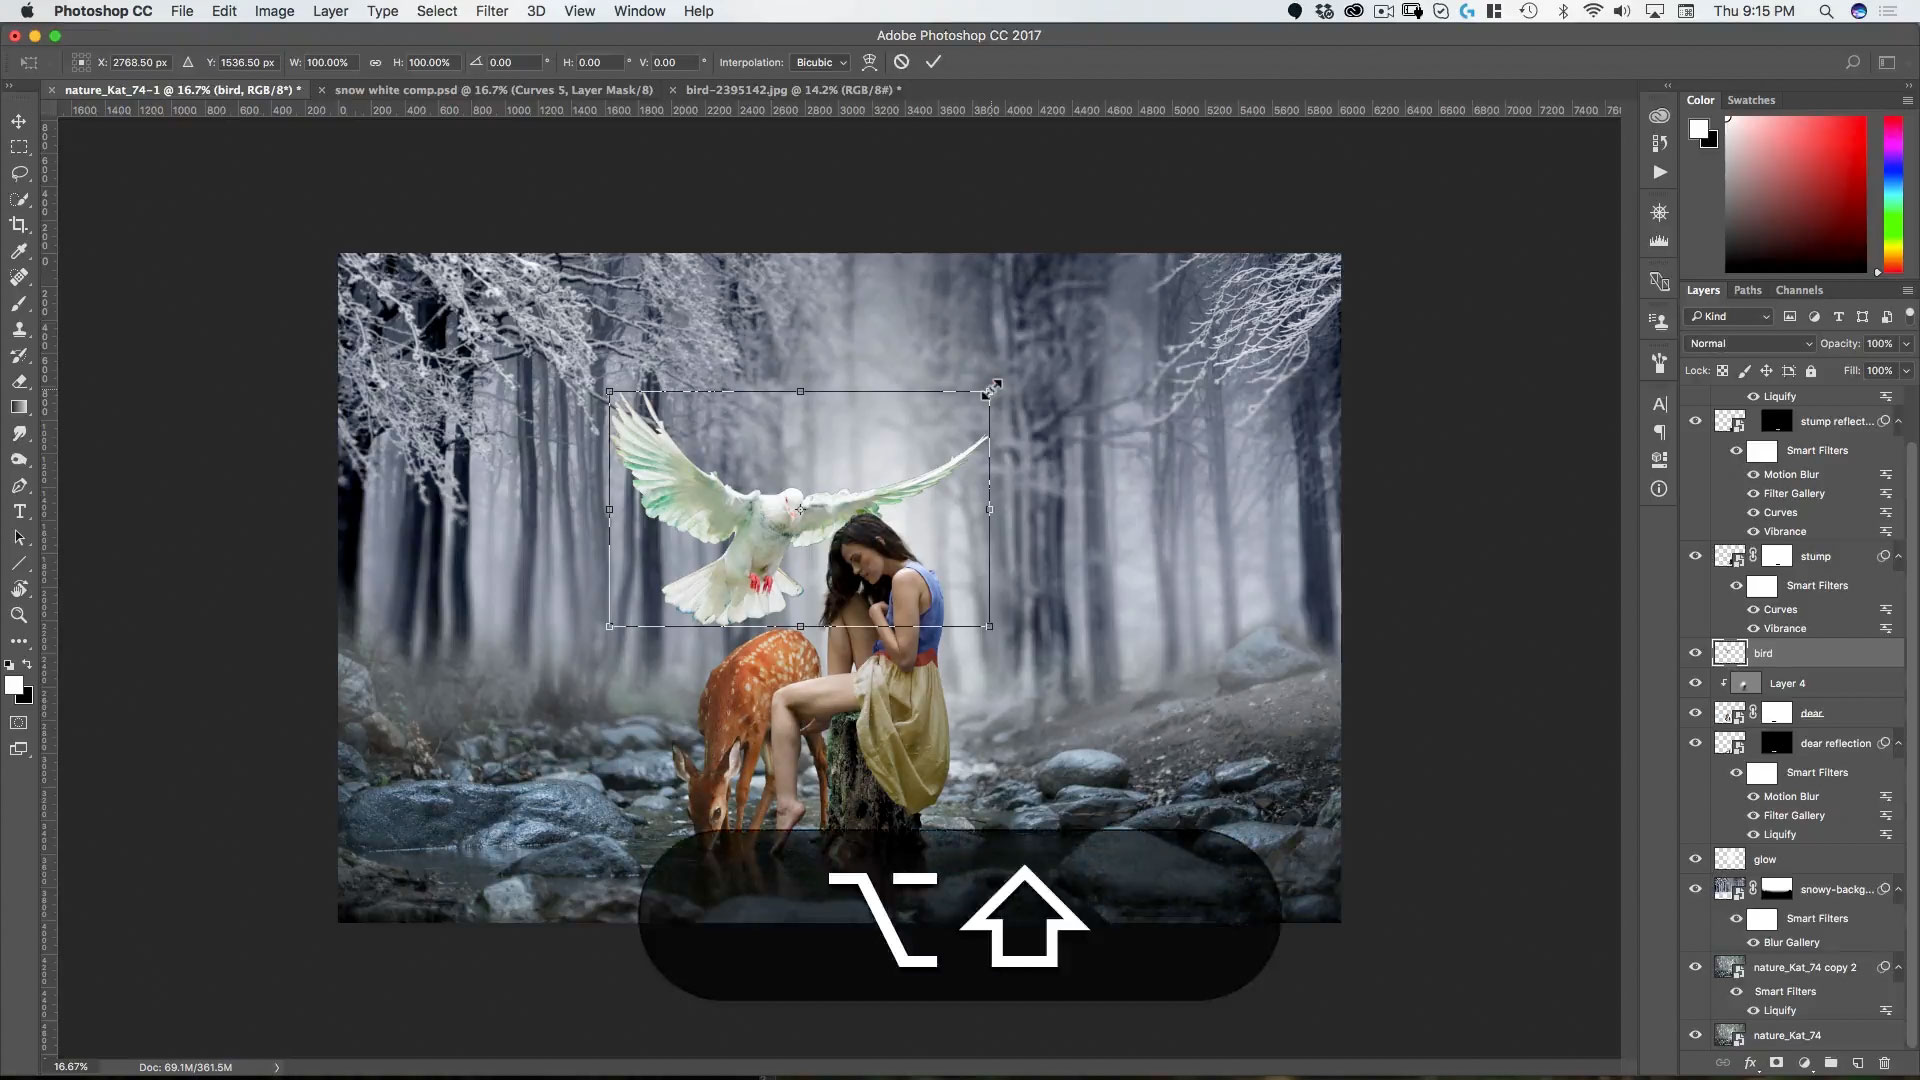
In addition to selection and masking, here we also cover using the color blend mode and the spin blur.
Lesson 8: Creating Snow
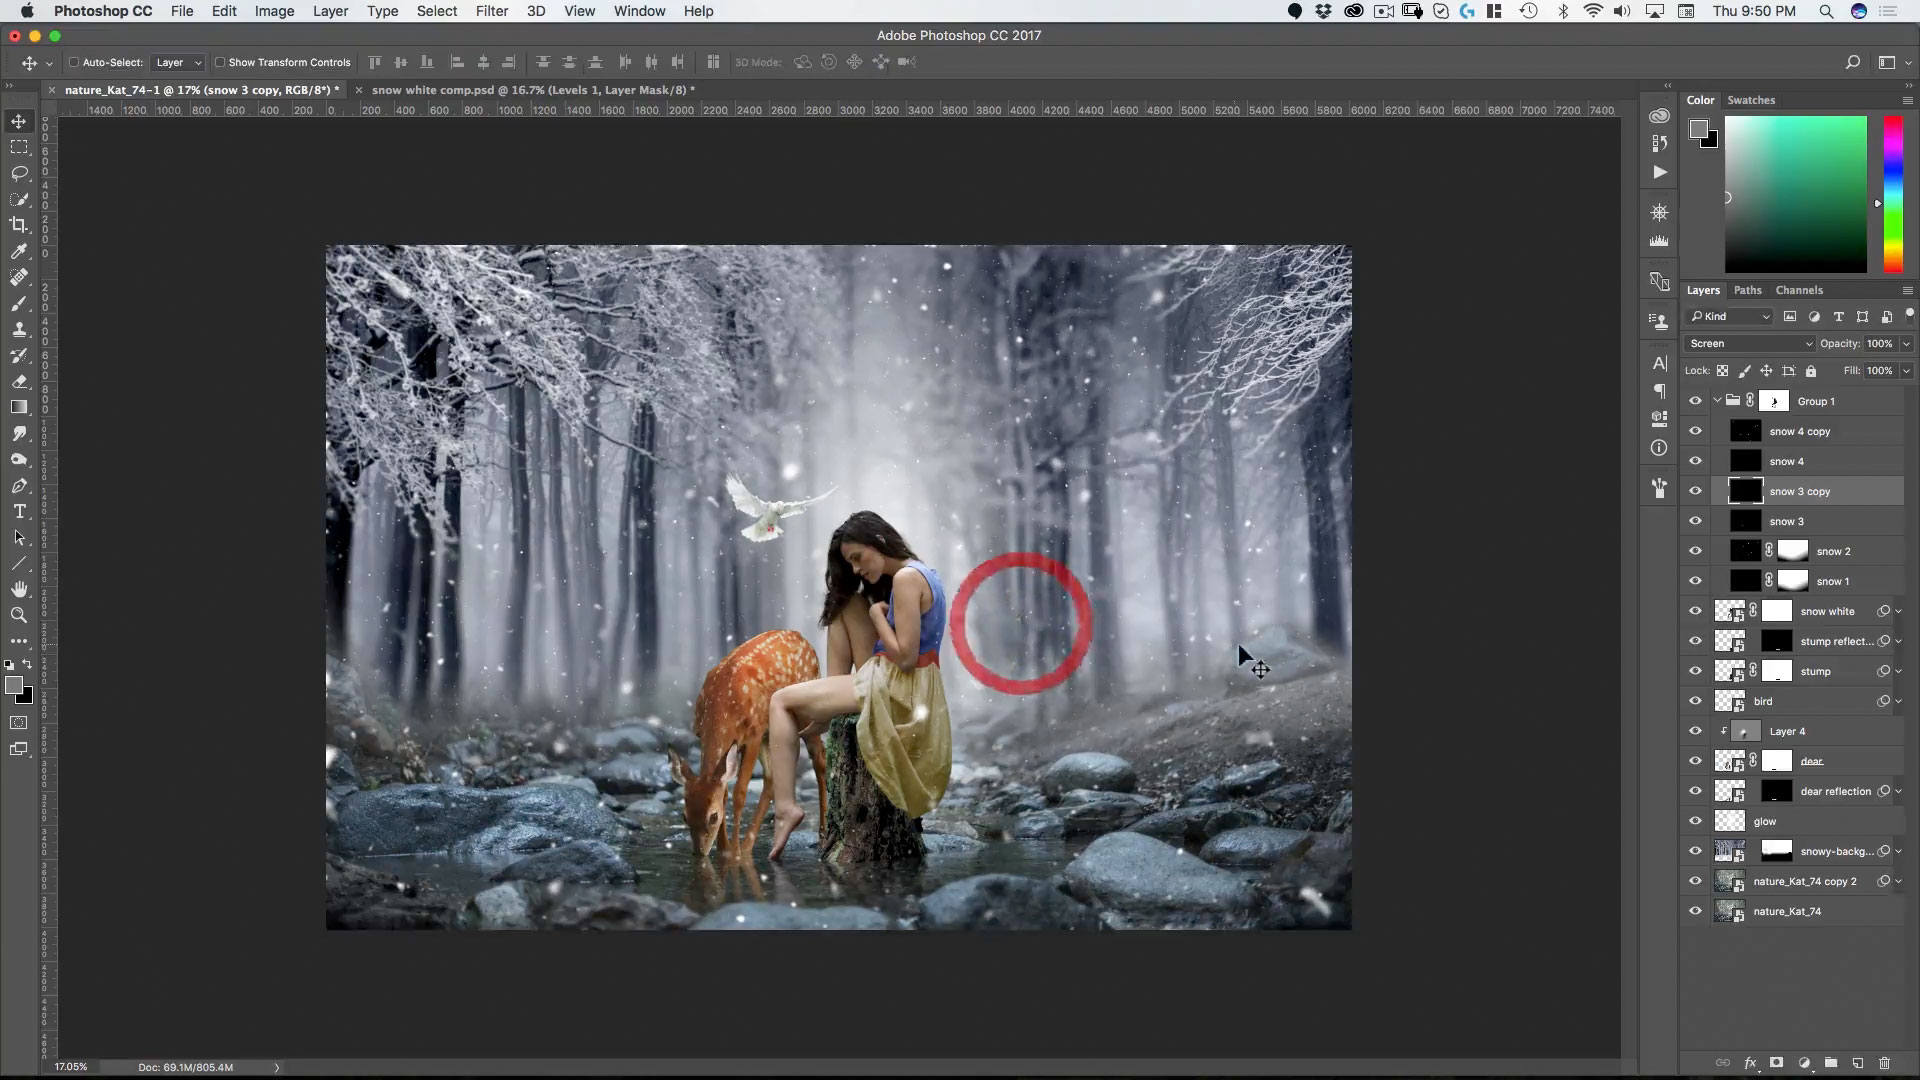
Learn a simple technique to create organic looking snow without the need for any custom brushes.
Lesson 9: Color Grading
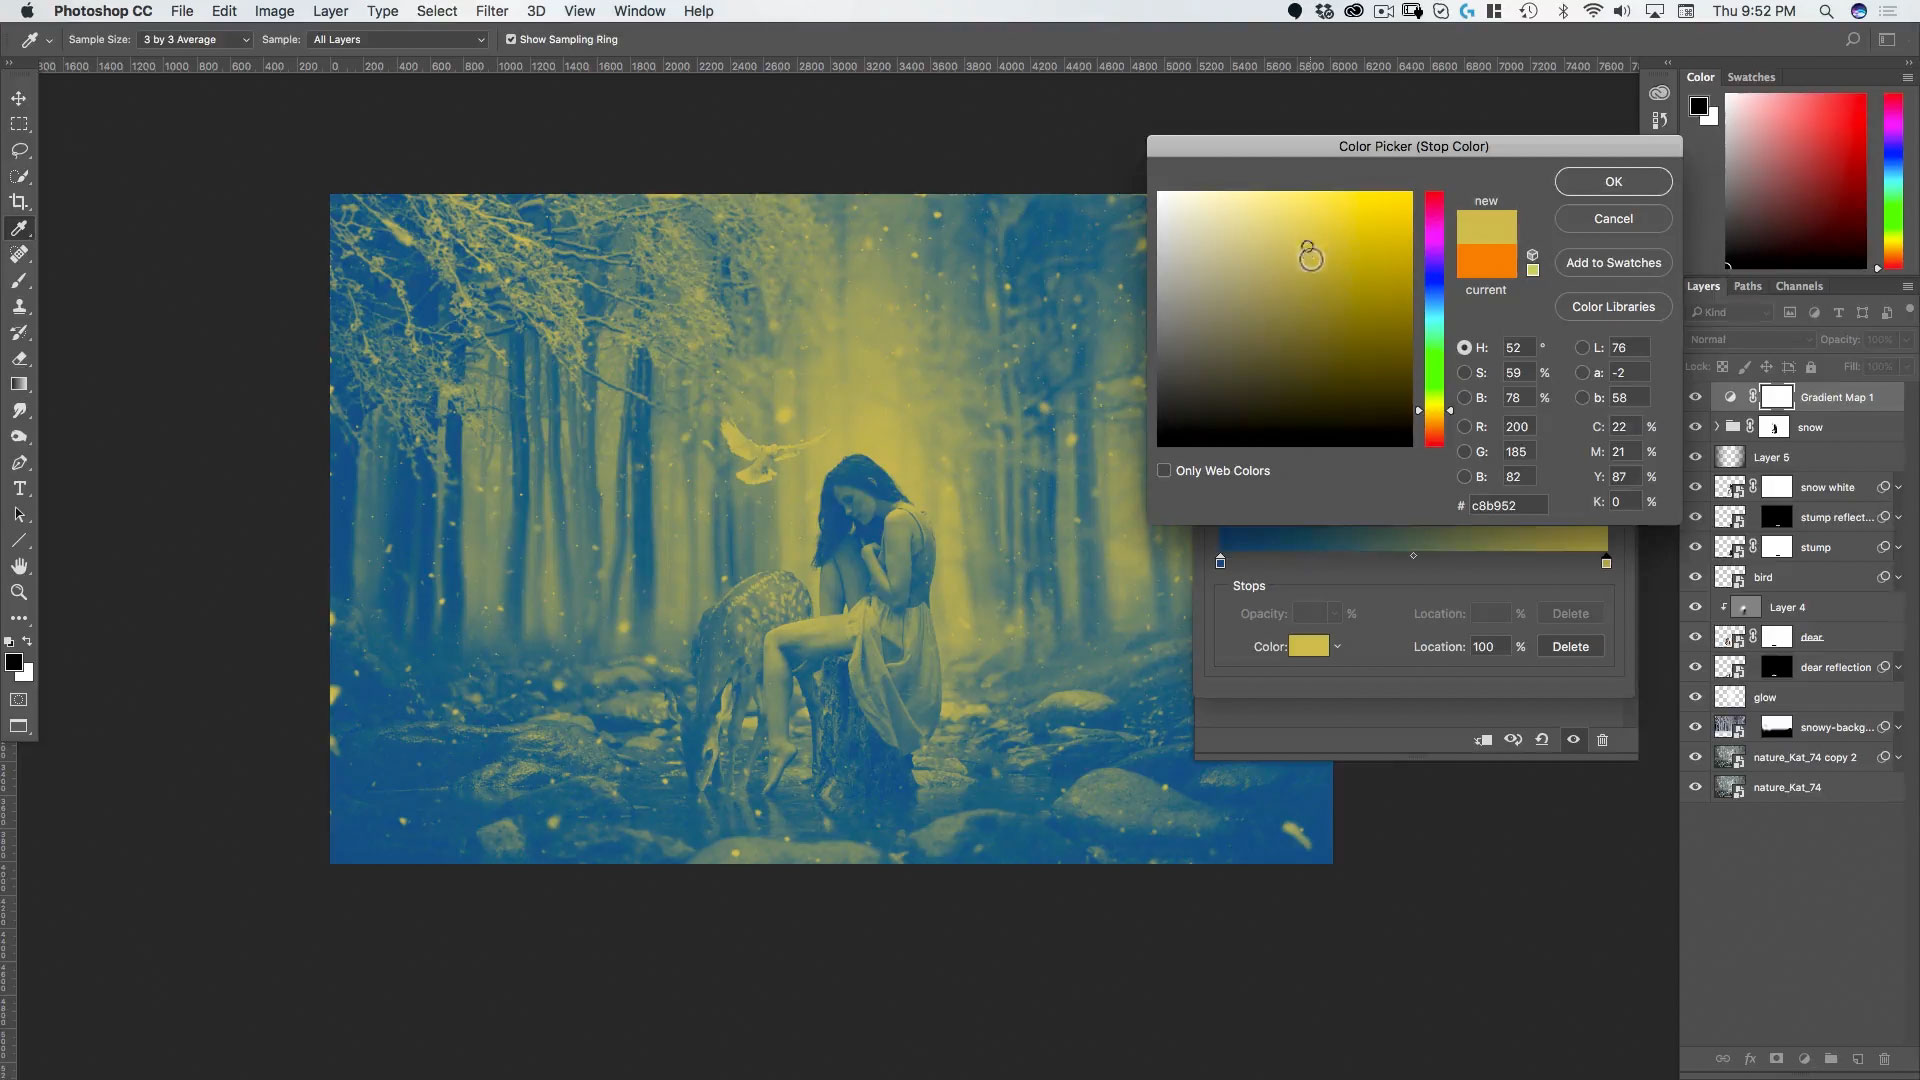
Here we integrate the entire composite using gradient maps and color adjustments to create a beautiful looking final image.
Lesson 10: The Final Touch
Using the camera raw filter we give the final image an extra “punch” including grain and vignetting.
Each lesson video is provided in HD along with the art and graphic assets used in each lesson. Videos can be downloaded and viewed on any device or on any computer. After you’ve completed the course, you can email your completed photo composites (as flattened jpgs) to rikard@zevendesign.com for free reviews, critiques and tips to further increase your skill.

