The Protector Photo Composite
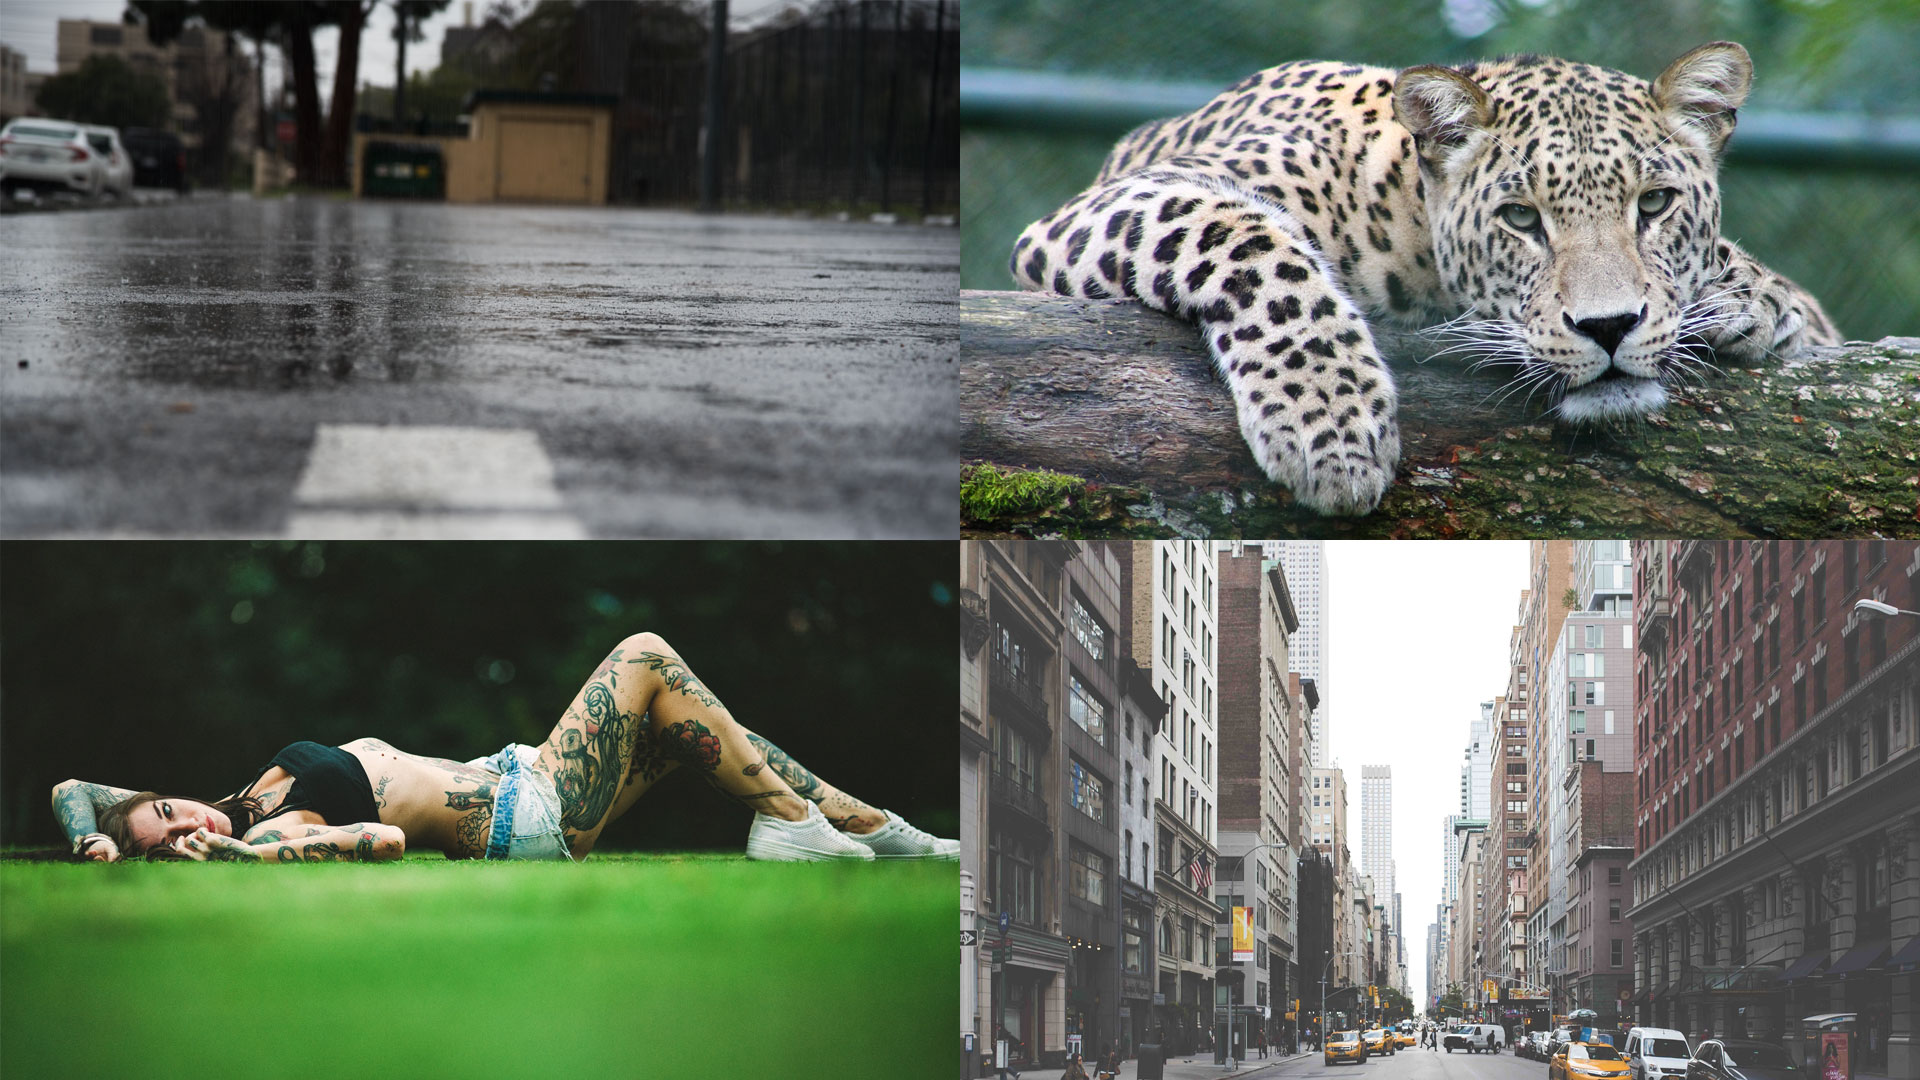
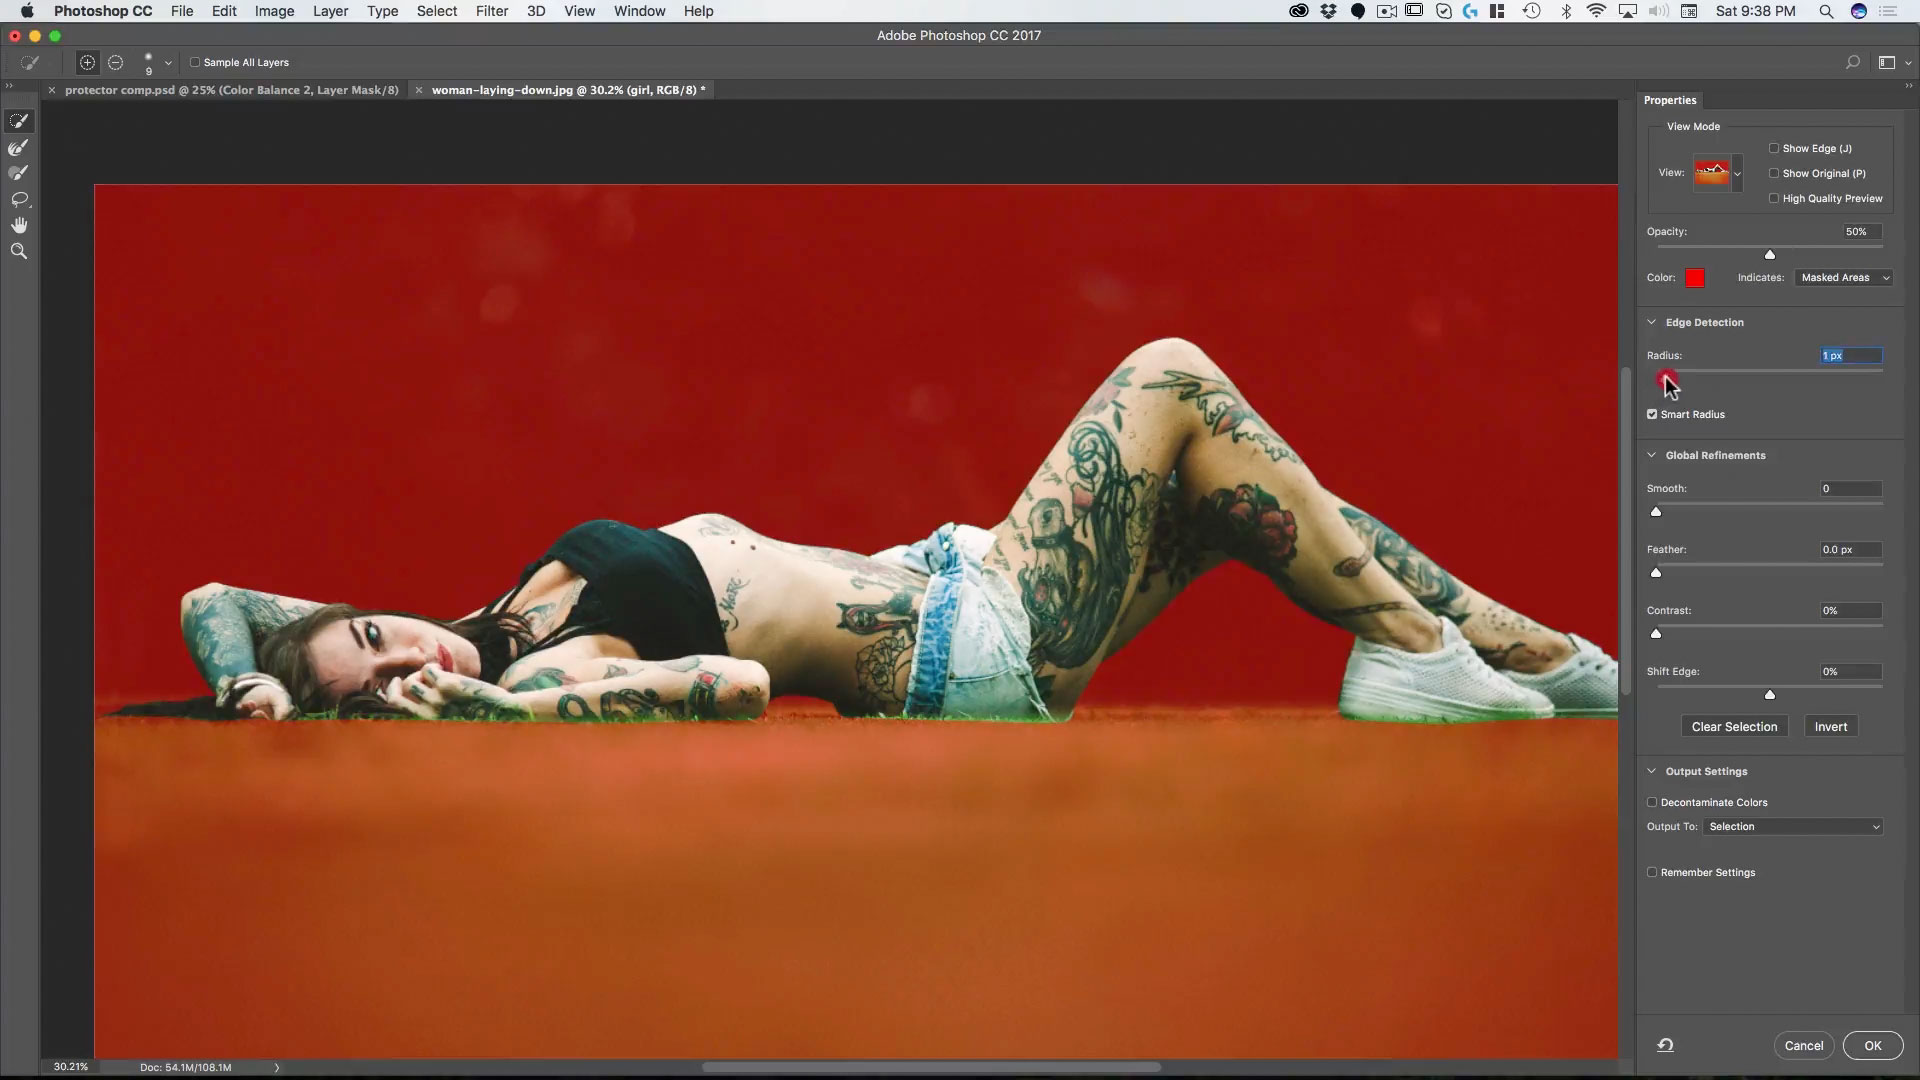
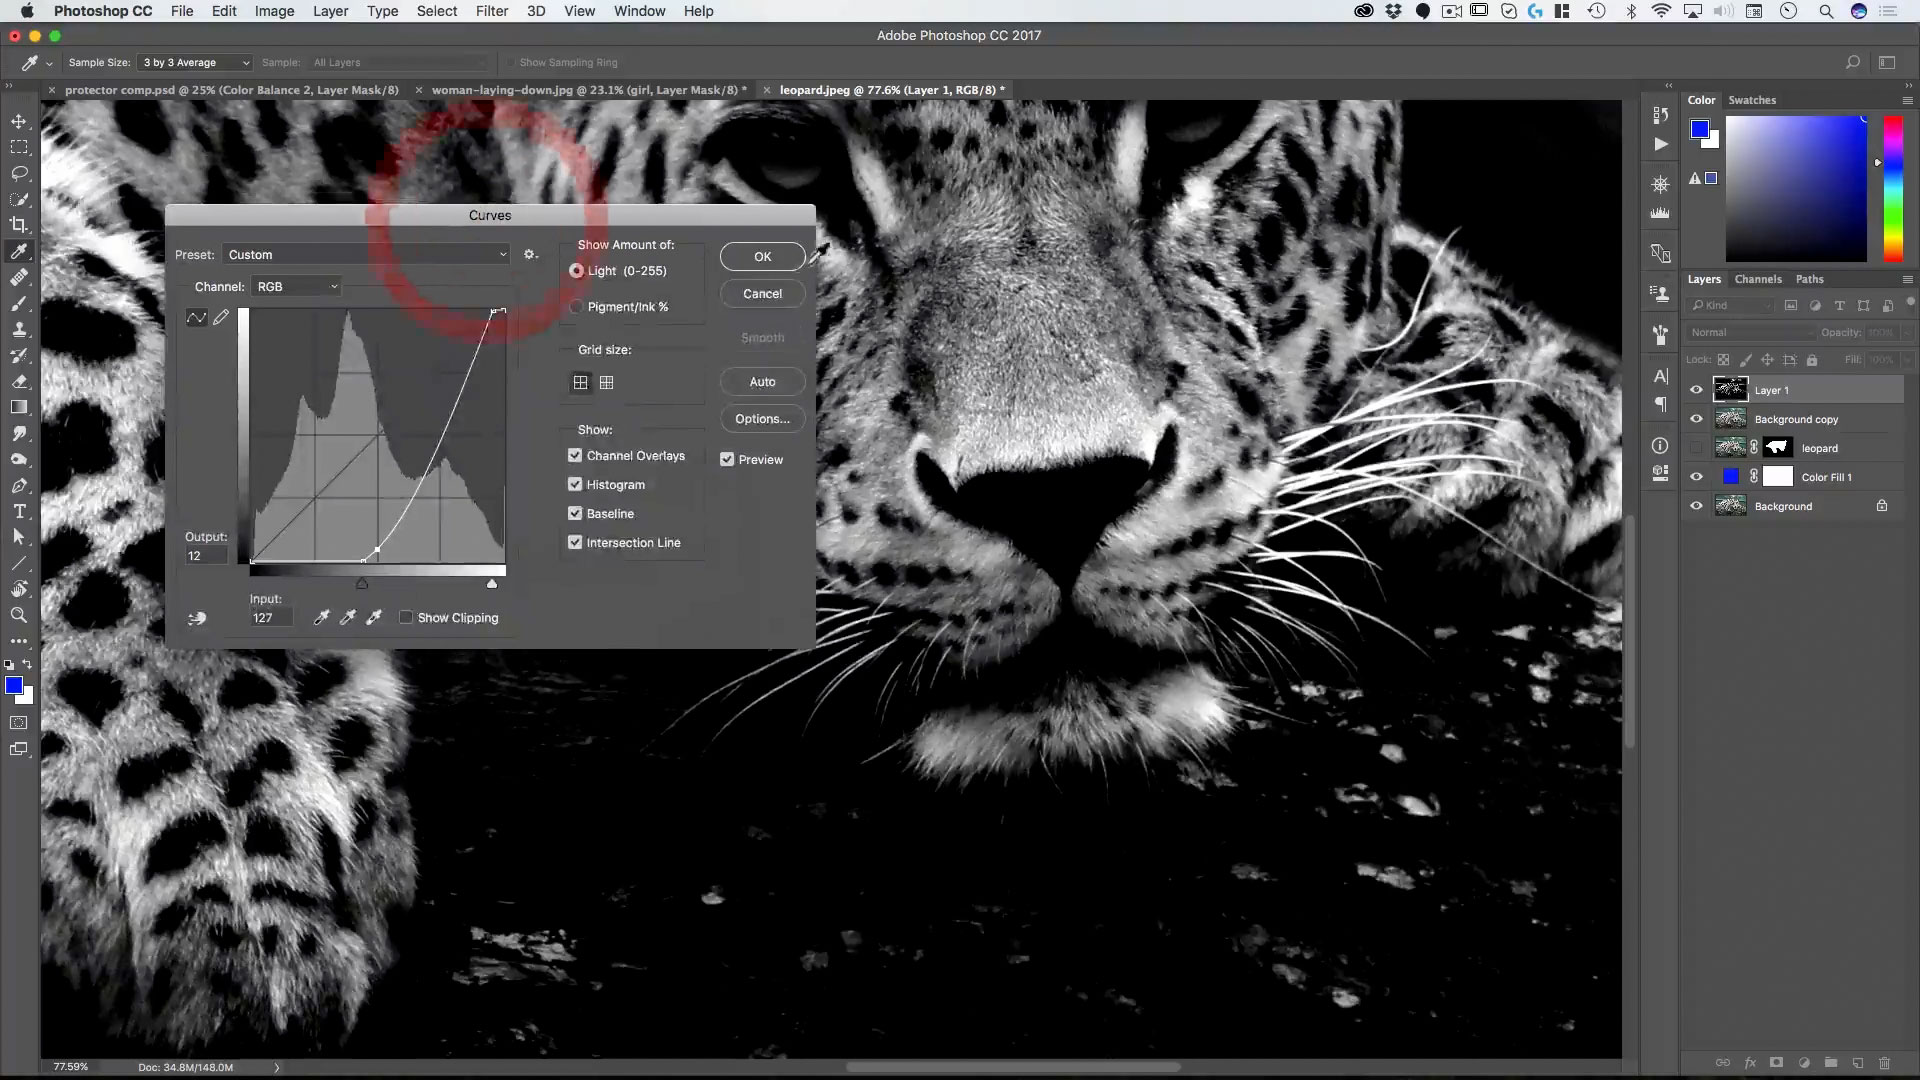
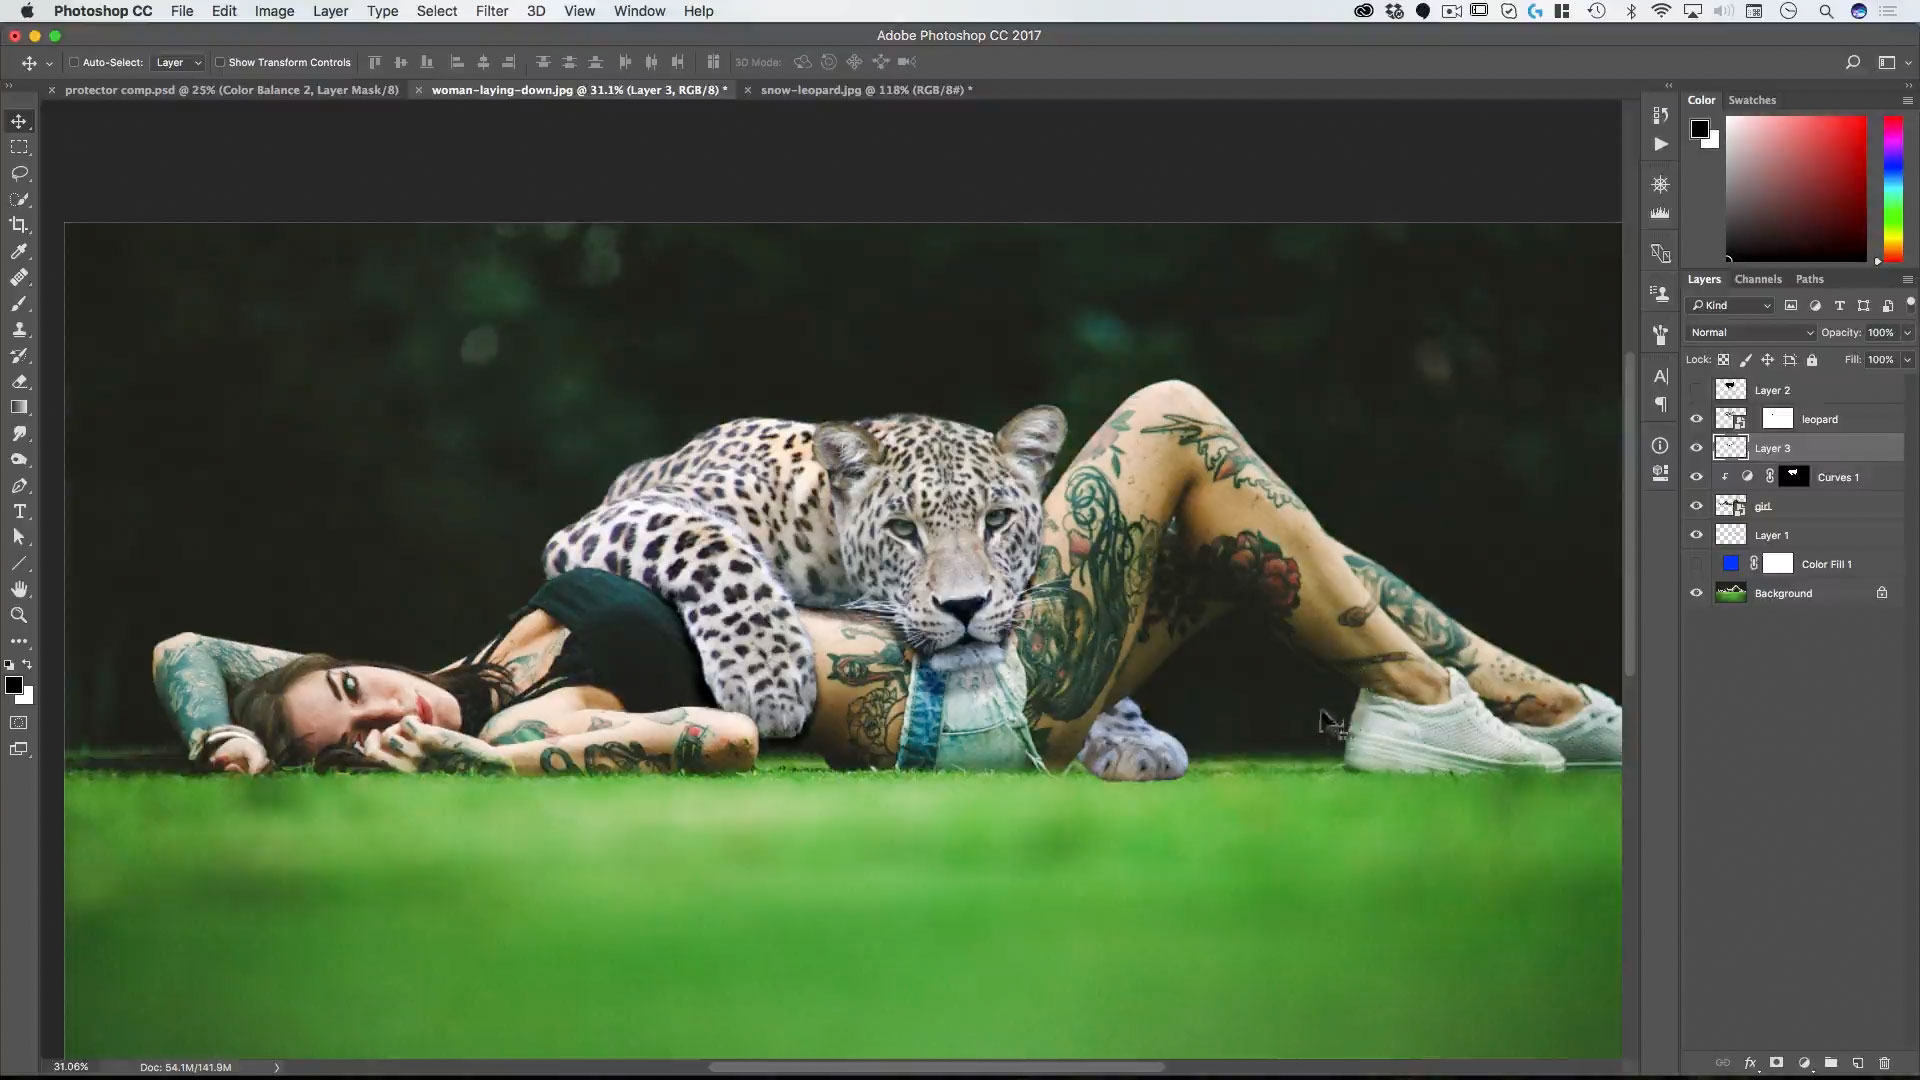
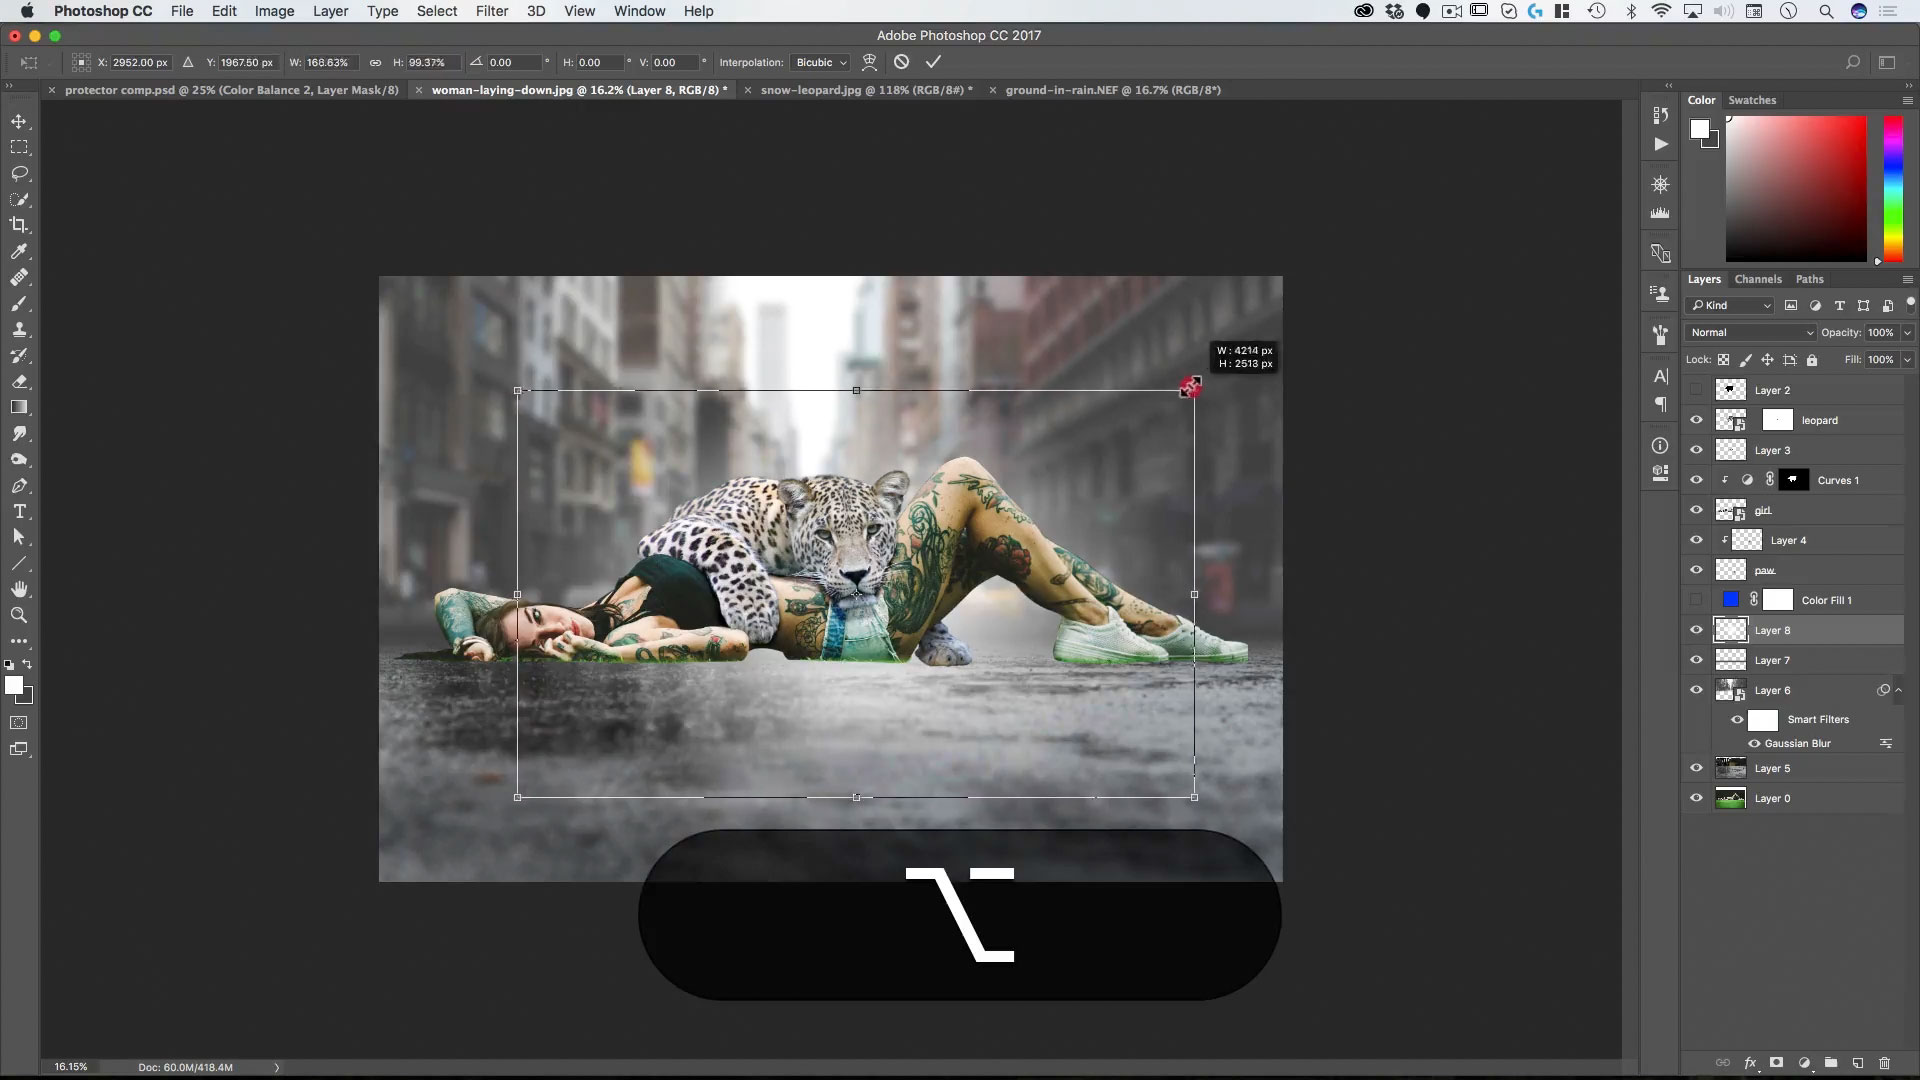
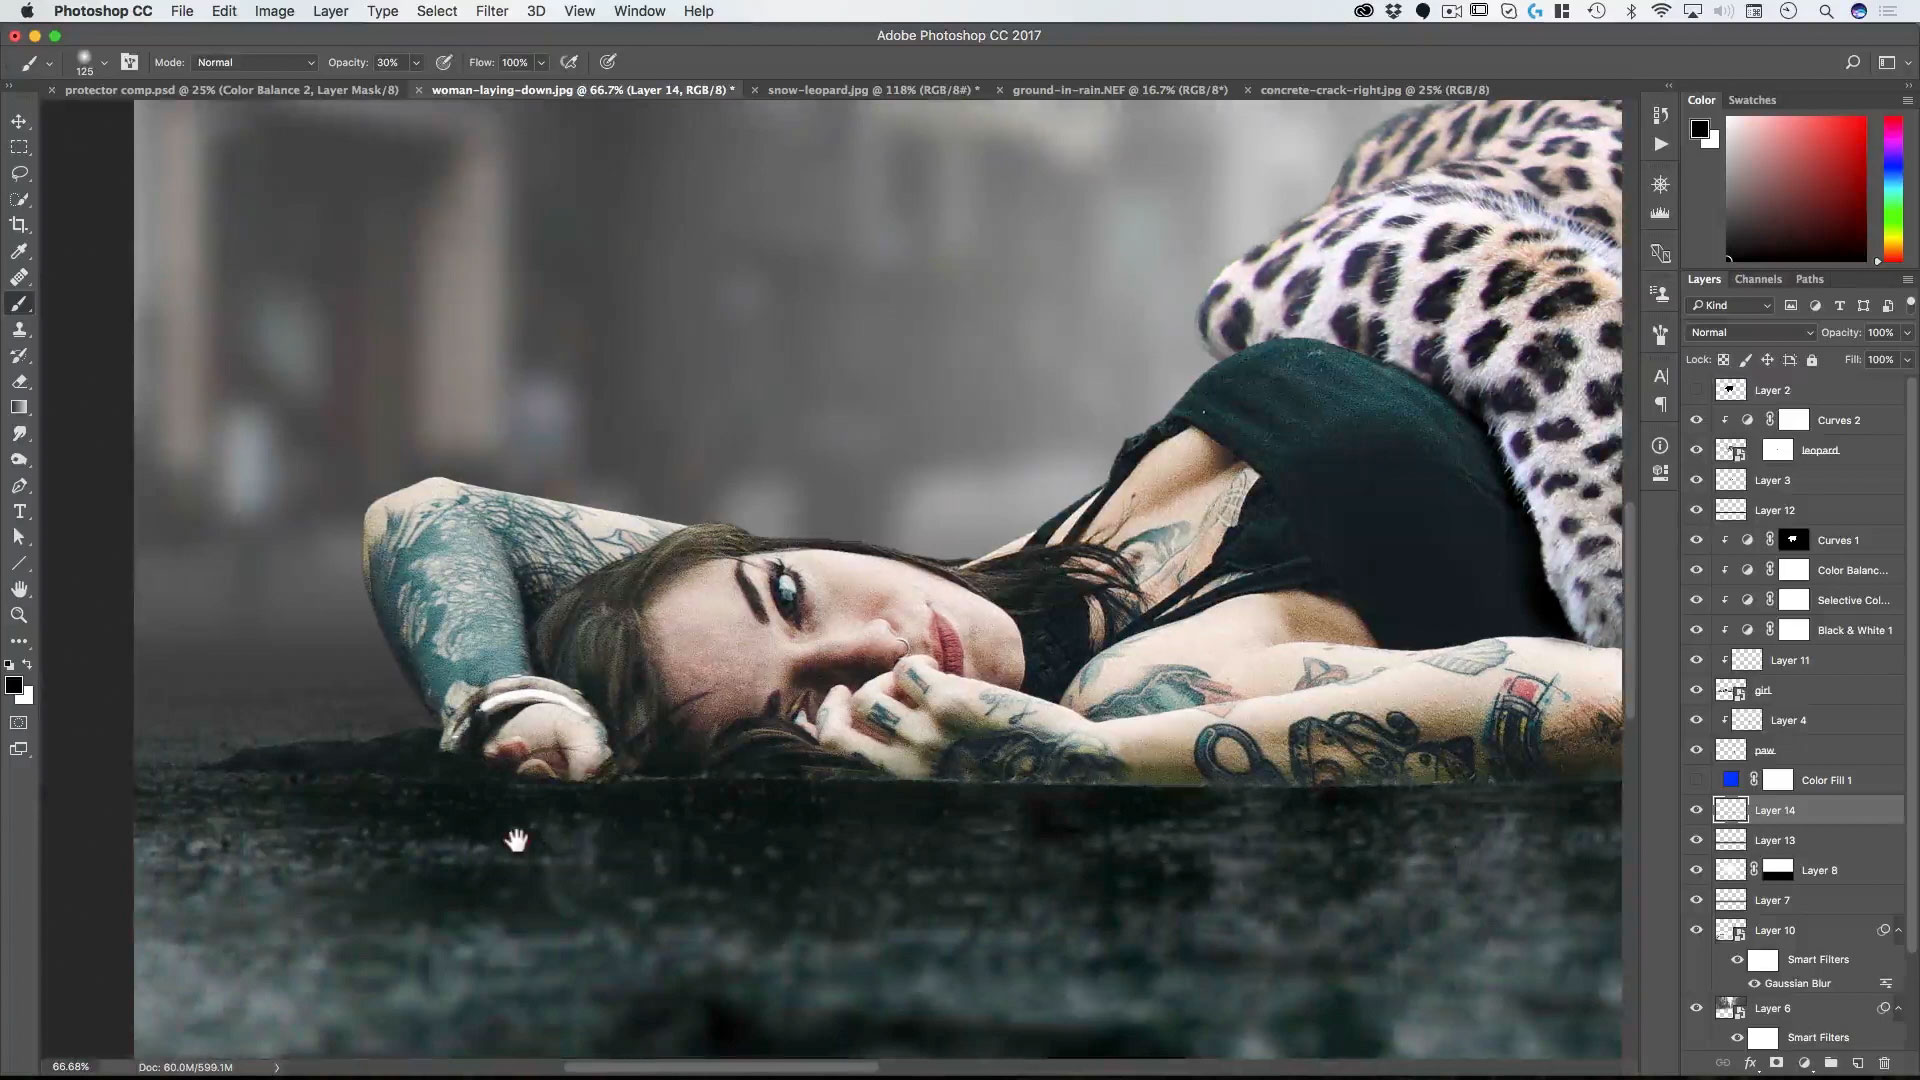
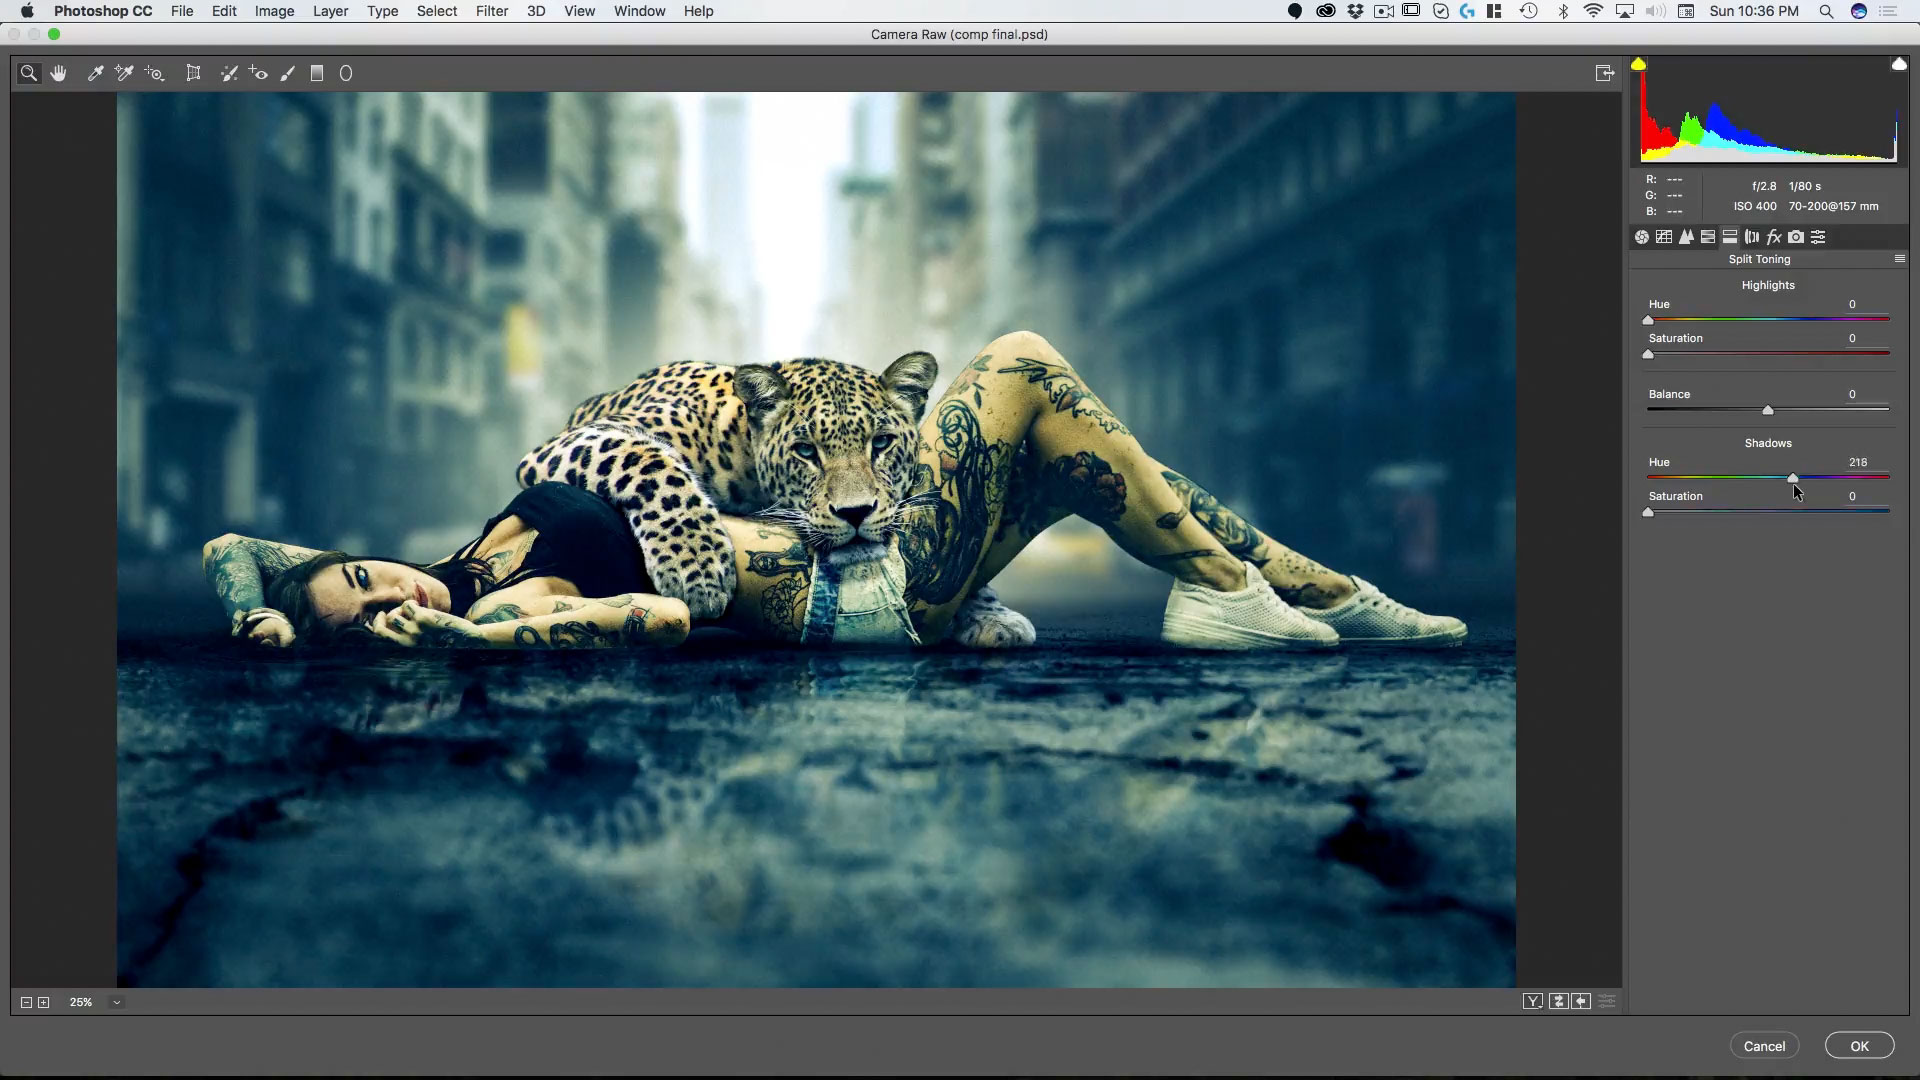
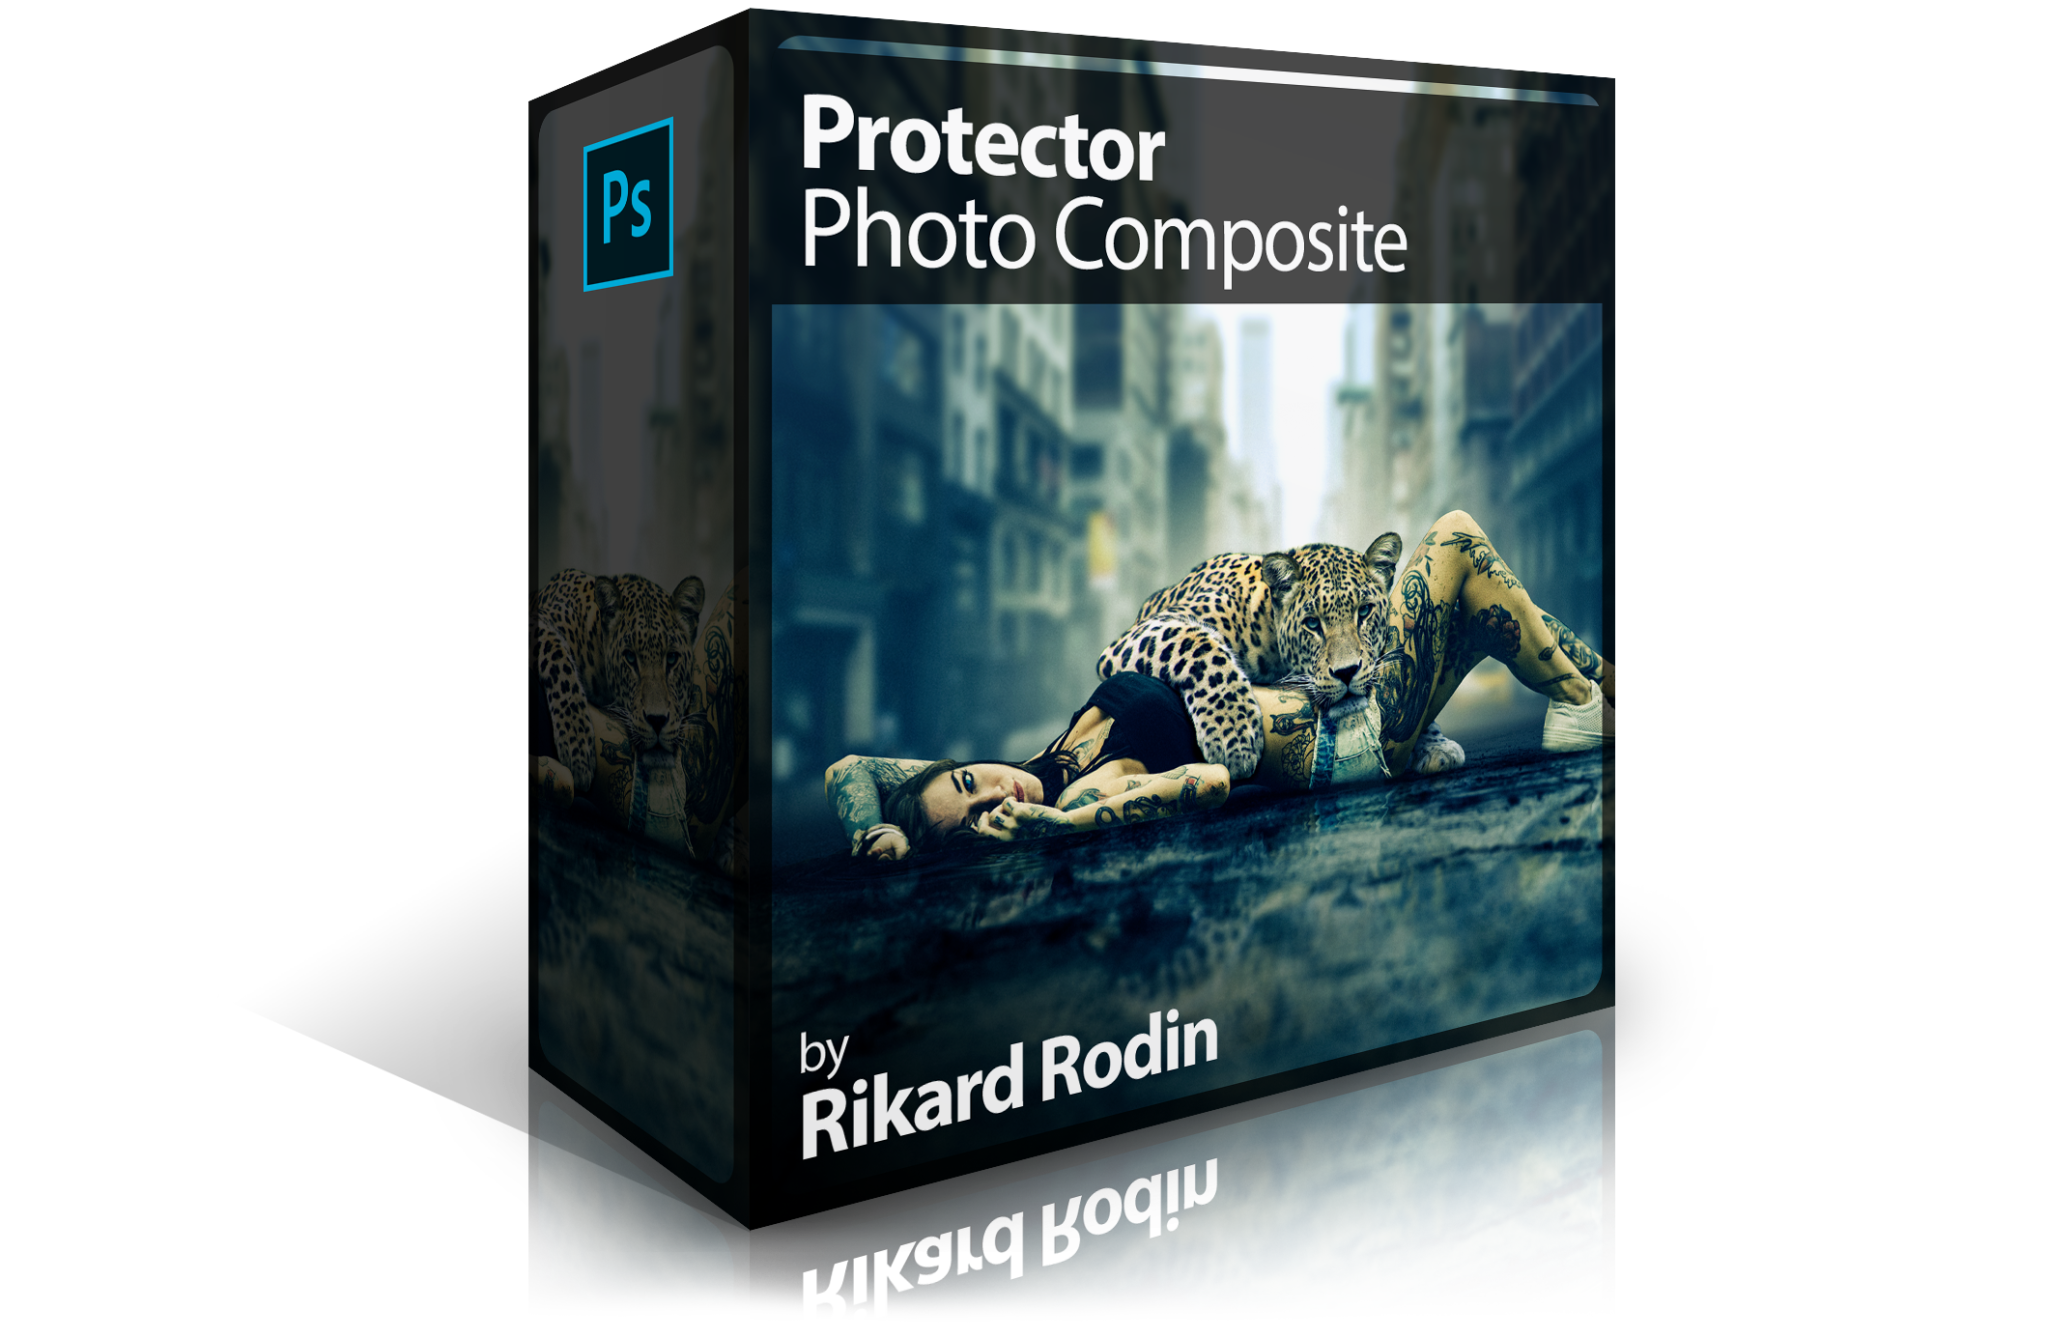
Creative Director and Photoshop Guru Rikard Rodin takes you through the workflow and process of creating a beautiful composite—The Protector—out of 9 different images. The course is filled with Photoshop techniques that are useful for any photo compositing work you may want to do—including advanced masking techniques for cutting out hair, how to create realistic shadows, reflections and how to creatively color grade a composite for maximum visual impact.
Length: 1 hour, 30 minutes | Experience Level: Beginner to Intermediate | Required Software: Photoshop CC
Lessons
Lesson 1: Masking with Paths
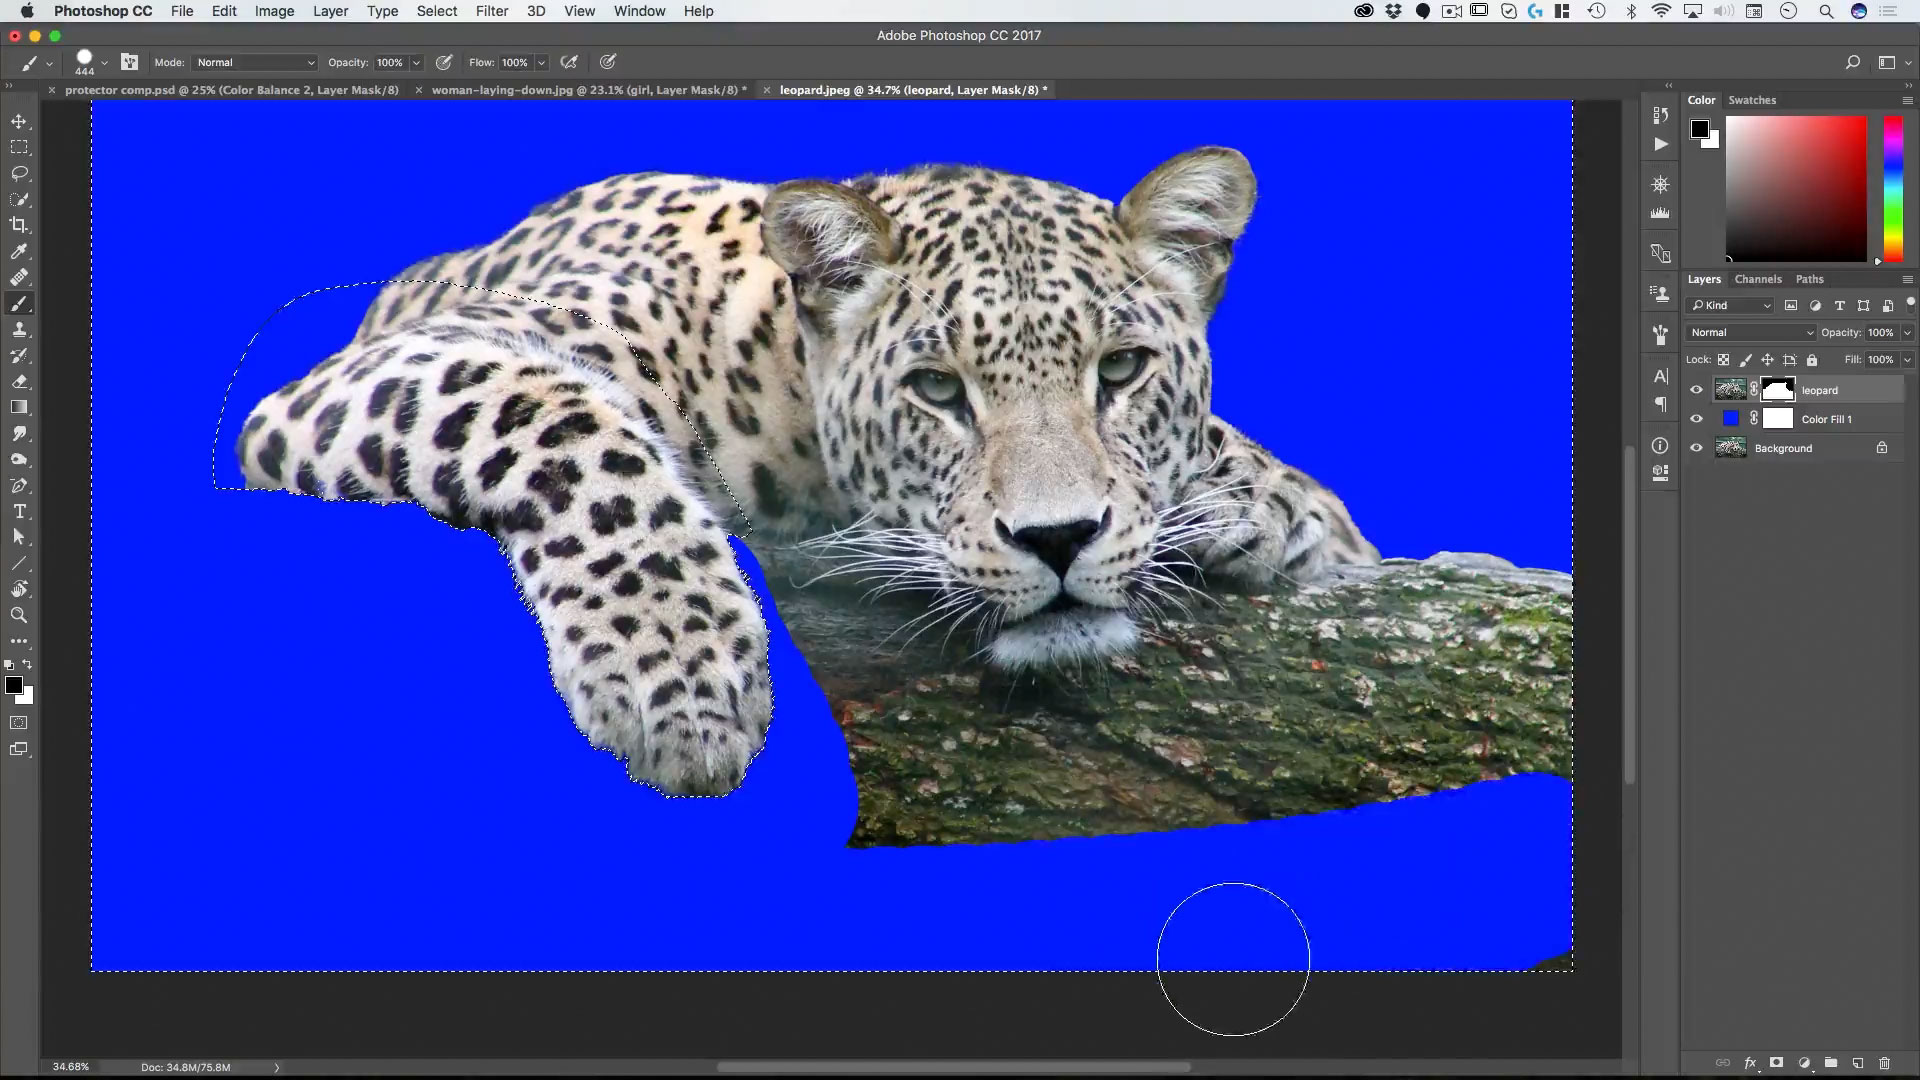
Here we set up our file, do our first cutout and mask, and learn some helpful shortcuts that we will use throughout the rest of the project.
Lesson 3: Masking Techniques Part II
Here you learn how to use channel information to create masks for fine details, such has fur and hair.
Lesson 4: Layered Compositing
In this lesson we start our actual compositing and through the use of masks, we layer the composite so that the two elements (girl and leopard) look well integrated.
Lesson 5: Background Replacement
Use two different images to create an entirely new background—and then integrate these using gradients, horizon lines and mist.
Lesson 6: Adding the Details
In this lesson we add cracks to the foreground and clean up color cast on the original image in preparation for doing the color grading.
Lesson 7: Realistic Reflections
Here we add reflections to the ground using transforms and smart objects—and then make those reflections realistic through blending modes, blur filters and the displace tool.
Lesson 8: Composite Color Grading
In the final lesson, learn how to color grade composites to create an artistic and integrated final look. Learn to use gradient ramps, color balance and other color adjustment tools in your composites.
Each lesson video is provided in HD along with the art and graphic assets used in each lesson. Videos can be downloaded and viewed on any device or on any computer. After you’ve completed the course, you can email your completed photo composites (as flattened jpgs) to rikard@zevendesign.com for free reviews, critiques and tips to further increase your skill.

