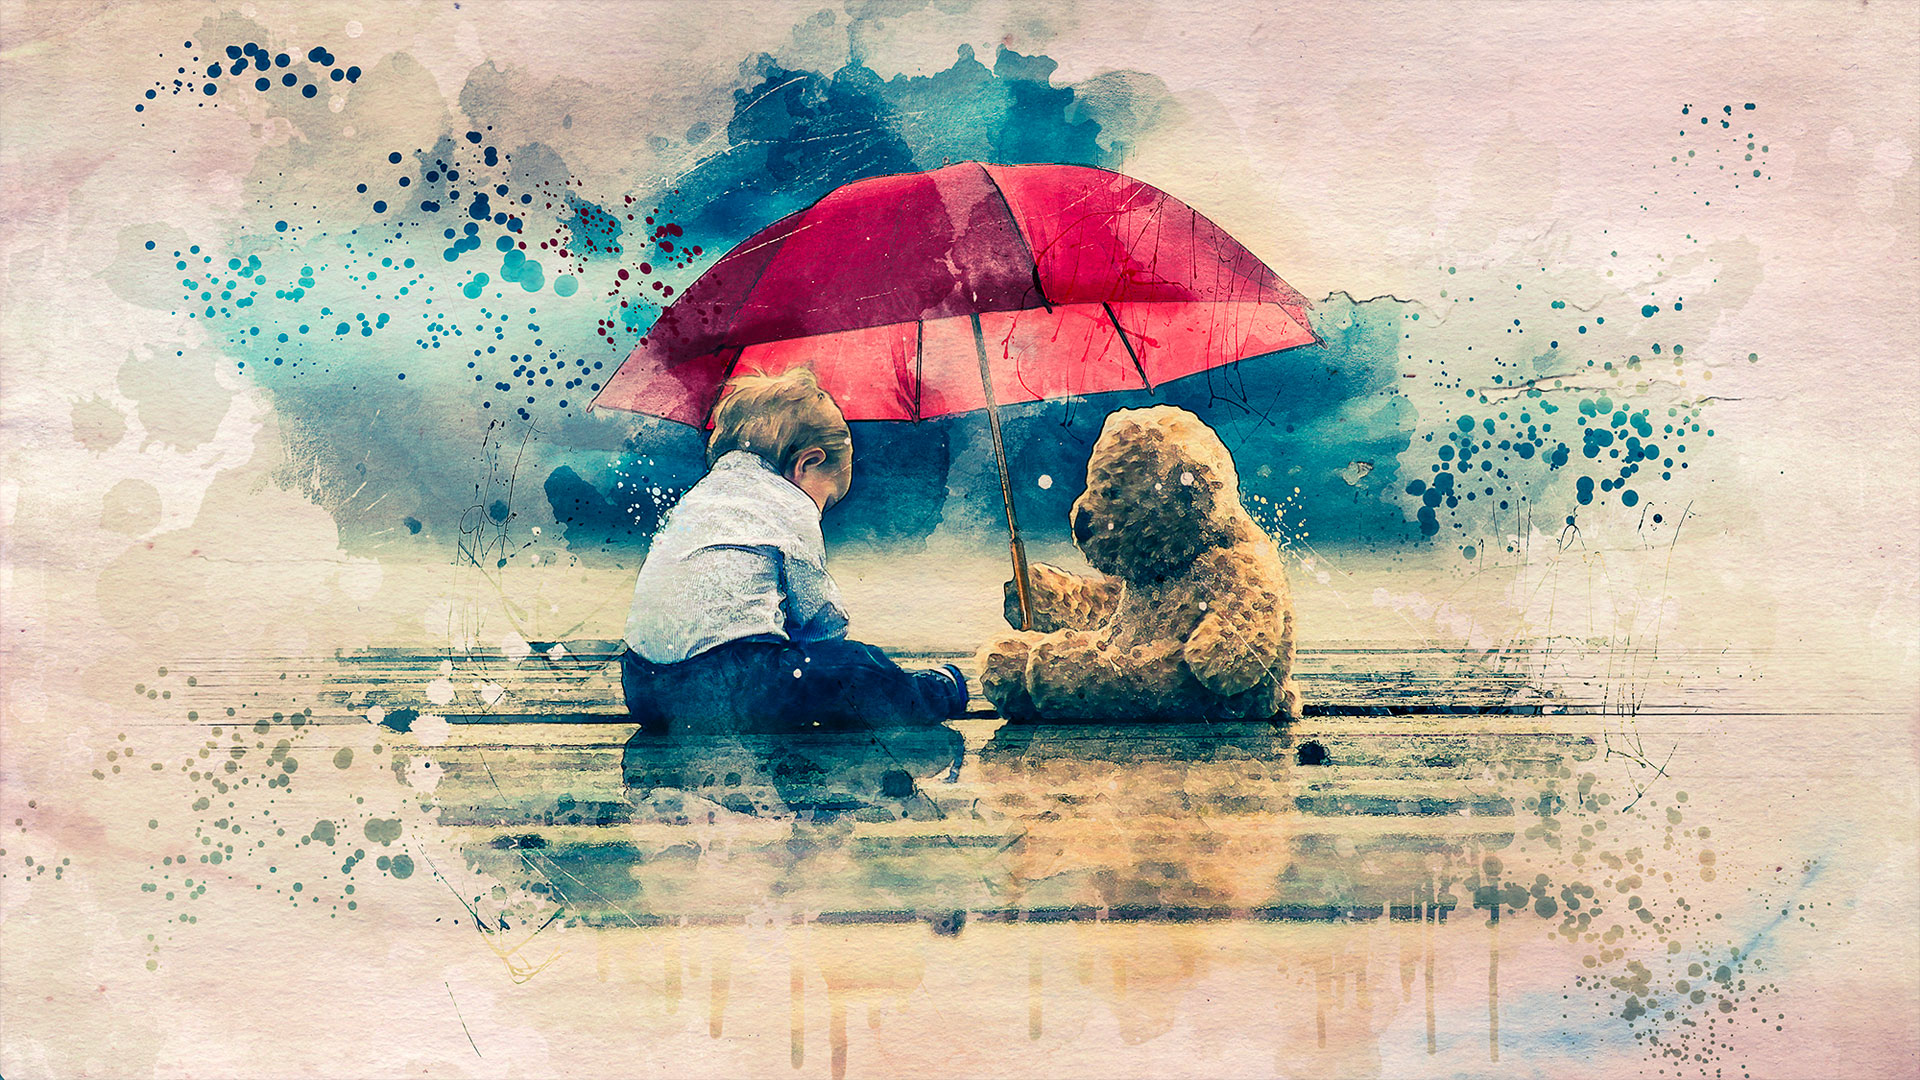
Watercolor Painting in Photoshop
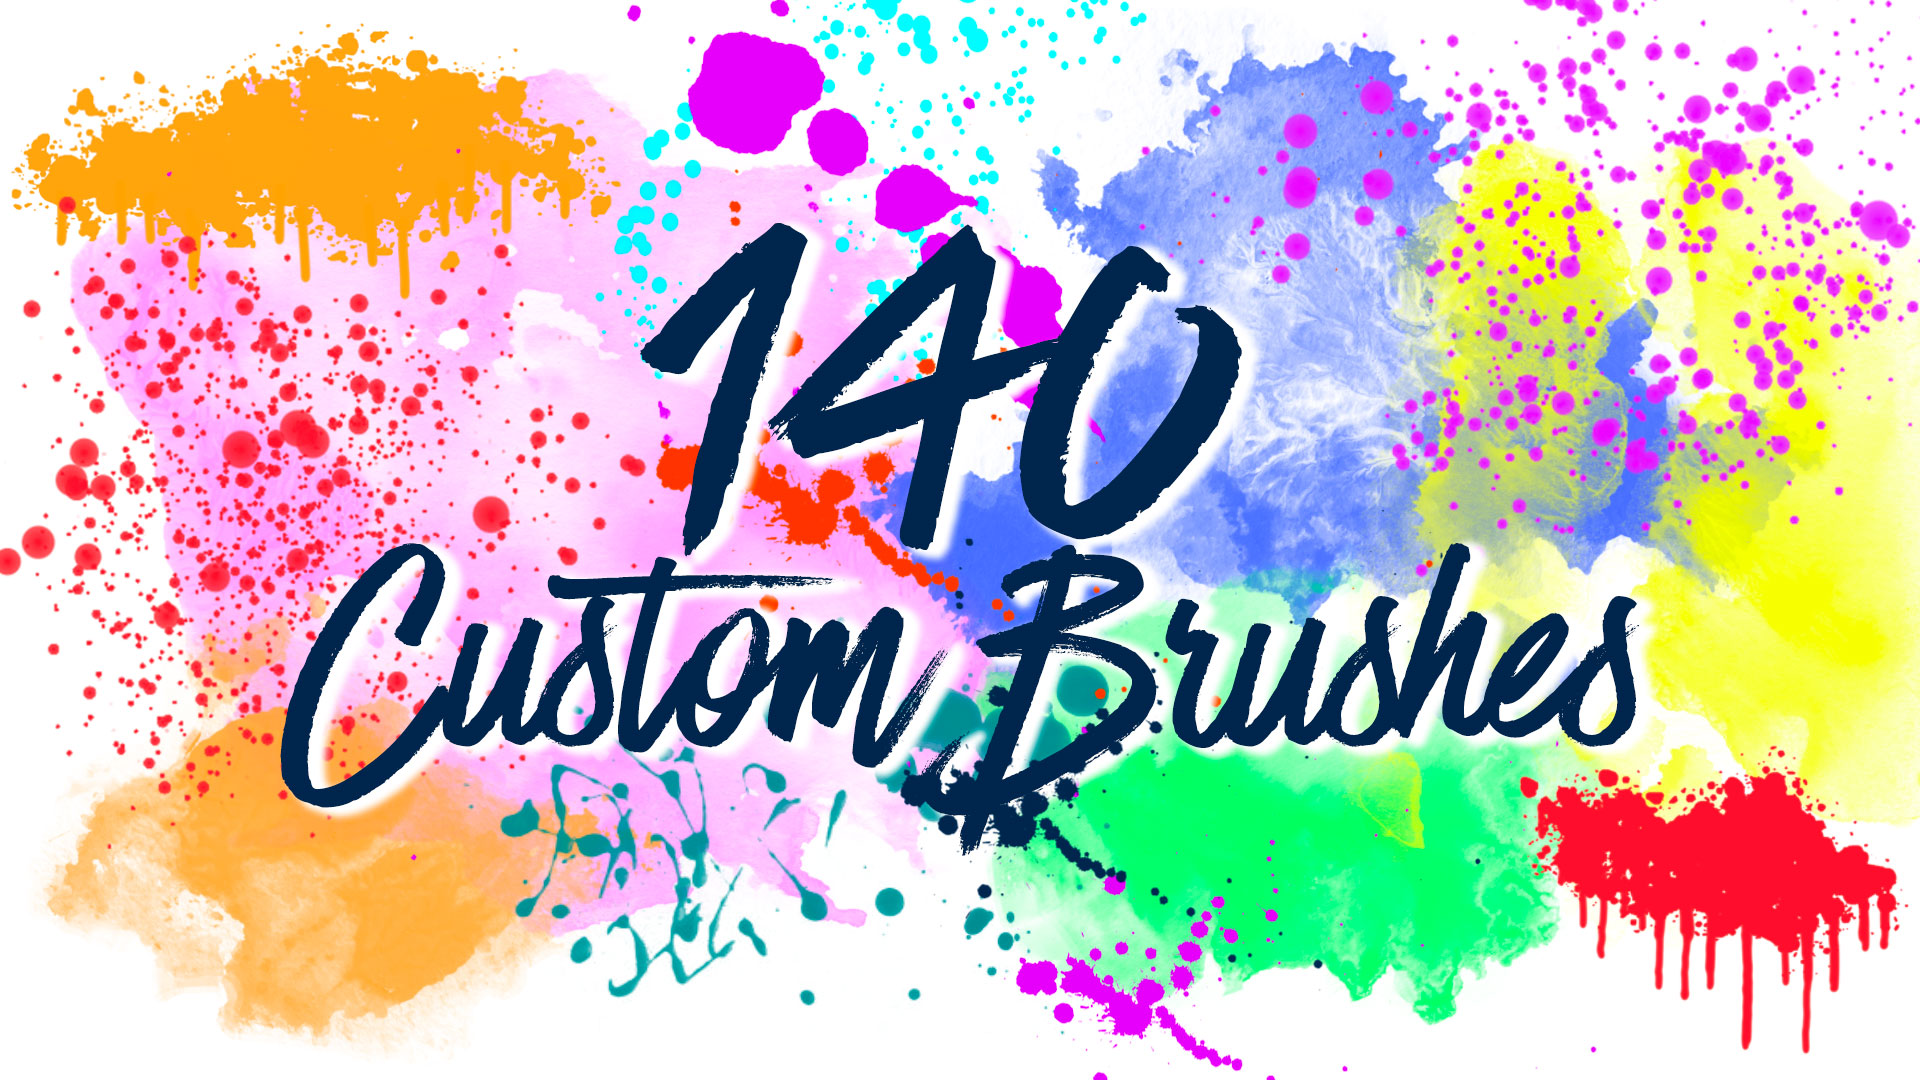
Creative Director and Photoshop Guru Rikard Rodin shows you how to create a watercolor painting in Photoshop—from the beginning photo composite to having a smart-object based file that will allow you to quickly turn any of your photographs or composites into a beautiful watercolor painting. The 2 hour course is filled with tips, tricks and techniques (as well as power shortcuts) that you can use for any composite or painting effect. The course also includes a watercolor painting brush set with 140 custom brushes.
Length: 2 hours, 5 minutes | Experience Level: Beginner to Intermediate | Required Software: Photoshop CC
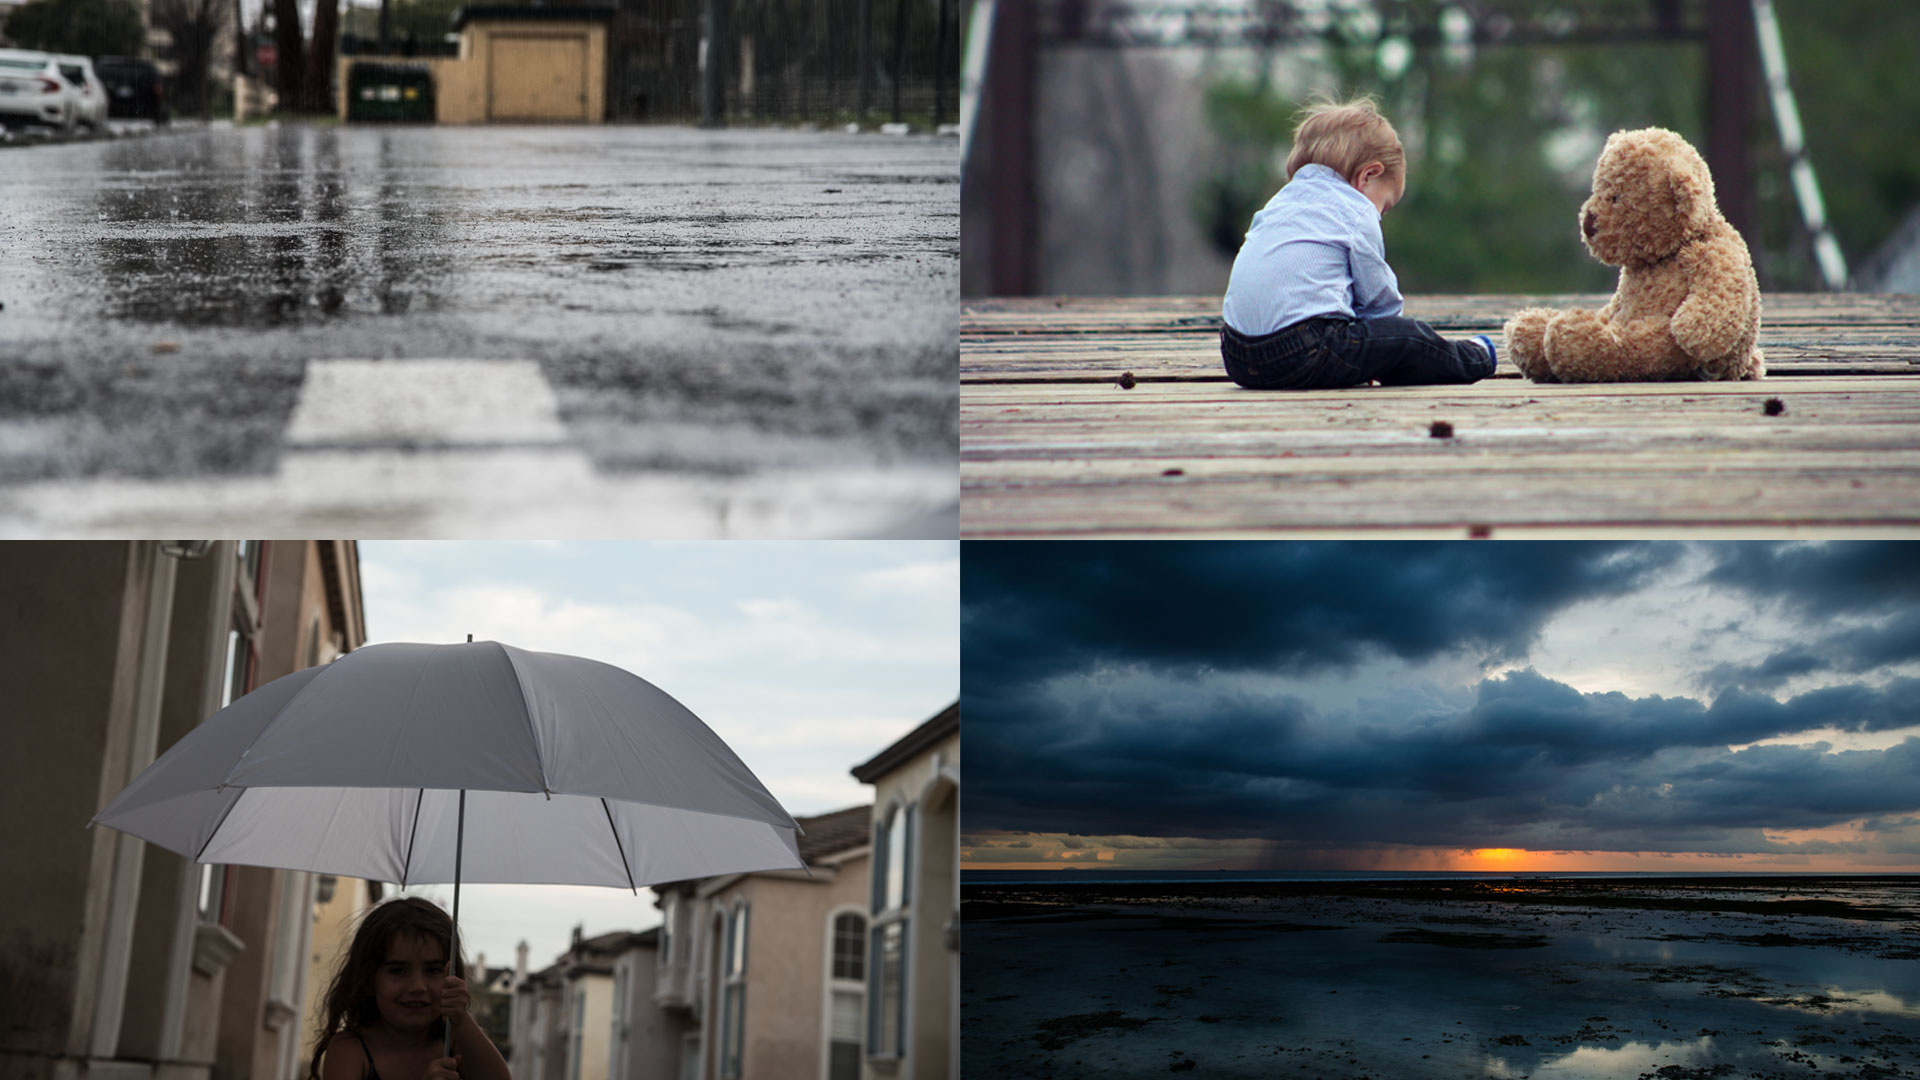
Before
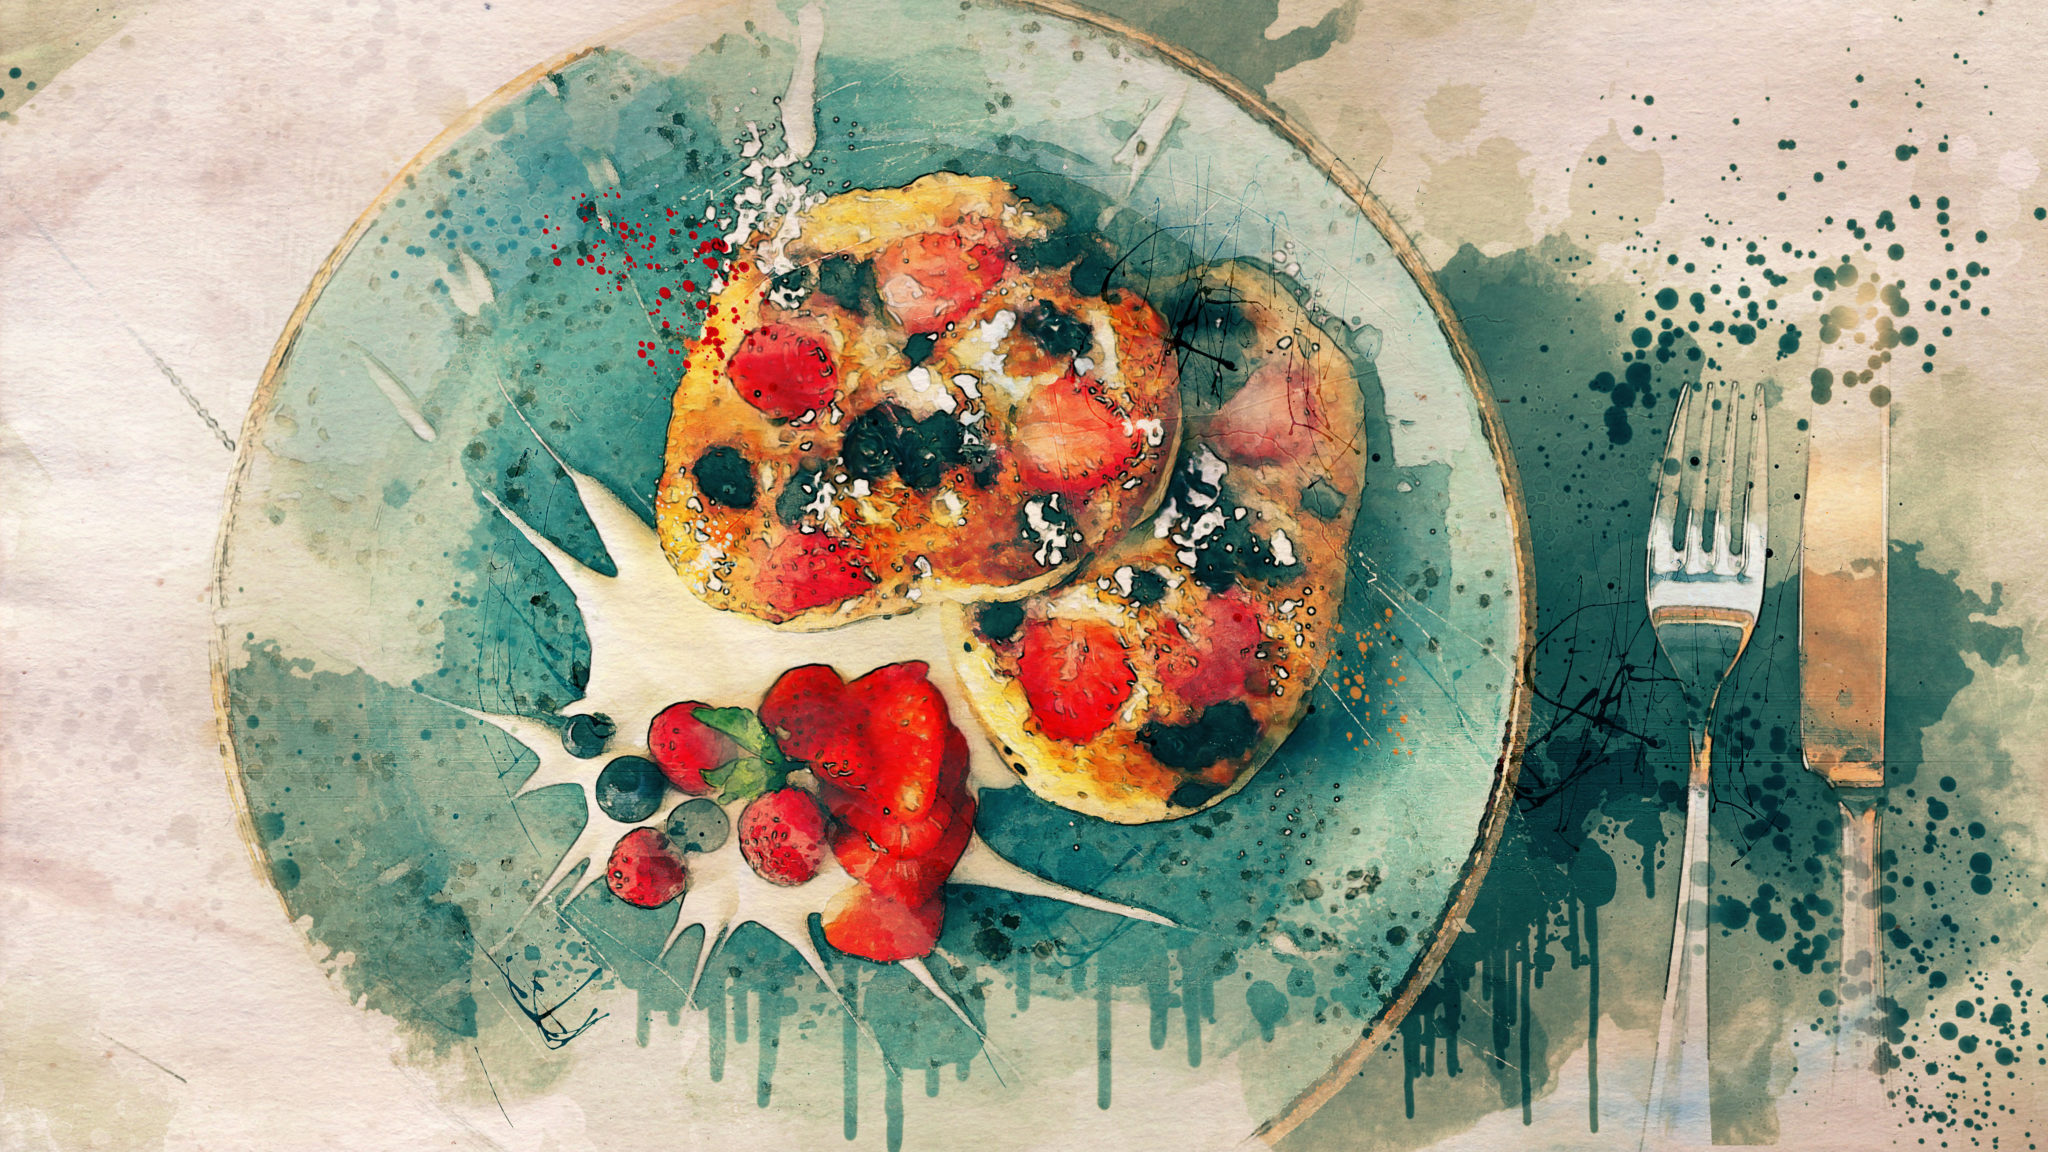
After
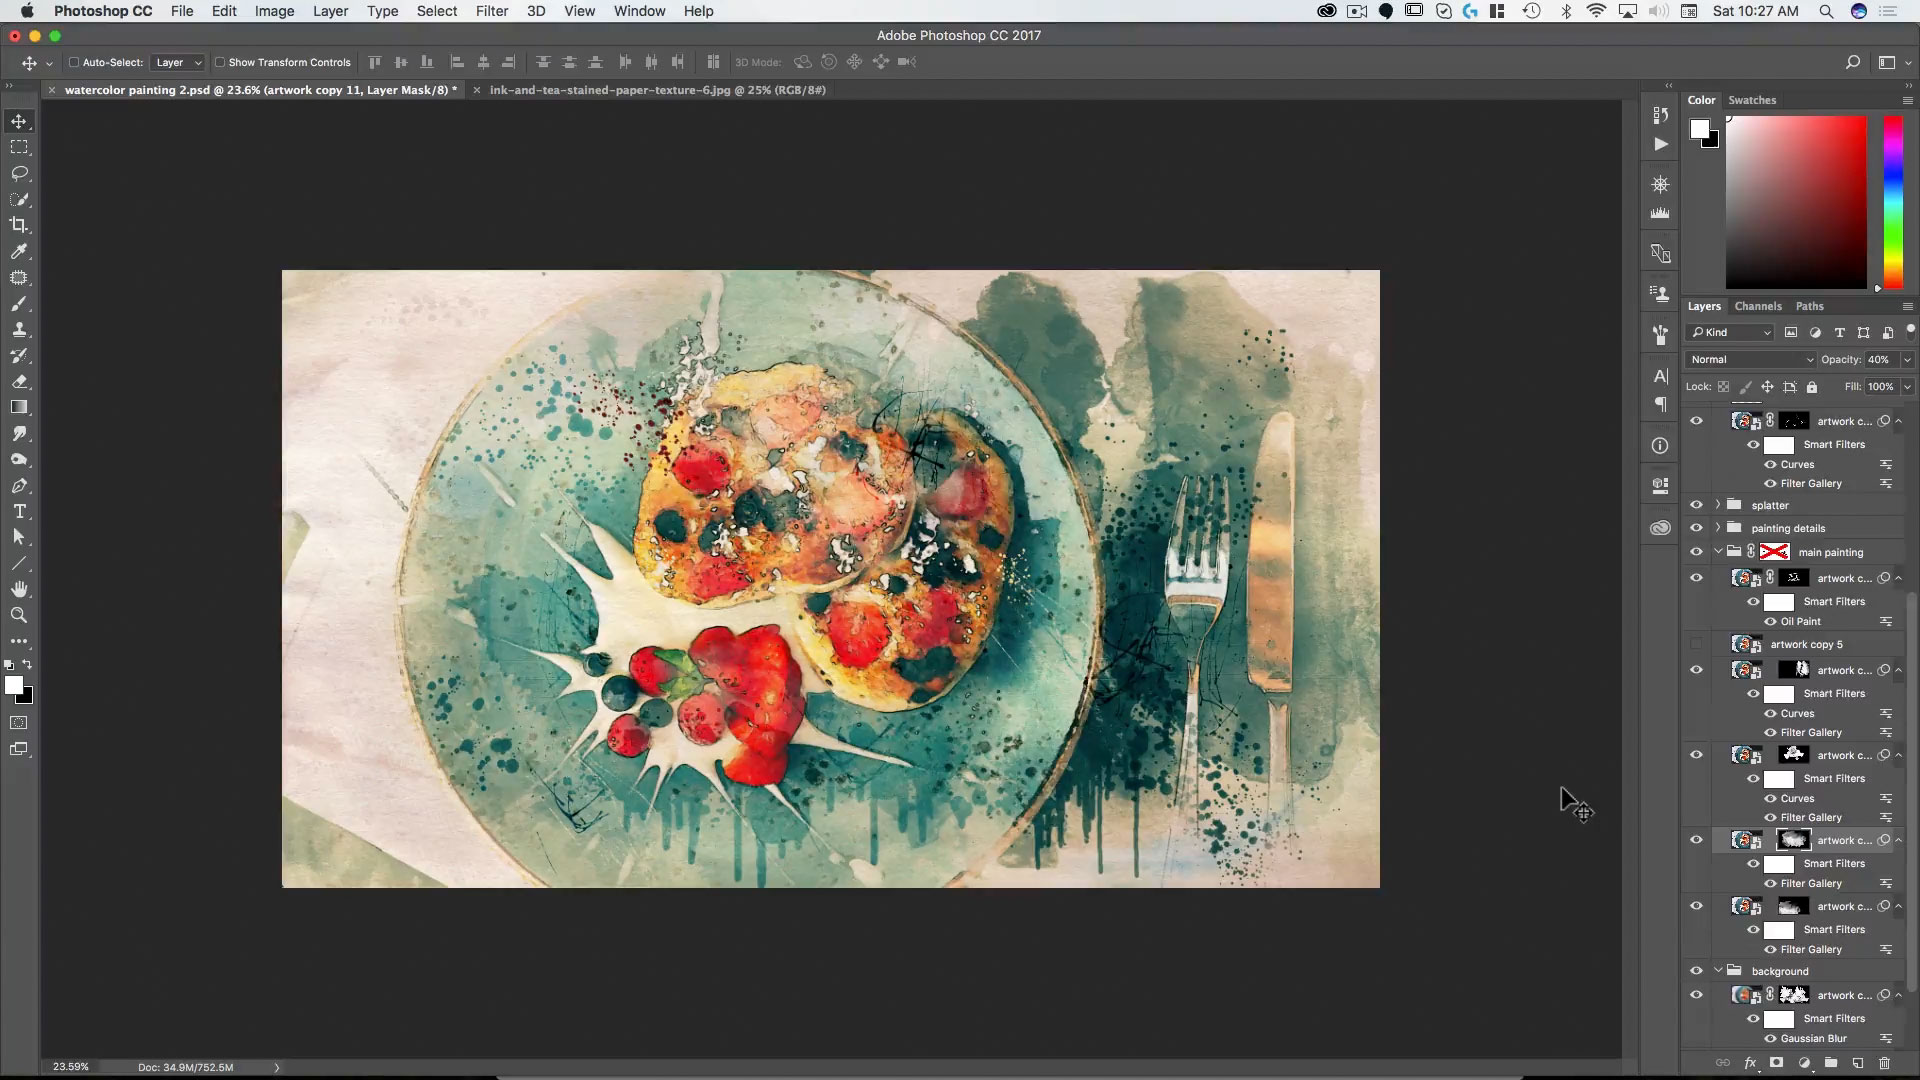
Dessert
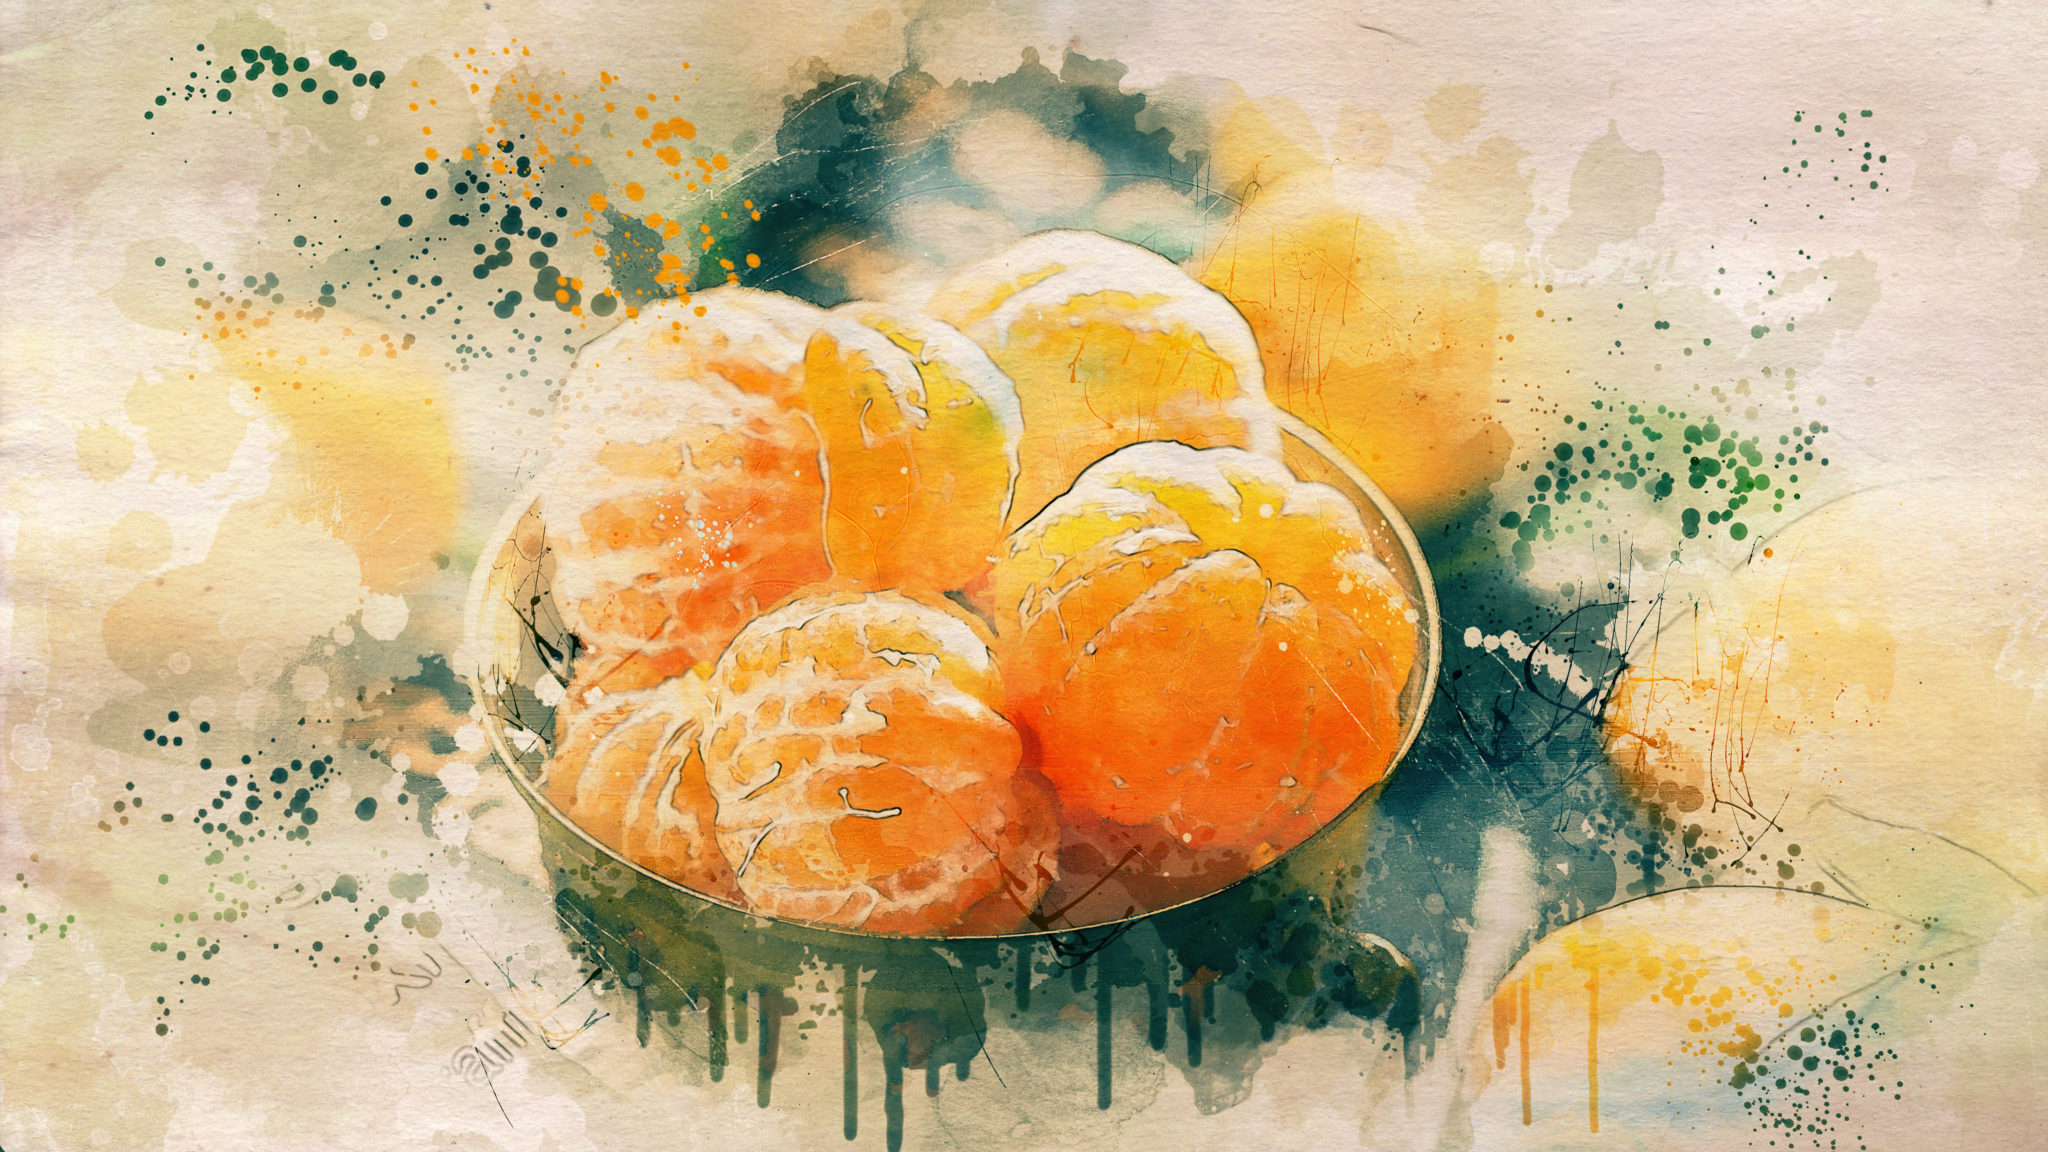
Oranges
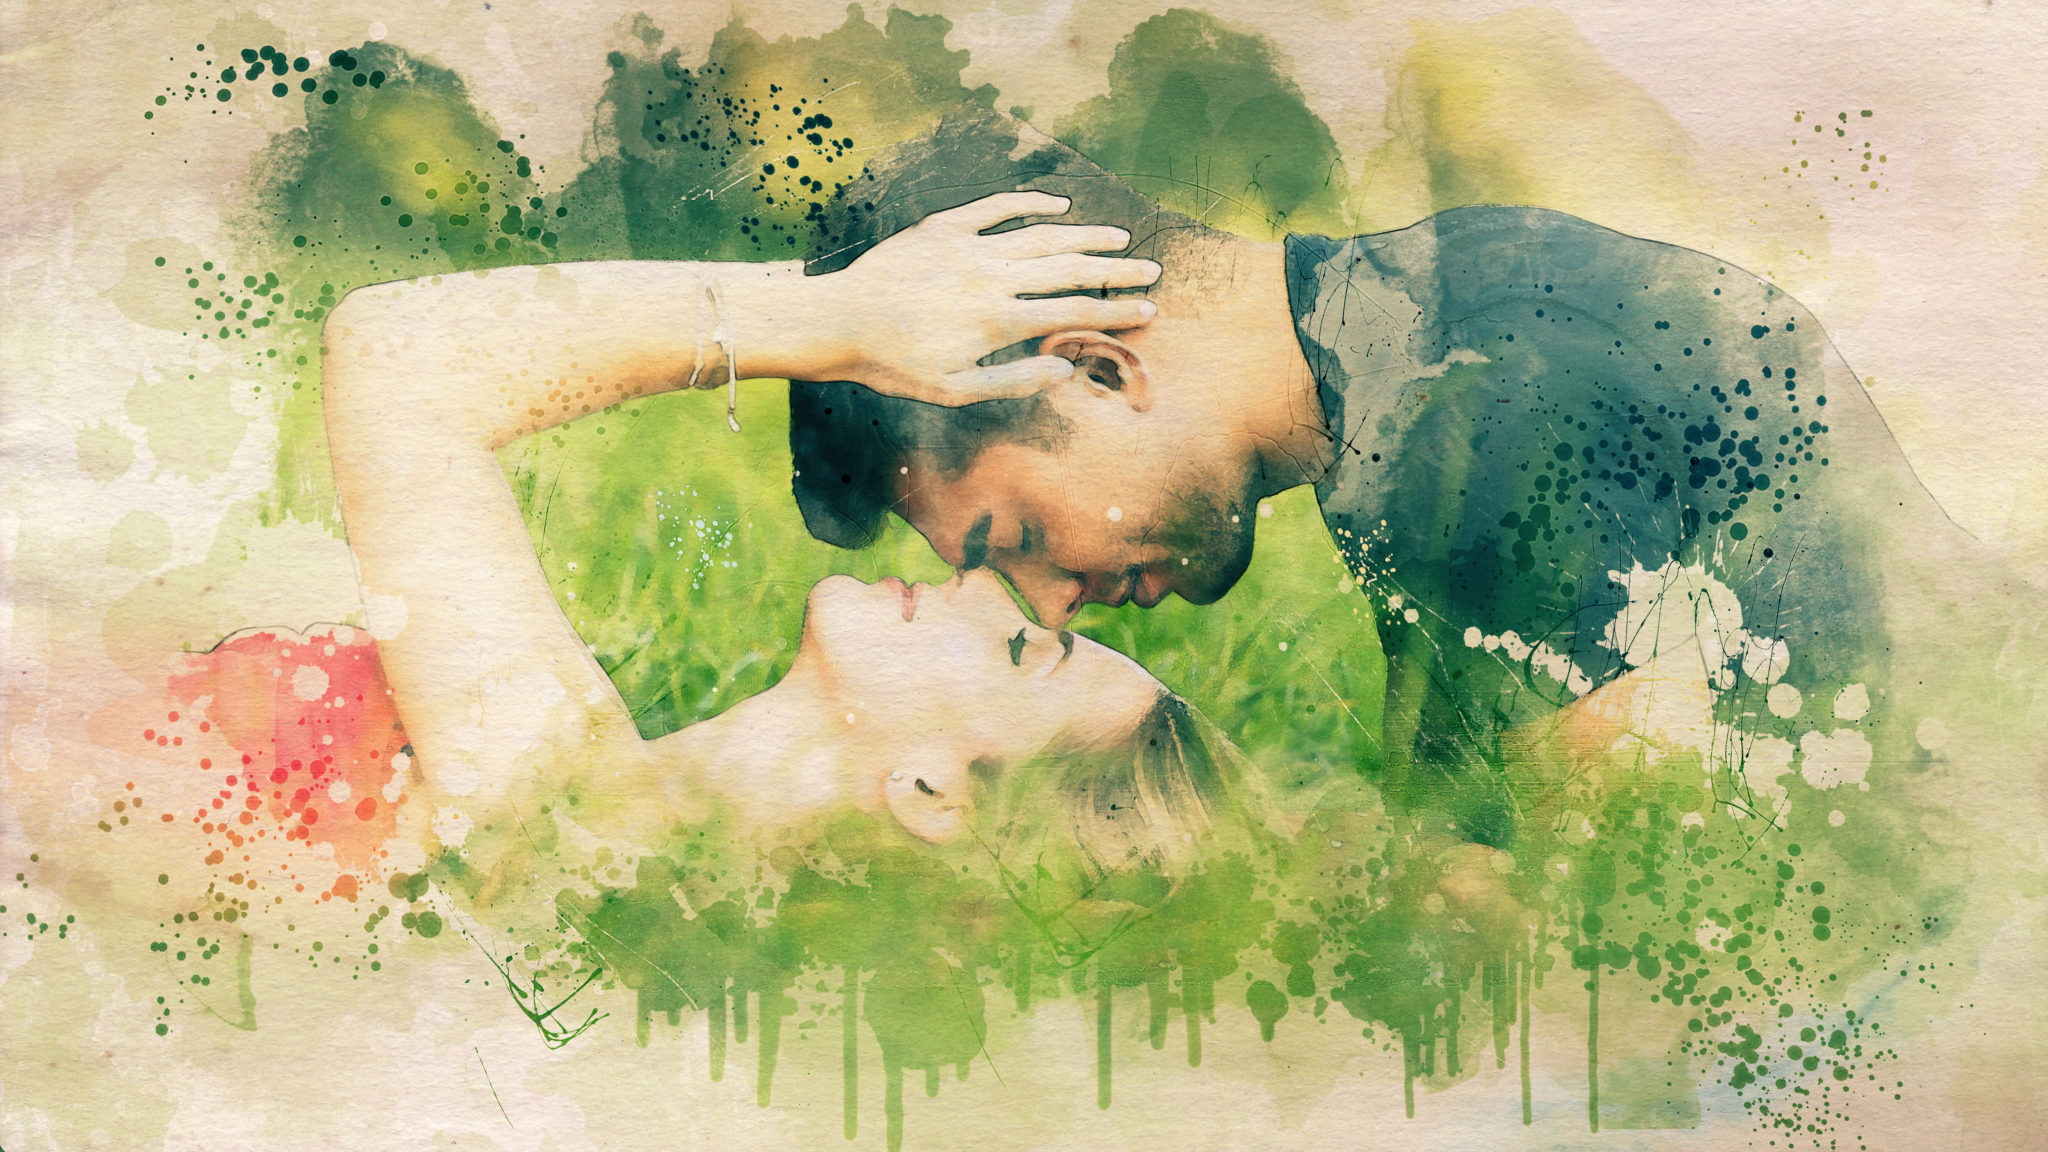
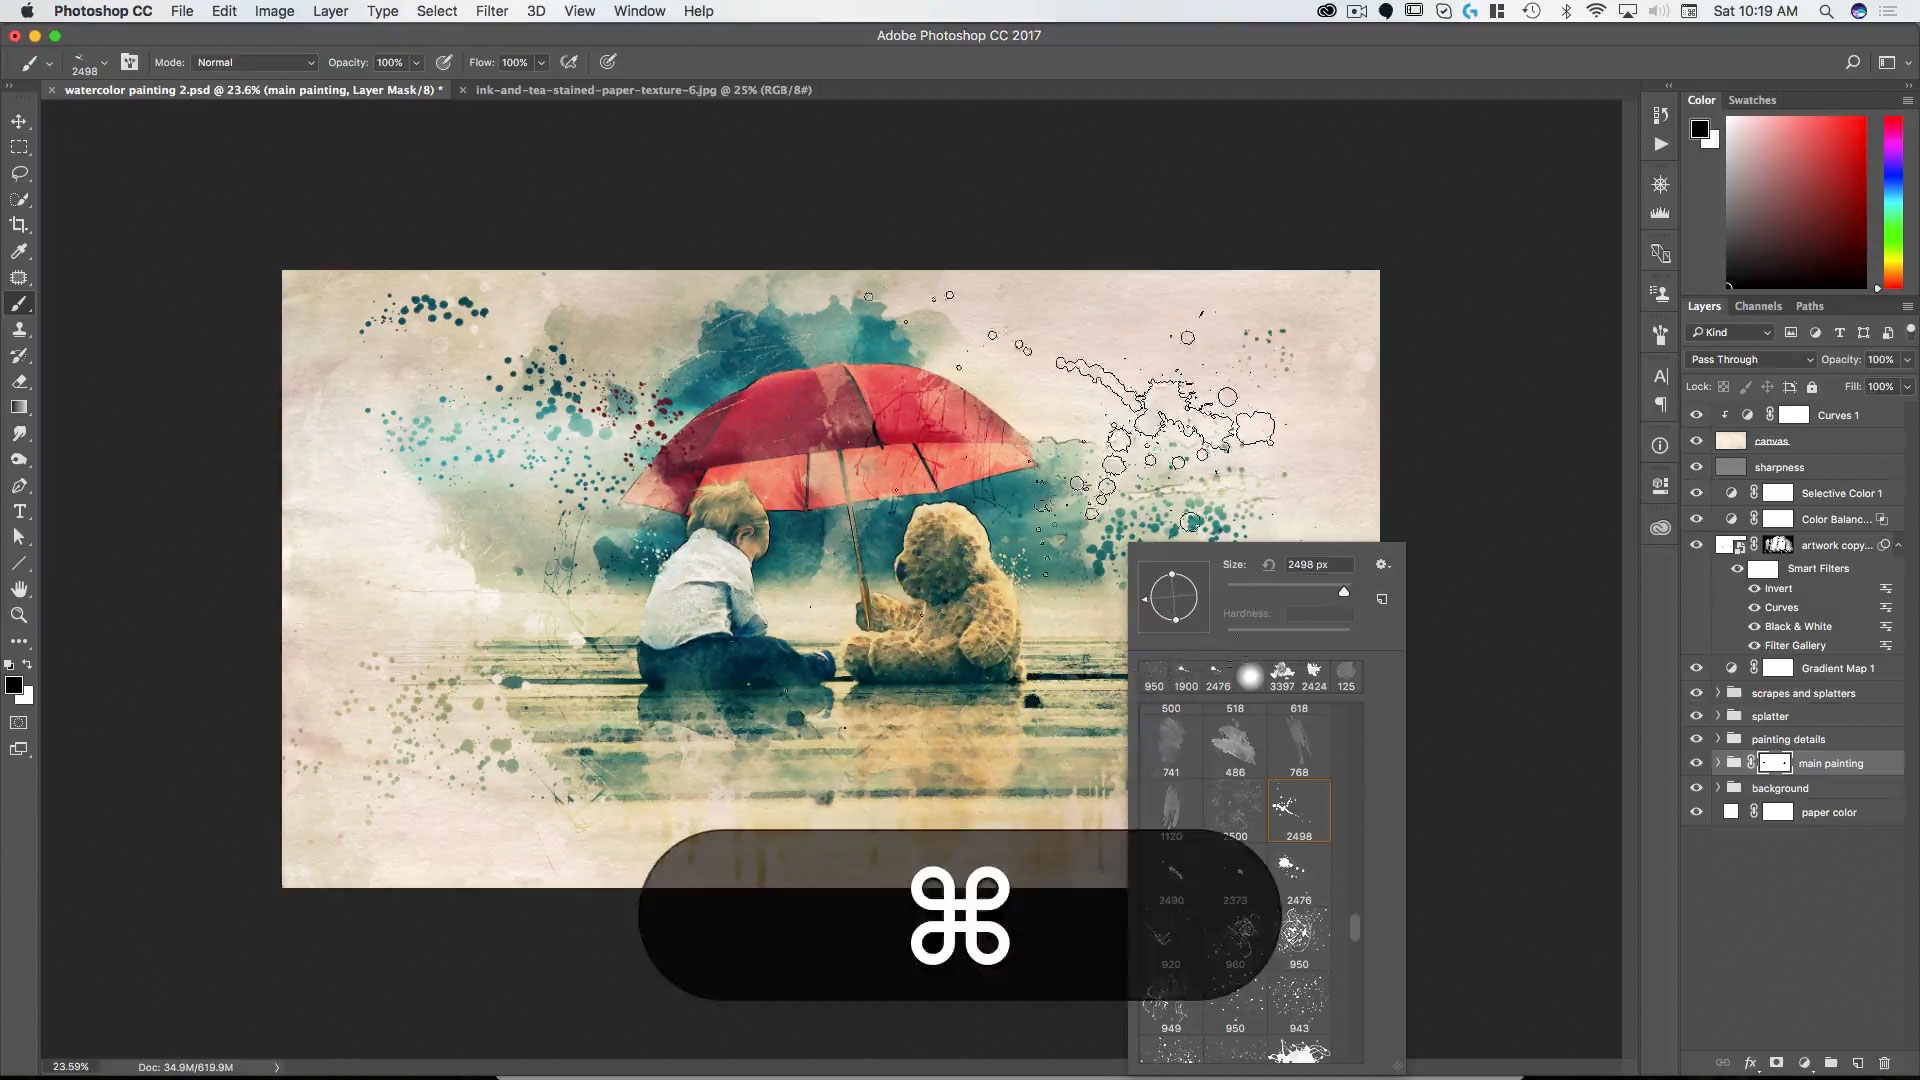
Couple
140 Custom Brushes
Lessons
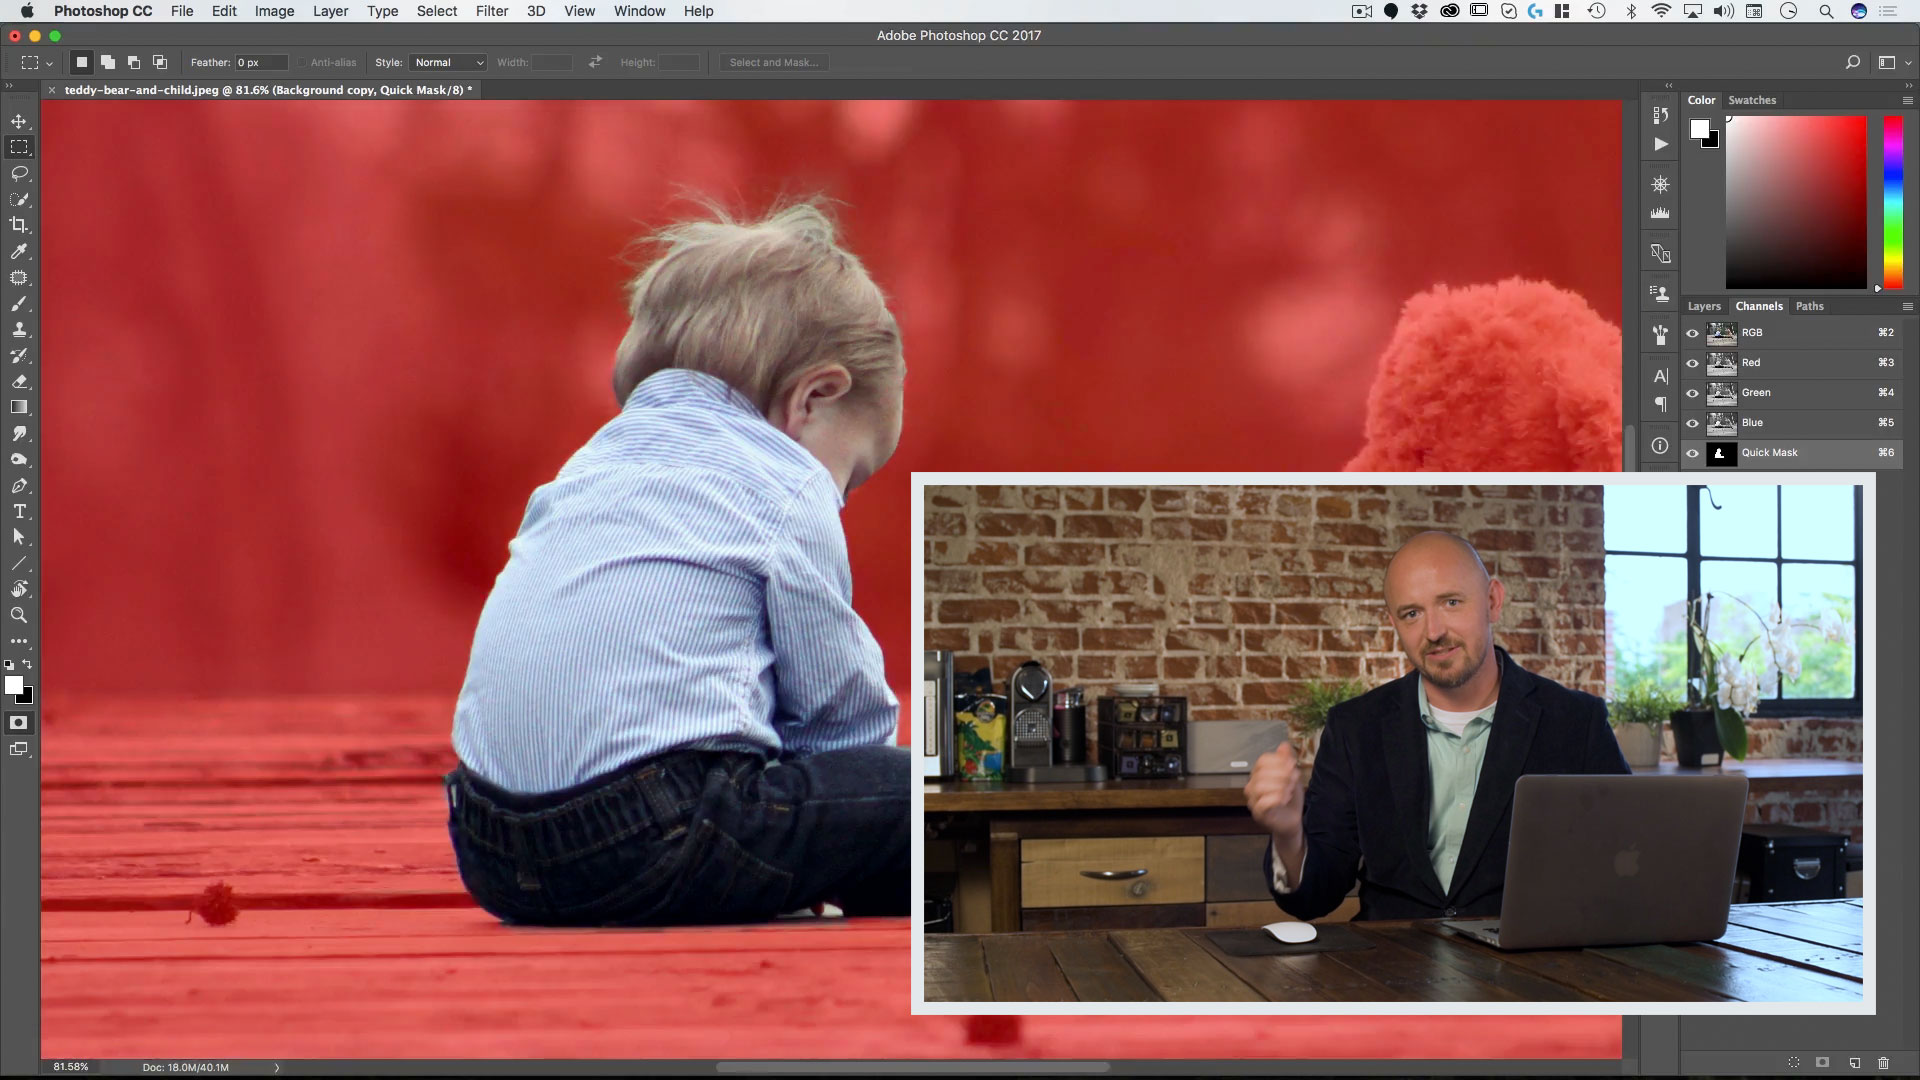
Lesson 1: Getting Started
Here we cover setting up your file, the quick selection tool, quick masks and the mask and select dialogue and how to use these to rapidly cut out elements in your photos.

Lesson 2: Extending the Background
Here’s how to use transforms to quickly extend a background—and how to use layer blending modes to add texture to an existing surface.
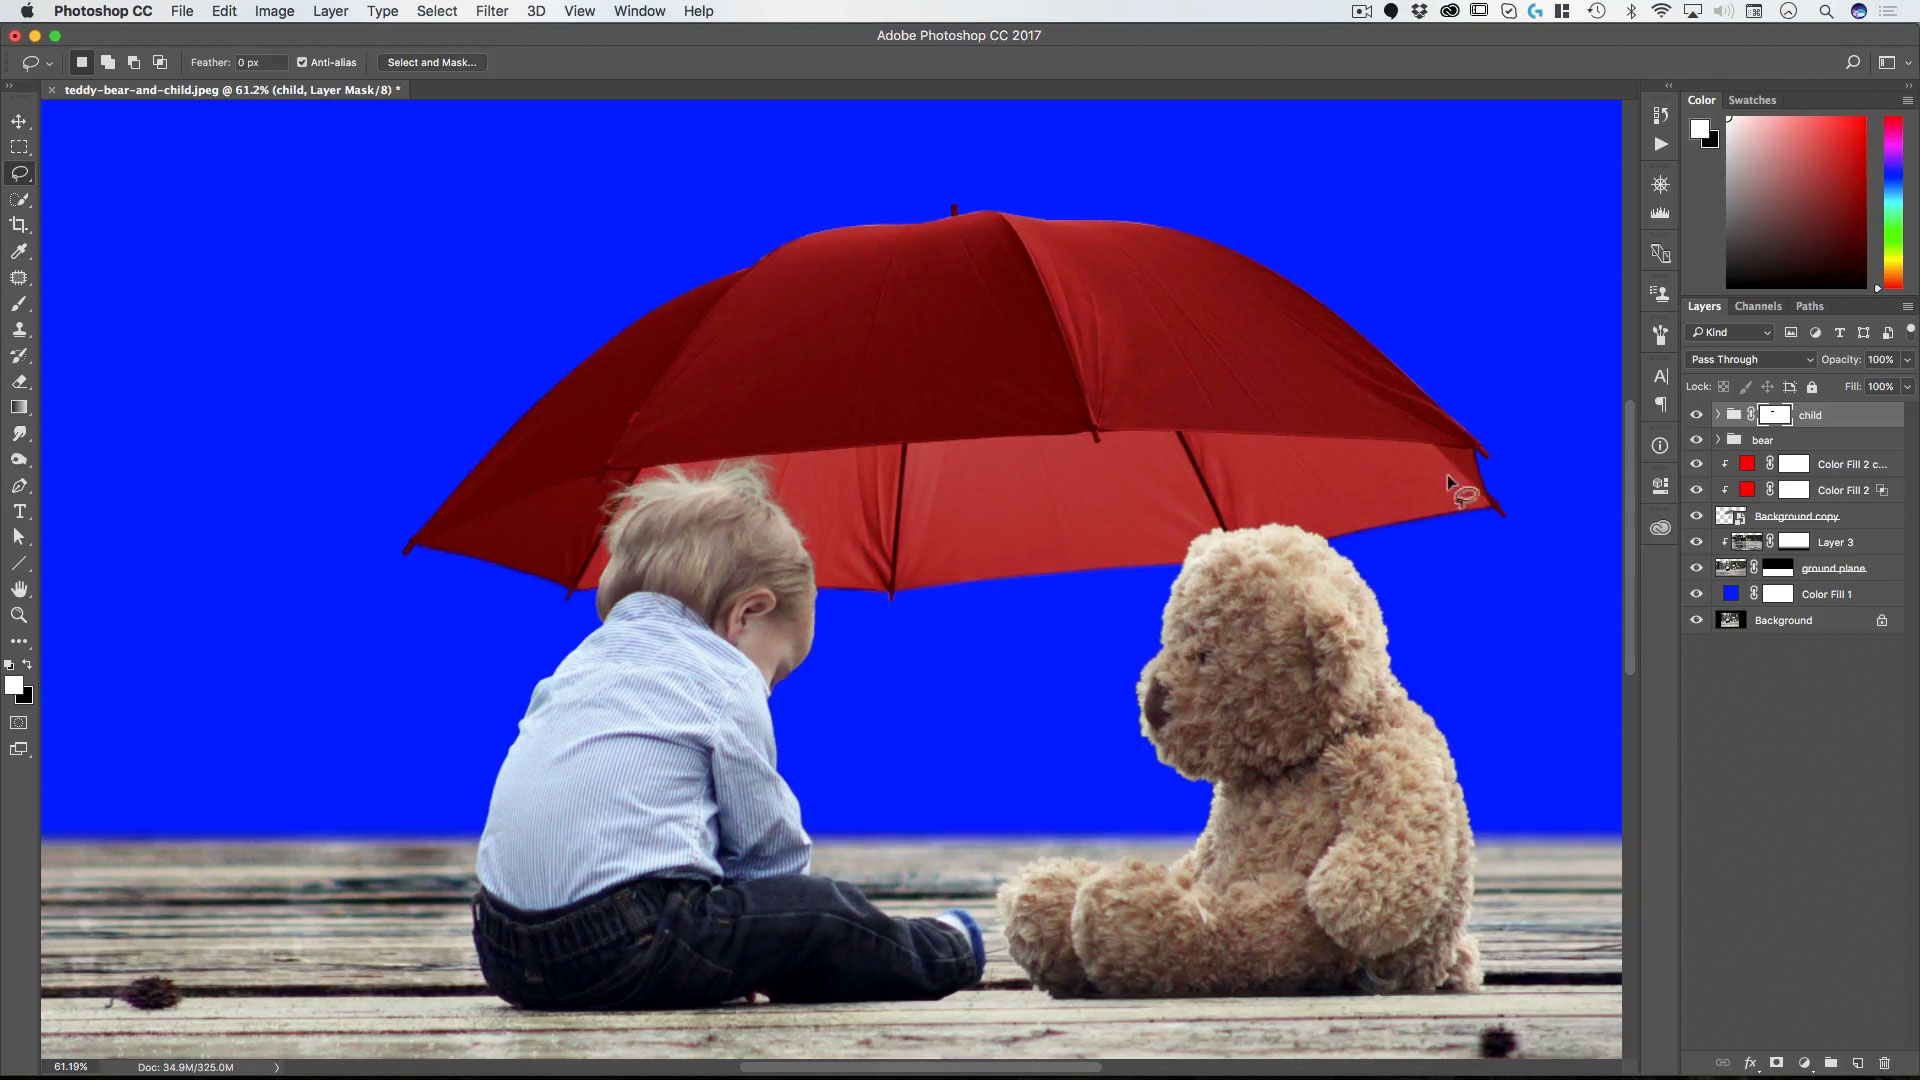
Lesson 3: Adding the Umbrella
Here we show how to mask with paths, adjusting masks with effects and adding color to an object realistically with layer blending techniques.
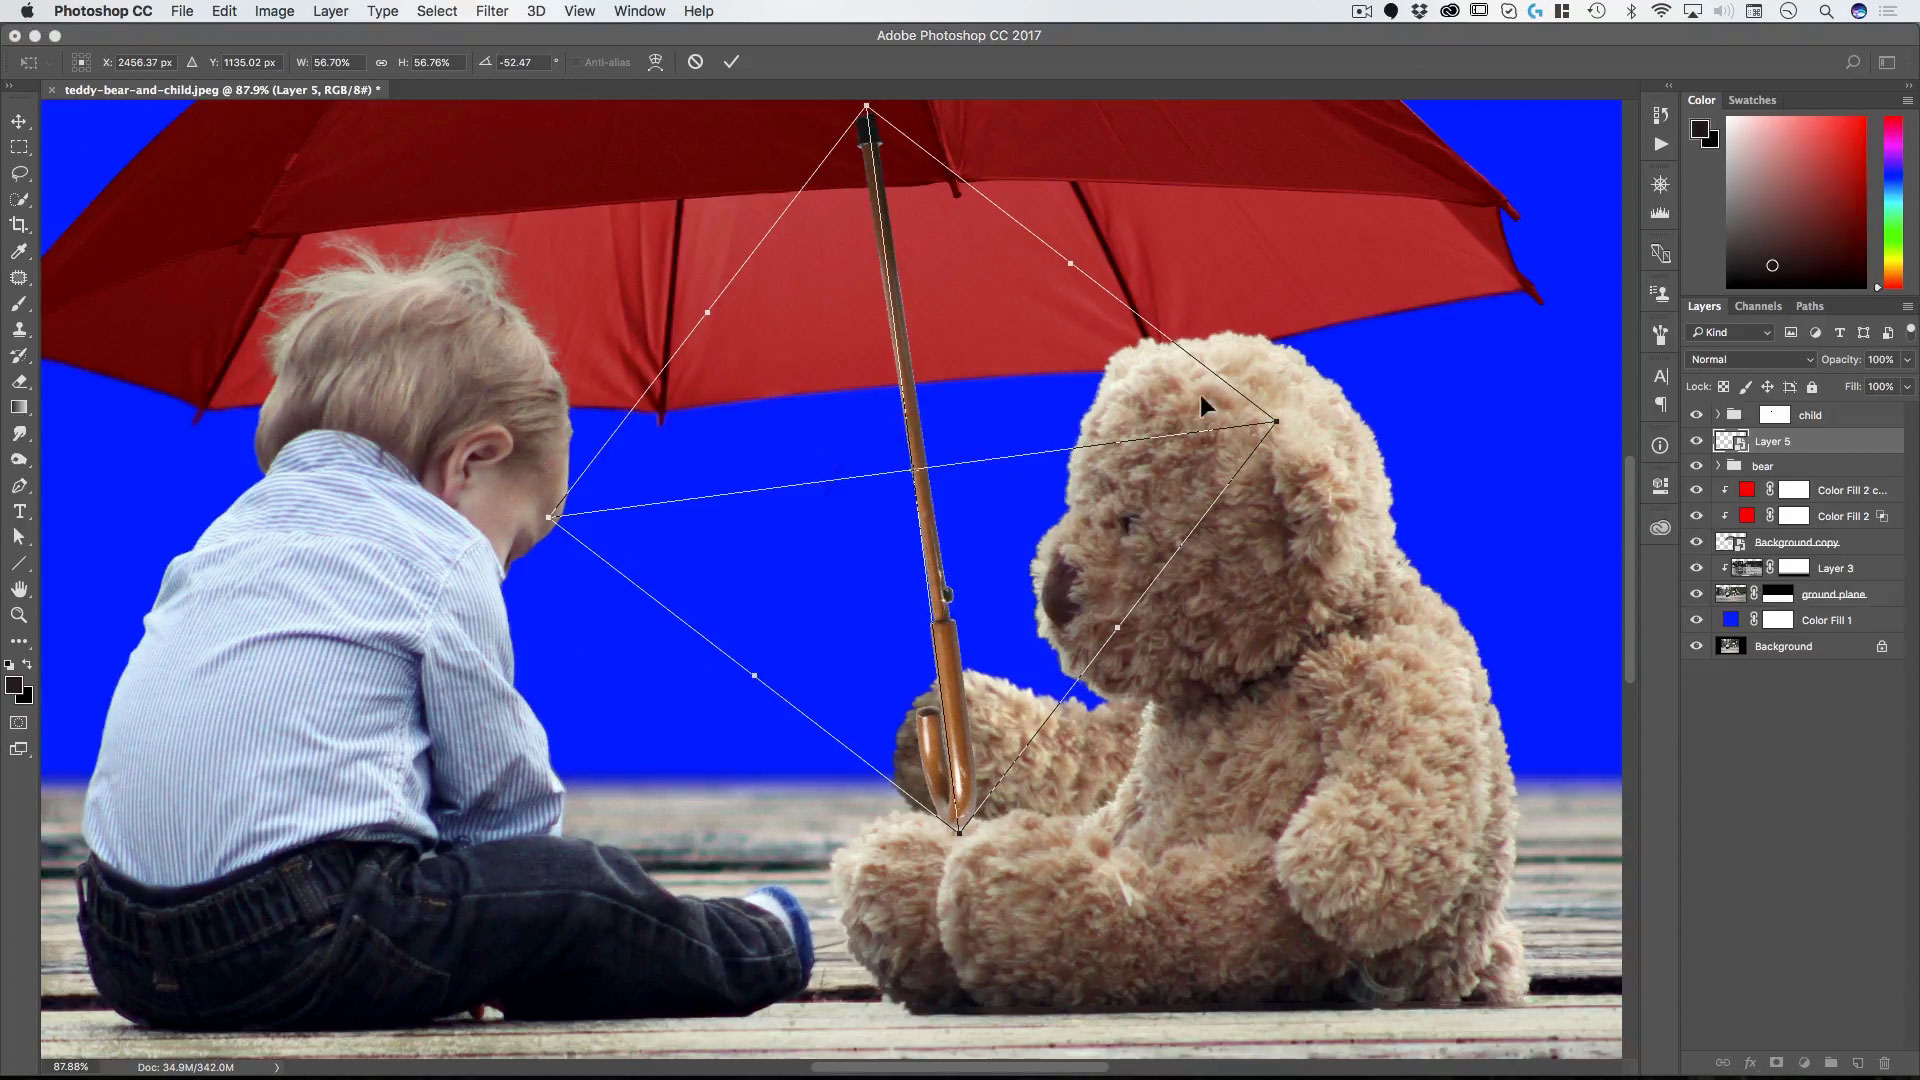
Lesson 4: Compositing the Umbrella
In this lesson we add a different handle to the umbrella and give the teddy bear a new arm—then we combine all three seamlessly.
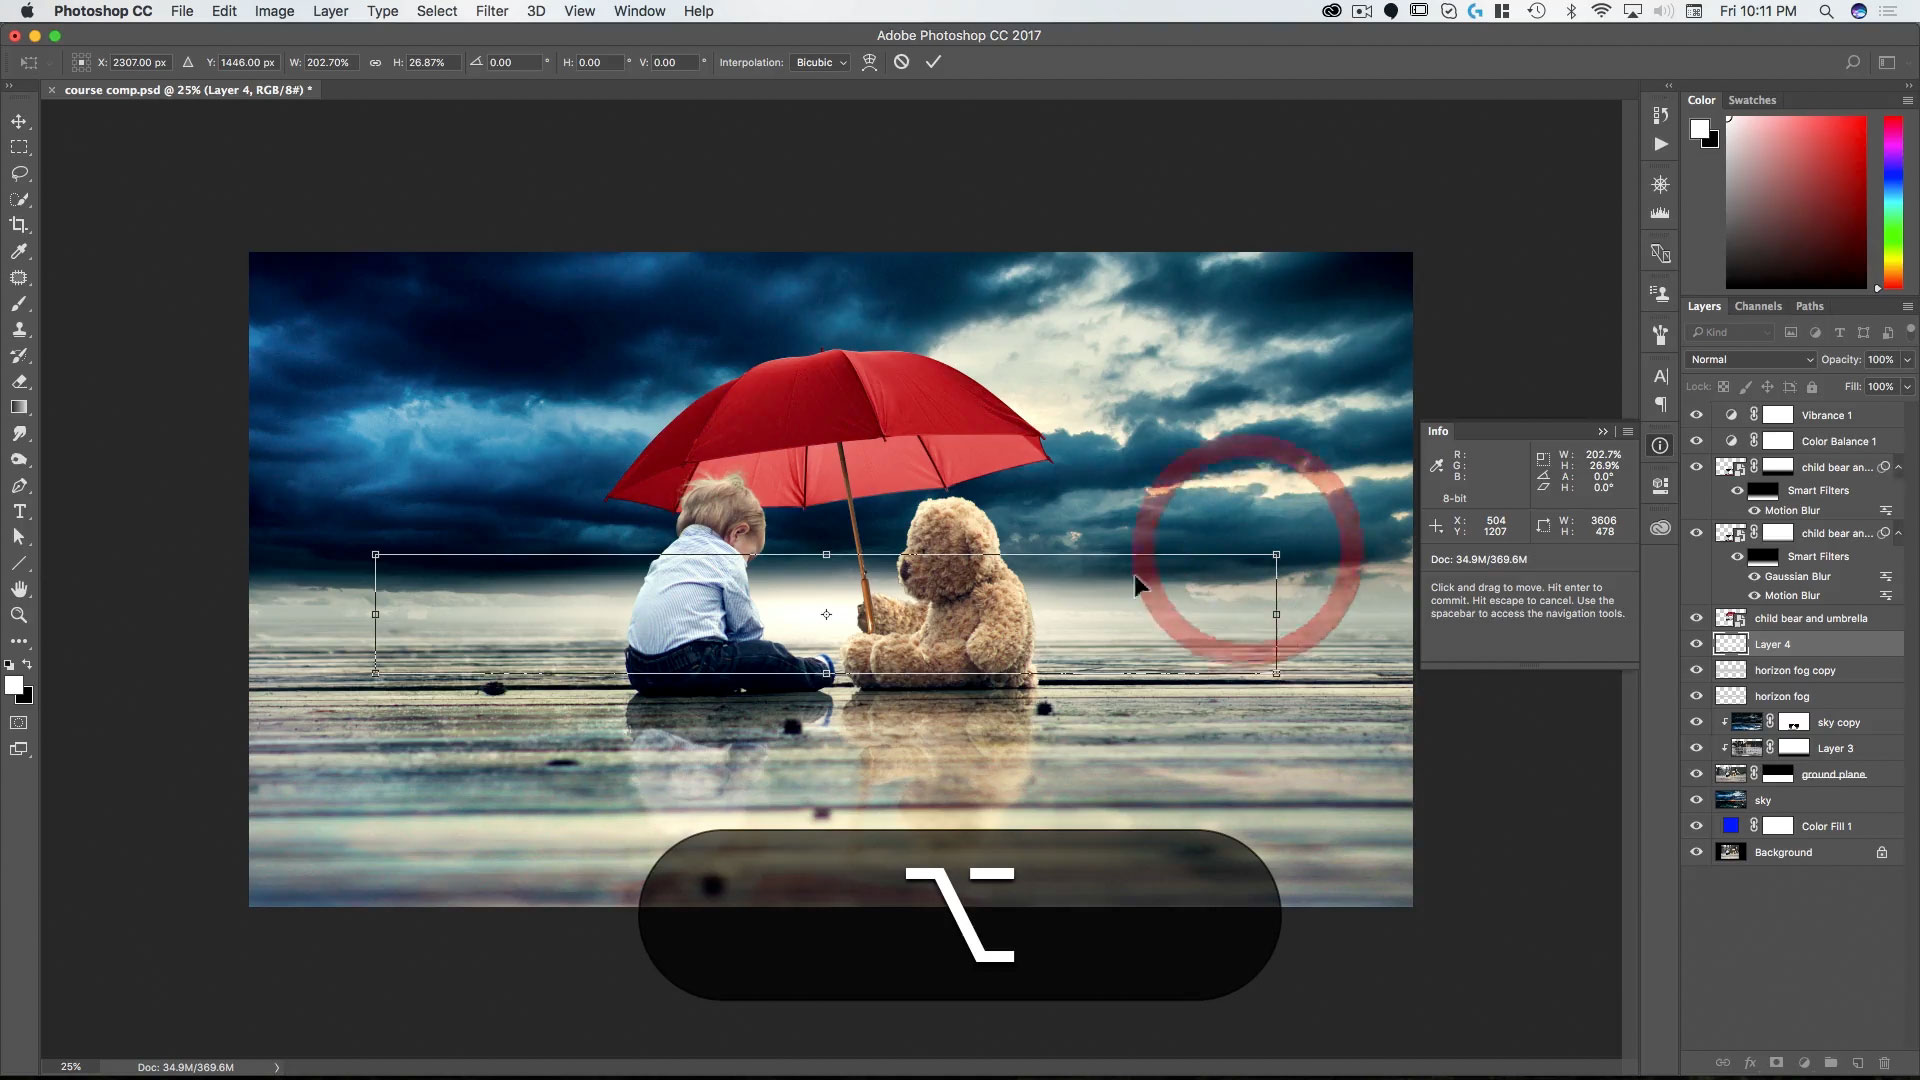
Lesson 5: Sky Replacement & Reflections
Learn how to replace a sky (a technique you can use in any composite) and how to create realistic reflections on a non-flat surface using the displace tool, motion blurs and smart object masks.
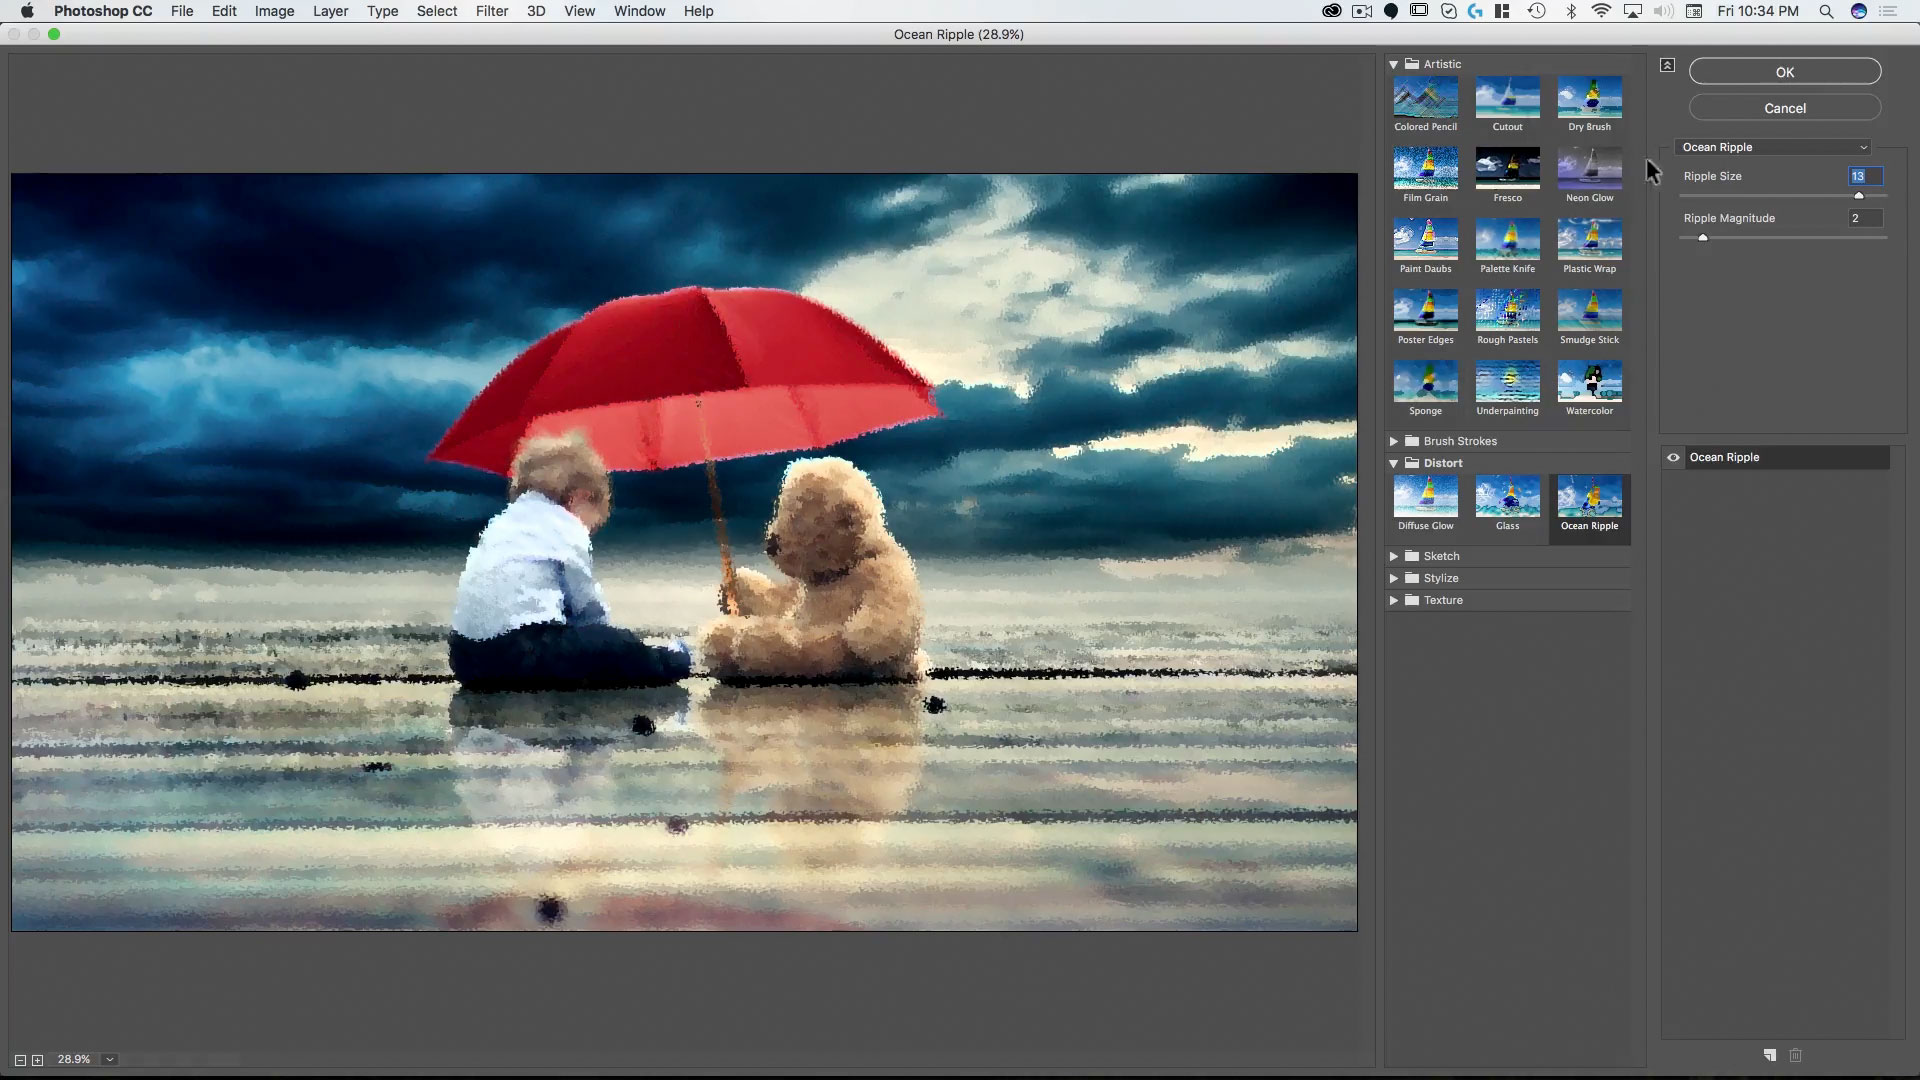
Lesson 6: Creating the Painting Part I
Here the fun begins! Using smart objects and the Filter Gallery, we turn our composite into a realistic watercolor painting.
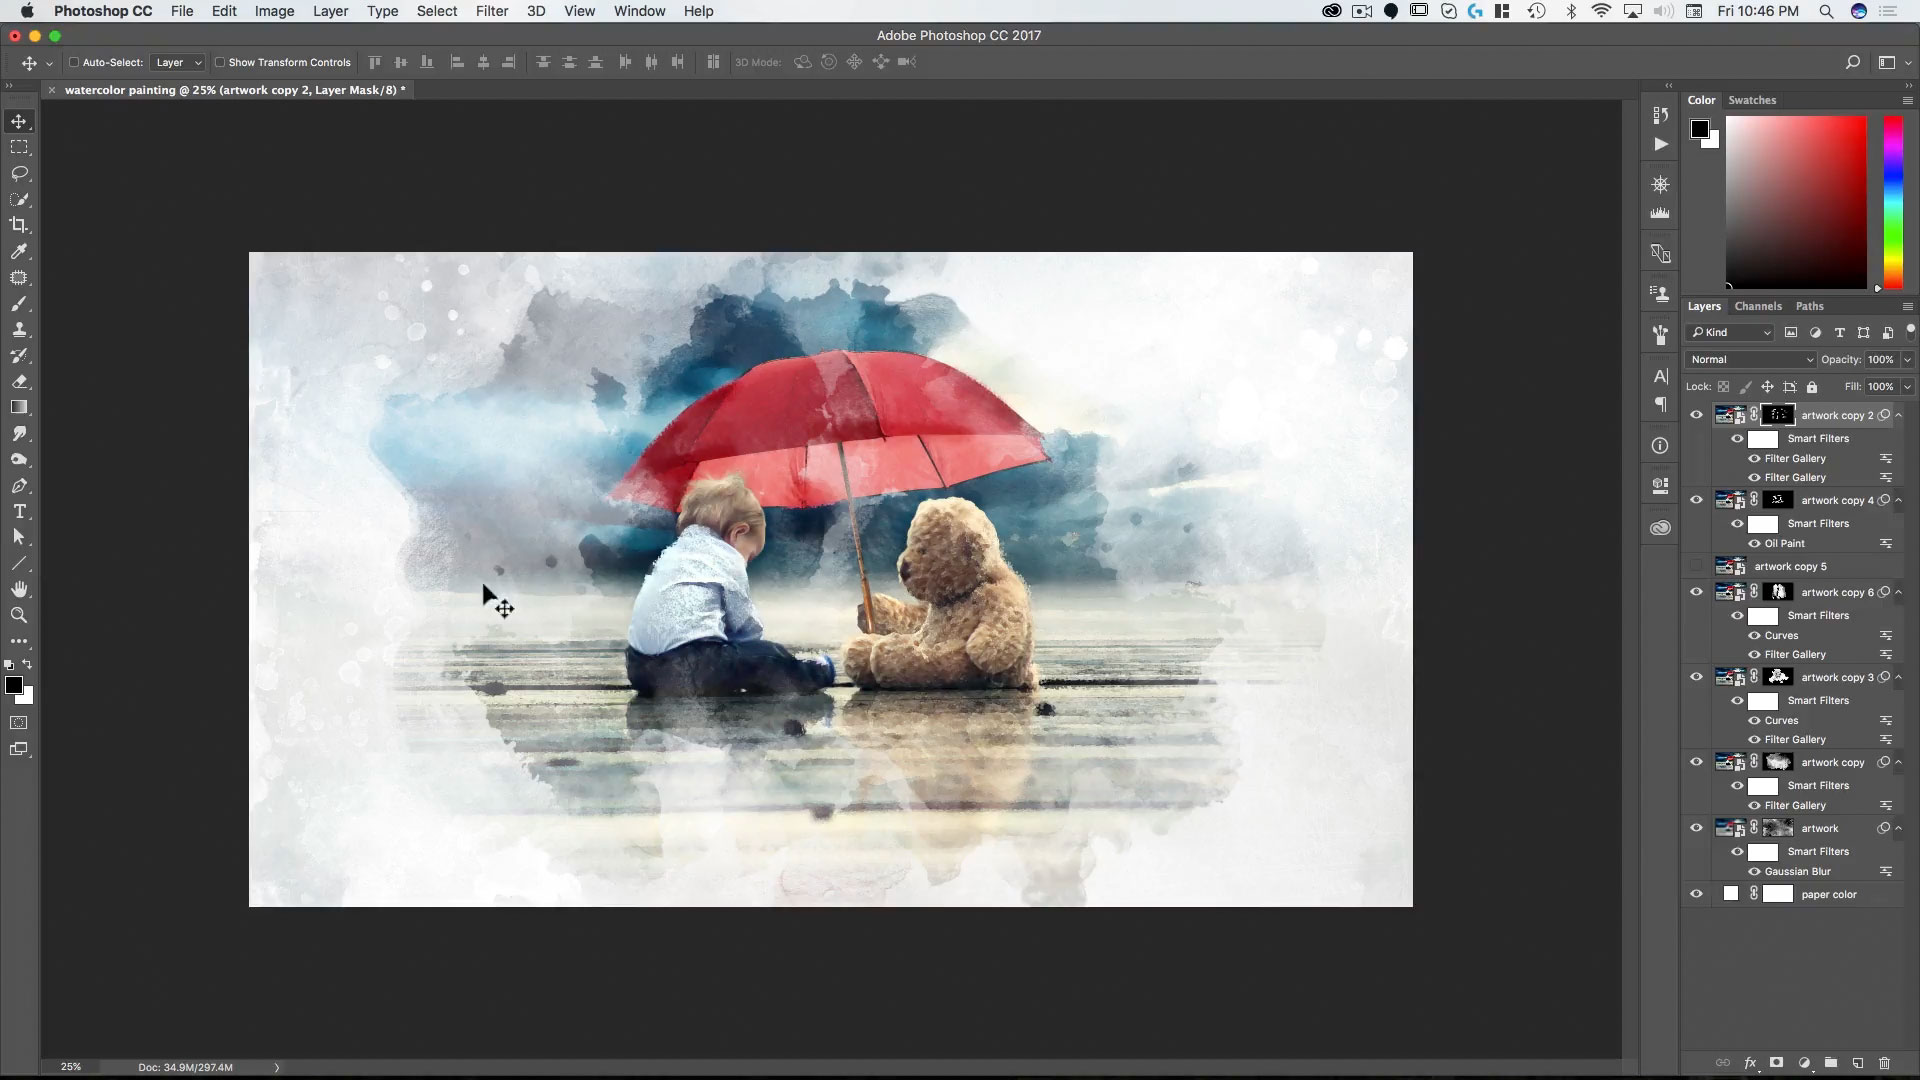
Lesson 7: Creating the Painting Part II
After creating the painting, we use masks and custom brushes to create the painted on canvas watercolor effect.
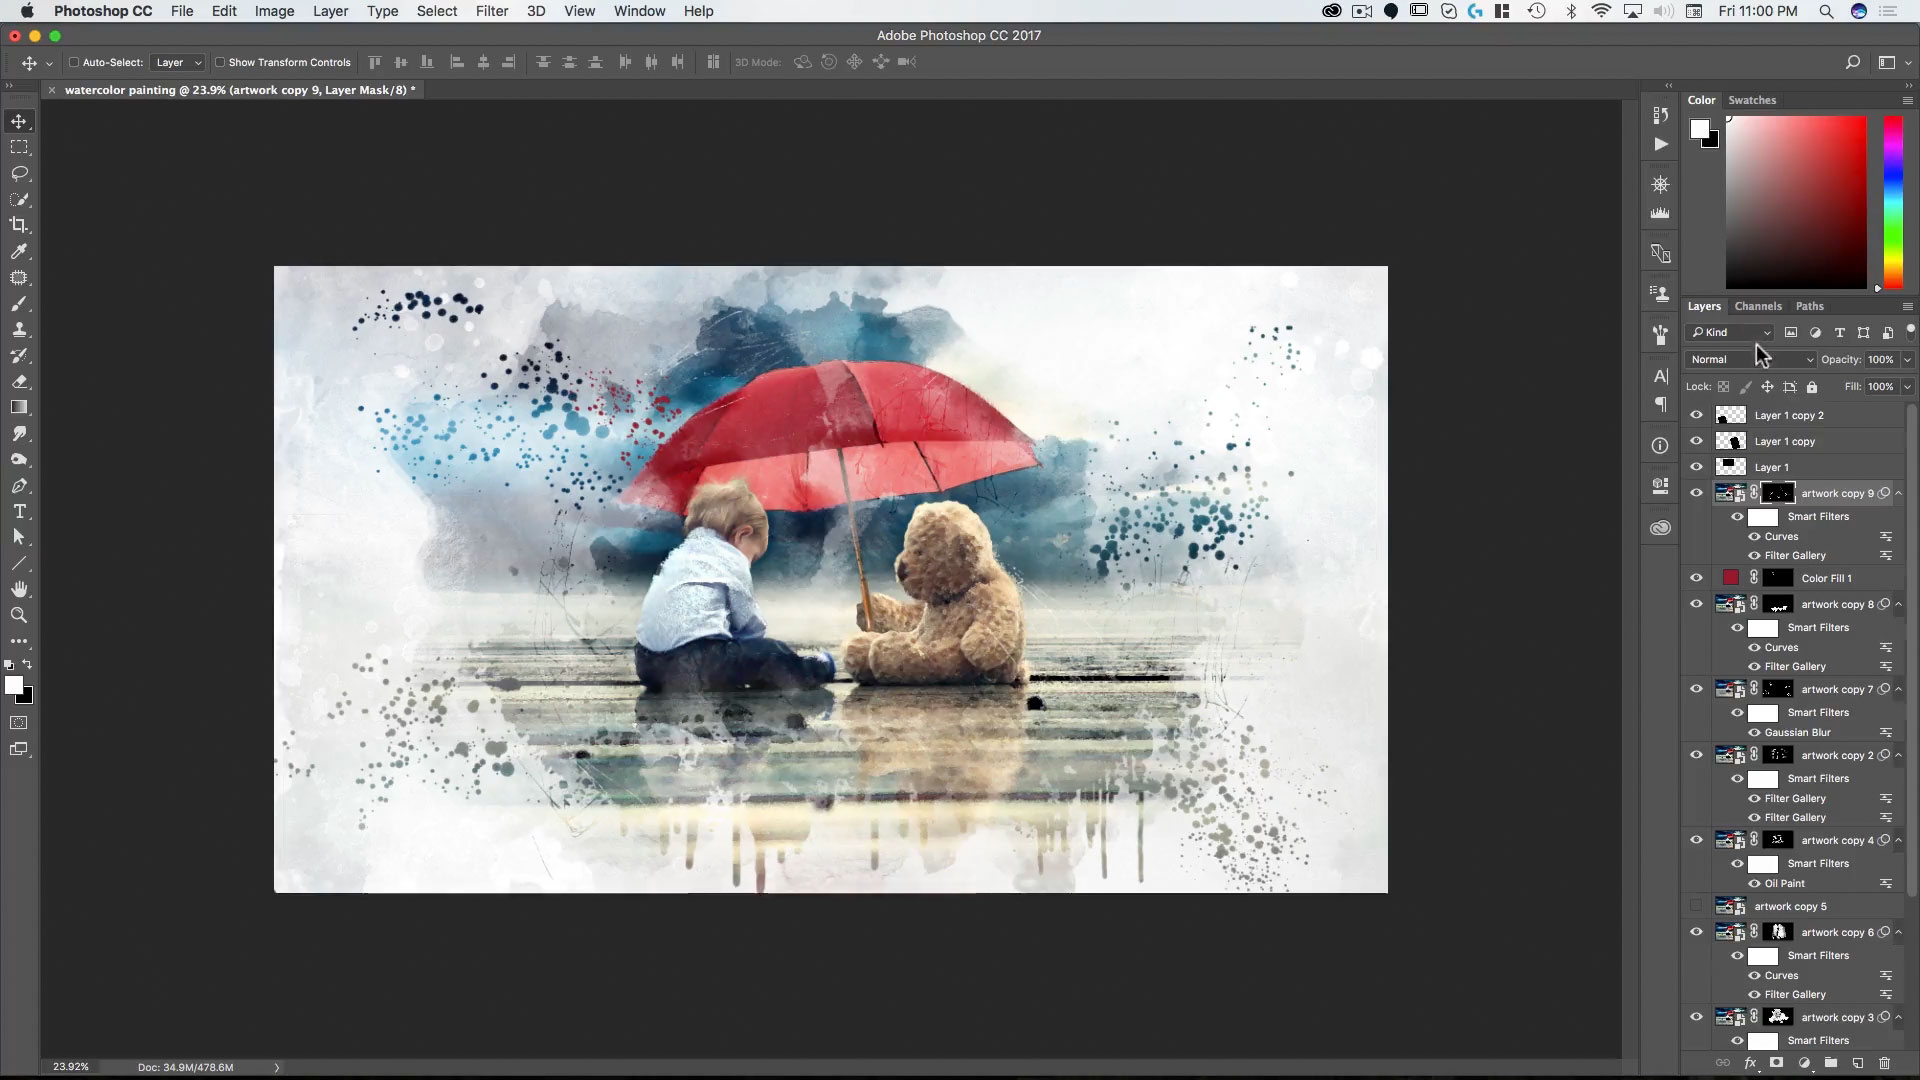
Lesson 8: Adding Drips and Splatter
To sell the painting, we add drips, splatter, running water and scratches to the painting with custom brushes, smart objects and masks.
Lesson 9: The Final Touches
In this lesson we cover color grading techniques, file organization, using the high pass filter and other tools to give the painting the final touches that make it really sing.
Lesson 10: The Power of Smart Objects
In this bonus lesson, you’ll learn how to use the watercolor photoshop file you’ve created to rapidly turn any photo into a watercolor painting using the power of smart objects.
Each lesson video is provided in HD along with the art and graphic assets used in each lesson. Videos can be downloaded and viewed on any device or on any computer. After you’ve completed the course, you can email your completed photo composites (as flattened jpgs) to rikard@zevendesign.com for free reviews, critiques and tips to further increase your skill.
Check out my other available courses